Easy Crispy Pan Fried Gnocchi
This post may contain affiliate links.
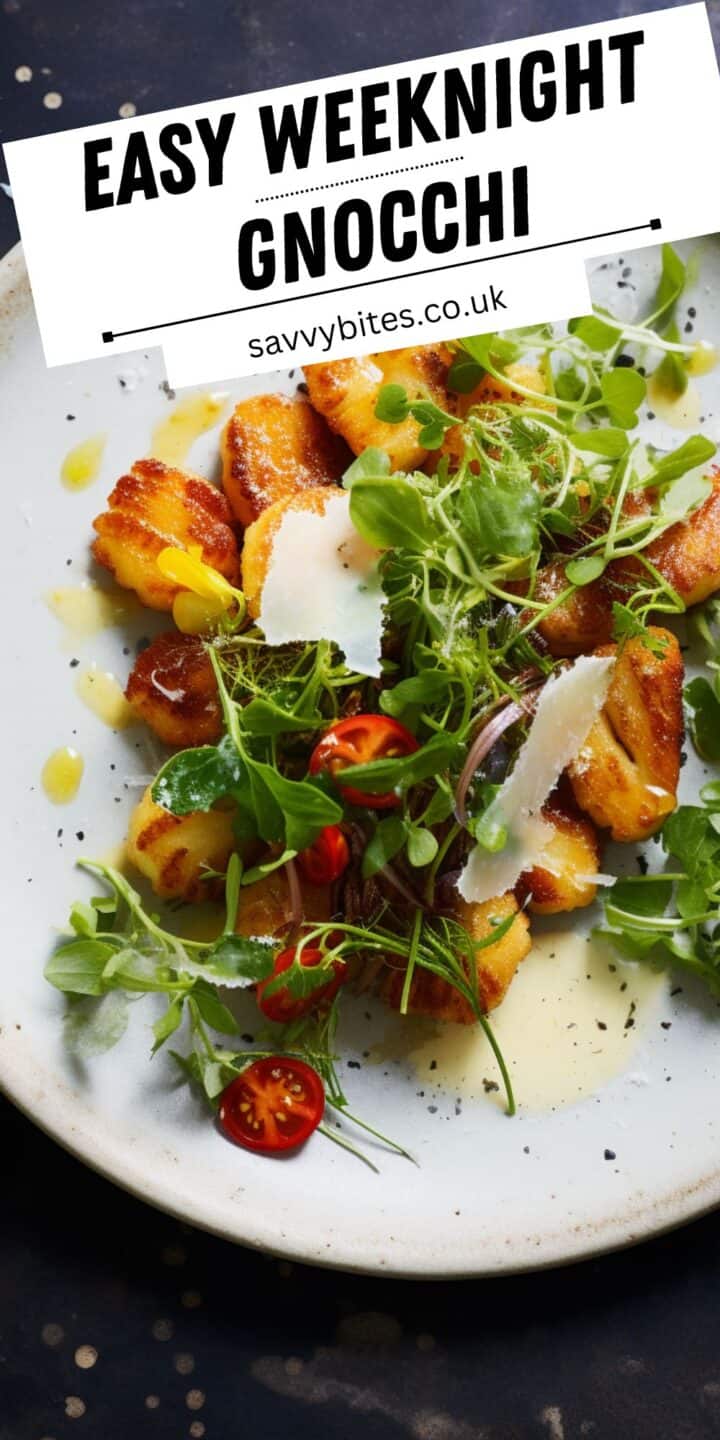
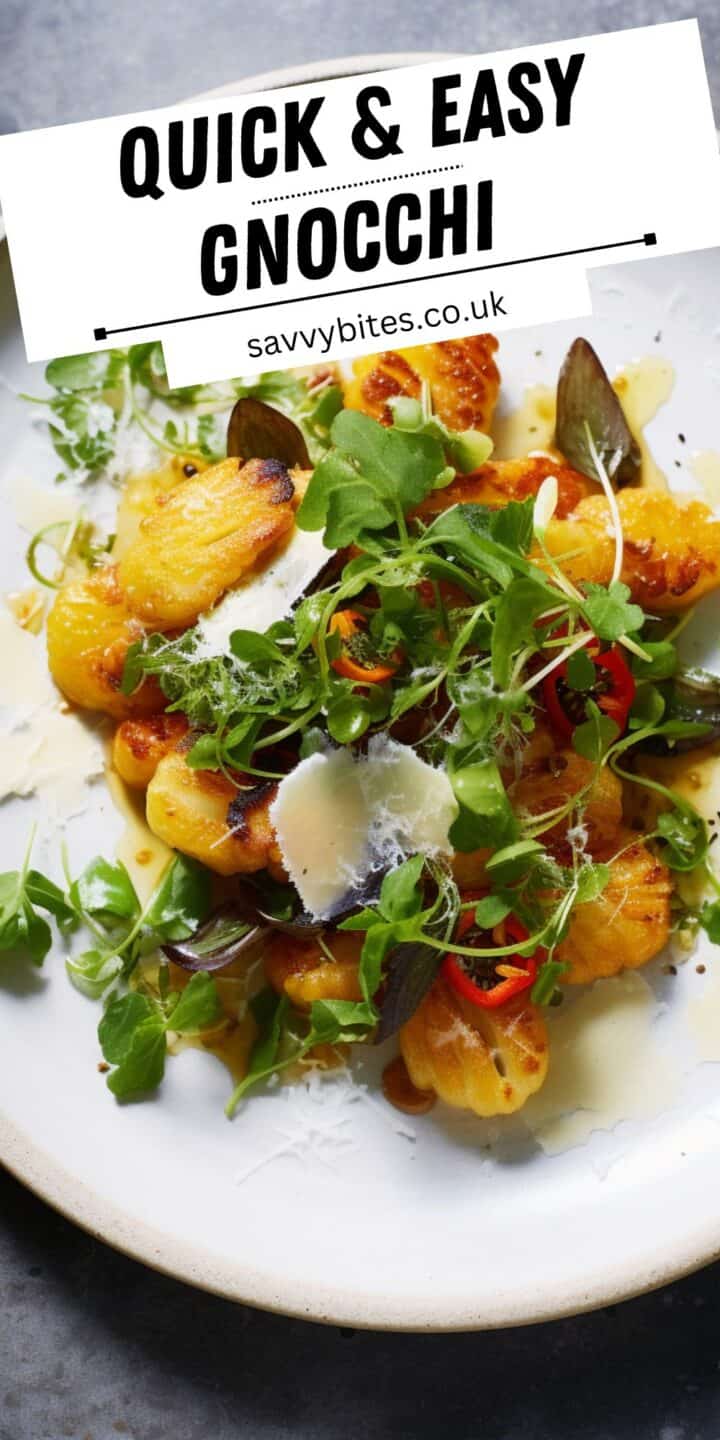
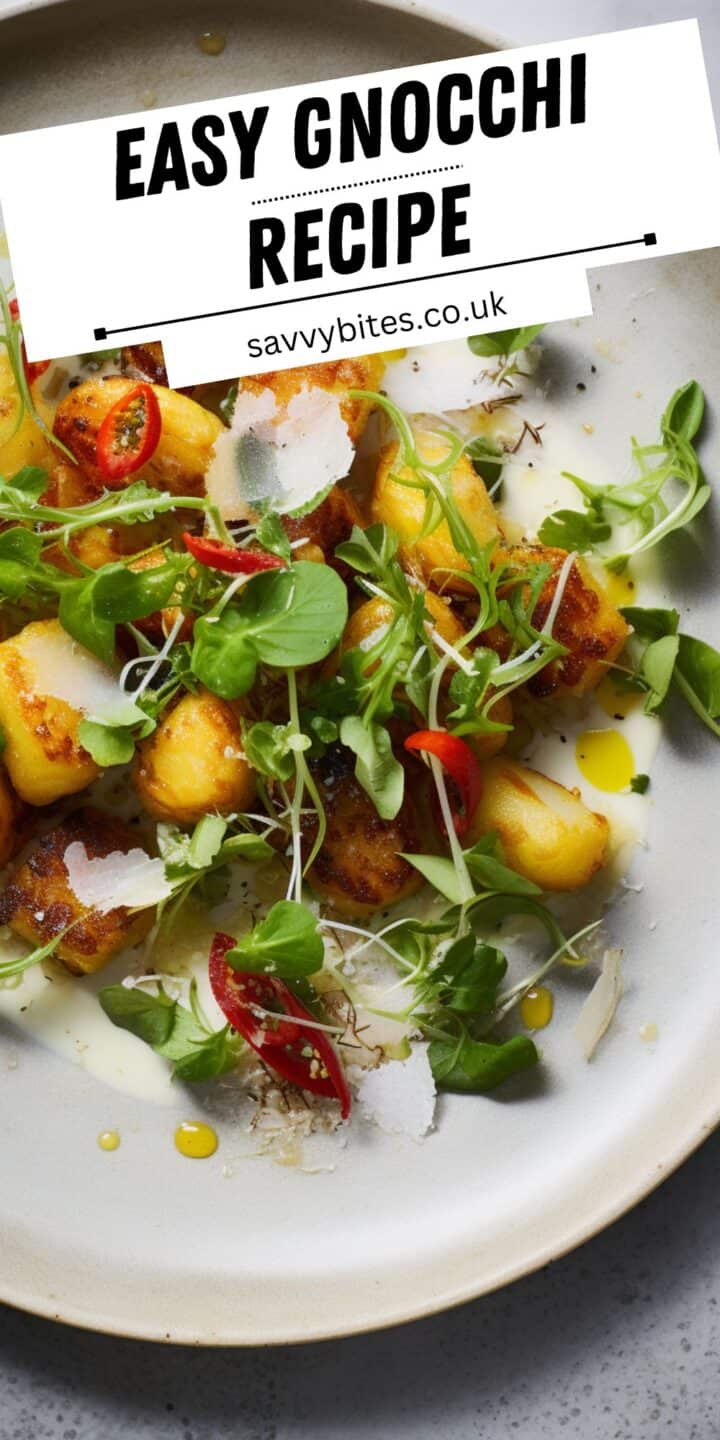
Discover how to cook gnocchi that’s either delightfully crispy on the outside and soft inside or tender and pillow-like throughout. This guide to fried gnocchi offers two methods for preparing gnocchi: pan-frying for a crispy bite, and boiling for a classic tender taste. Regardless of your preferred method, you’ll be able to whip up this Italian classic in under 30 minutes. The two standout features of this dish are its versatility and the distinctive texture of the gnocchi.
For lovers of Italian dishes take a look at all the incredible and easy dinners you can using gnocchi- easy spinach tomato gnocchi, creamy broccoli gnocchi, and this chorizo gnocchi.
⭐️ Why you’ll love this pan-fried gnocchi
- Versatility: Whether you’re serving up a weekday dinner or entertaining unexpected guests, this gnocchi recipe fits the bill. It’s easy, fast, and endlessly adaptable.
- Textures Galore: One of the delights of gnocchi is its distinctive texture. Crisp and golden when pan-fried, or soft and fluffy when boiled, you’re in for a treat!
- Customizable: This recipe acts as a canvas for your culinary creativity. Add a tangy tomato sauce, a creamy alfredo, or just a drizzle of quality olive oil – it’s entirely up to you.
🧾 Ingredients for making crispy gnocchi

- Gnocchi: The key ingredient of this dish. Gnocchi is an Italian dumpling traditionally made from potatoes and flour, serving as the backbone of this recipe.
- Butter and Olive Oil: These add a golden crust and are essential for creating that enticing crispy exterior and enhancing the flavour.
- Garlic: Aromatics are essential in Italian cuisine, and garlic infuses the gnocchi with a fragrant depth of flavour.
- Grana Padano or Parmesan: These cheeses add a delightful, nutty depth to the dish.
- Crushed Chili Flakes: Optional for those who want a bit of spice, chilli flakes can be added to taste.
- Fresh Parsley: Fresh parsley brightens up the dish, offering a counterpoint to the richness of the other ingredients.
See the recipe card for quantities.
📖 Substitutions & Variations
- Variations
- Don’t hesitate to experiment with this recipe. Different sauces can be used to accompany your gnocchi, such as a rich and robust tomato sauce, a creamy carbonara, or a light and zesty lemon and olive oil drizzle.
- Substitutions
- For those on a vegan diet, you can replace the dairy butter with a plant-based alternative, and use a vegan cheese or nutritional yeast for a similar nutty flavour.
👩🏻🍳 How to cook gnocchi: step by step

For Pre-Boiling
- Start with boiling water. Salted water is best as it seasons the gnocchi from within.
- Add the gnocchi to the pot. Cook until they float to the top, indicating they are done, then drain. *This will depend on the size of your gnocchi, but it should only take about 3-5 minutes.
- Drain the gnocchi. Use a slotted spoon or colander to drain the gnocchi and lay on a baking tray to let any excess moisture evaporate.
- Now, for the pan-frying steps. This method starts with boiling, but the gnocchi are then pan-fried to finish, giving you the best of both worlds.
For Pan-Frying
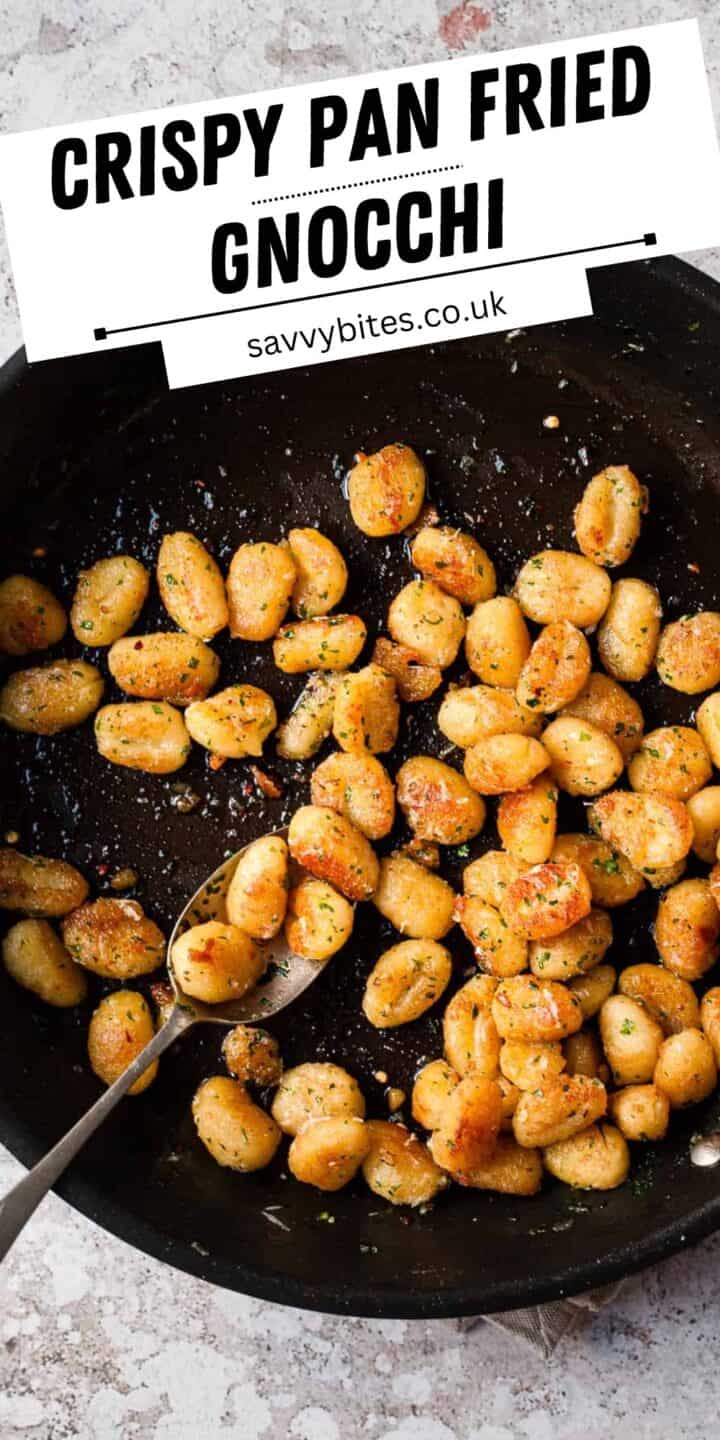
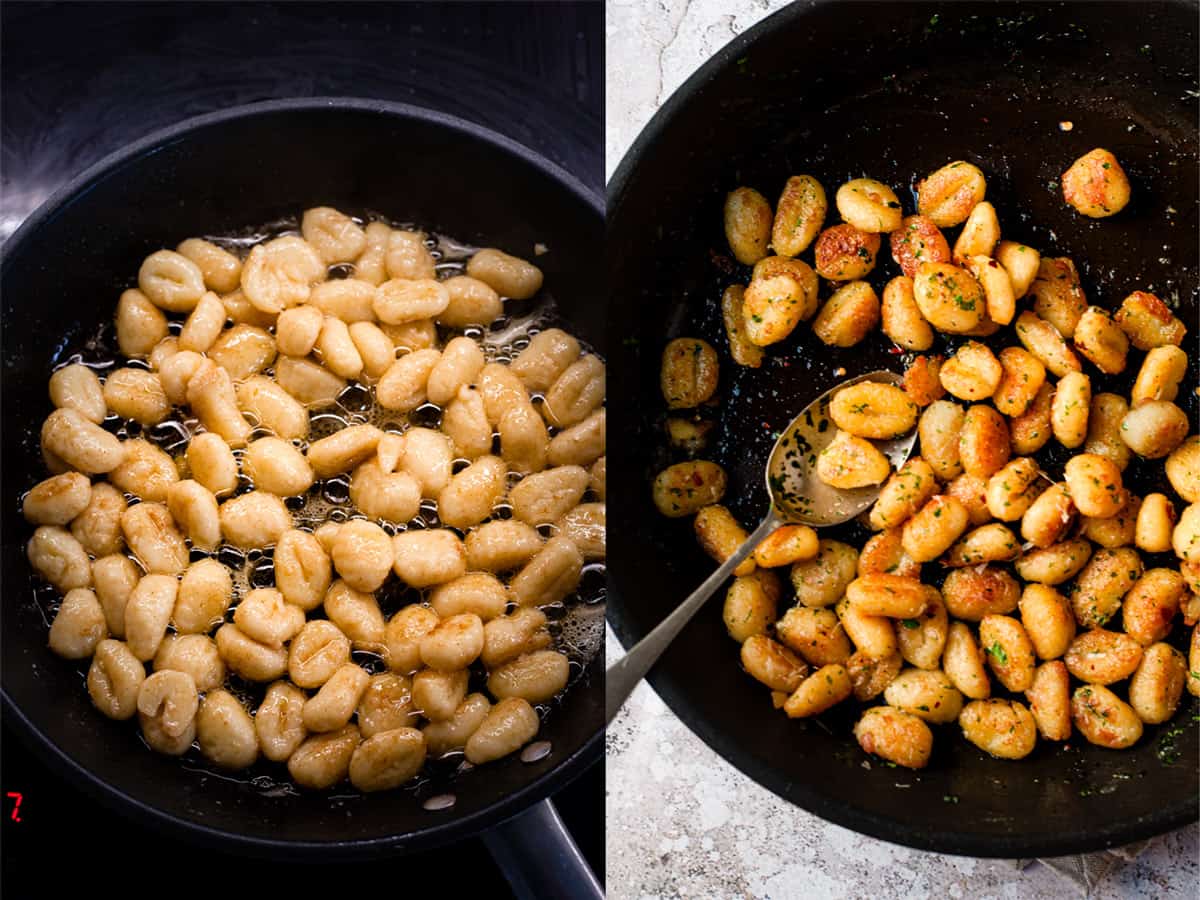
- Heat your pan thoroughly. Achieving the perfect crisp on gnocchi starts with a hot pan. Remember: A hot pan is essential for that delightful crust!
- Melt the butter and sauté the garlic. Doing this first allows the garlic to permeate the gnocchi with its robust flavour.
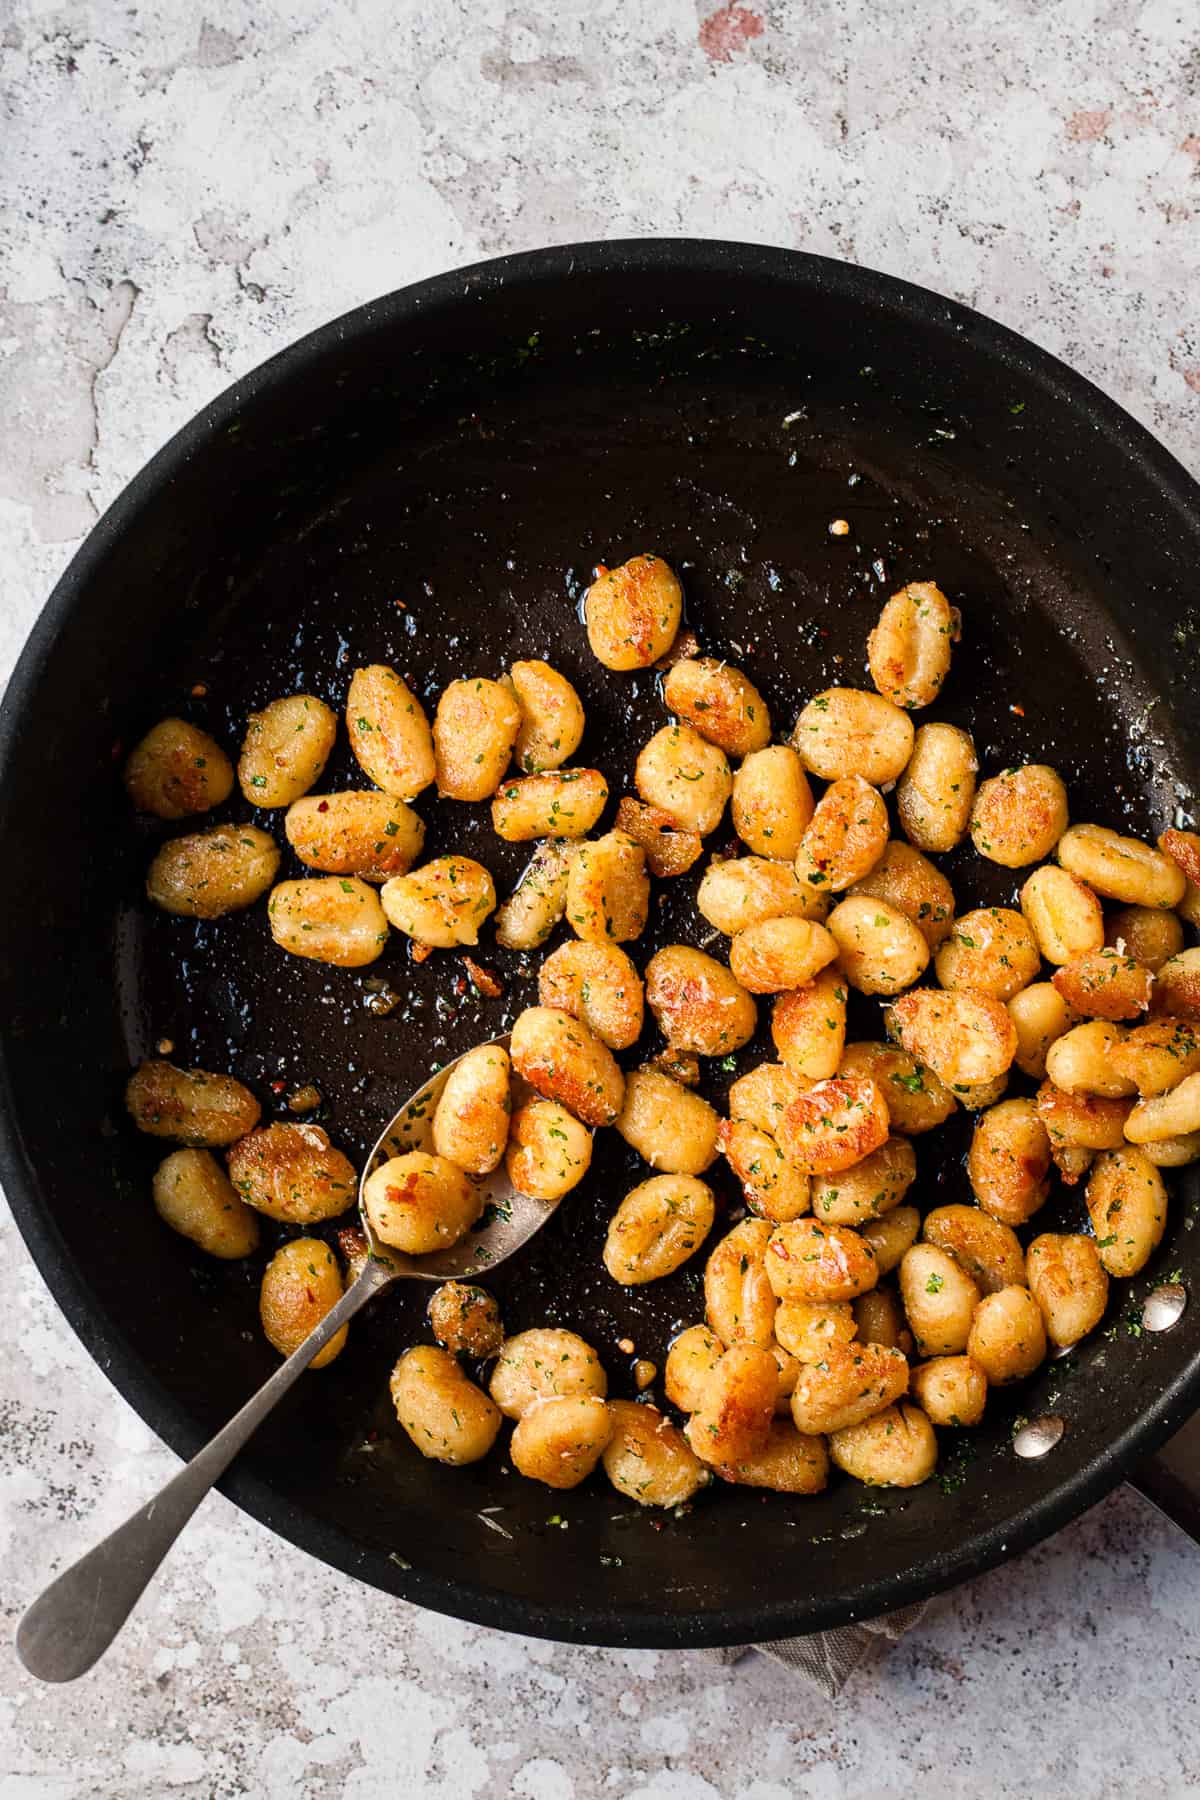
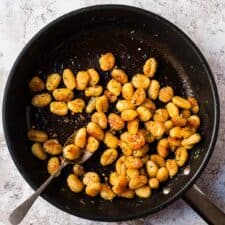
- Add the gnocchi to the hot pan. Sear the gnocchi undisturbed until a golden-brown crust forms. Tip: Be patient and resist the urge to stir too early.
- Finish off with cheese and parsley. This final touch takes your gnocchi from tasty to extraordinary. The cheese melts slightly, adding creaminess, while the parsley offers a pop of freshness.
Hint: Consider using garlic-infused oil instead of or in addition to the garlic cloves for a more intense flavour.
🍯 Storage
- Fridge: Store any leftover gnocchi in an airtight container in the fridge for up to three days.
- Freezer: If you need to store your gnocchi for longer, first freeze the cooled gnocchi in a single layer on a baking sheet before transferring to a freezer bag. They will keep for up to three months.
- Reheat: Reheat the gnocchi in a hot pan with a dash of oil until warmed through. They can also be briefly boiled again or microwaved if preferred.
💡 Top tip
Make sure not to overcrowd the pan when frying your gnocchi. This ensures each dumpling gets a chance to crisp up nicely.
❓FAQ
Absolutely! Homemade gnocchi can be a delightful alternative, and the effort put into making them from scratch often yields a richer taste and more satisfying texture.
Boiling yields a traditional, tender result that’s slightly chewy, while pan-frying creates a beautiful contrast between the crispy exterior and fluffy interior. Both methods have their own charm, so it’s all about personal preference.
Yes, this dish is highly customizable. Consider adding vegetables like spinach or bell peppers, or proteins like chicken or sausage to make the dish more substantial.
By understanding how to cook gnocchi in either the pan-frying or boiling method, you can enjoy this comforting Italian dish just as you like it. Let this guide inspire you to try both methods and explore various flavour combinations. Don’t forget to leave your thoughts and feedback in the comments below. Buon appetito!
If you tried this Recipe or any other recipe on my website, please let me know in the comments below. I love hearing from you. Also, please leave a star rating whilst you’re there!
You can also follow along on Pinterest, Facebook, and Instagram and join our private Facebook Group Facebook group to share more recipe ideas and all your photos!
Need help with meal planning? You can find our (Aldi ingredients only) weekly meal plans here! Sign up to receive them free every week or take our quick meal planning course and use all these recipes to create your own meal plans.
You can also find more comfort food recipes using everyday ingredients over on our sister site Salted Mint.
More gnocchi recipes
Looking for other gnocchi recipes like this? Try these:
Gnocchi sauce ideas
Sauce recipes for pairing with gnocchi:
Crispy Pan Fried Gnocchi Recipe
Ingredients
- 500 g (2 cups) gnocchi
- 30 g (1 oz) unsalted butter
- 30 ml (1 floz) olive oil
- 2 cloves (2 cloves) garlic, minced
- 60 g (2 ⅛ oz) Grana Padano or Parmesan, finely grated
- 1 teaspoon (1 teaspoon) crushed chili flakes, optional
- Fresh parsley, chopped for garnish
Instructions
For Pre-Boiling
- Fill a large pot with water and a generous pinch of salt, then bring it to a boil.
- Add the gnocchi to the boiling water. Cook them until they float to the surface, which indicates they are done. This should take about 2-3 minutes. Drain the gnocchi.
- Follow the pan-frying instructions from step 2 onwards.
For Pan-Frying
- Preheat a large pan over medium-high heat.
- Melt the butter and olive oil in the pan, then add the minced garlic. Sauté until the garlic is fragrant.
- Add the gnocchi to the hot pan, making sure not to overcrowd them. Fry until a golden crust forms, which should take approximately 5-7 minutes. Stir occasionally to ensure even browning.
- Once the gnocchi are golden and crispy, remove them from the heat. Sprinkle the grated cheese, chili flakes (if using), and chopped parsley on top. Serve immediately.
Notes
- It’s important not to overcrowd the pan when frying the gnocchi. If necessary, fry them in batches to ensure they all get a nice, golden crust.
- Feel free to experiment with different types of cheese and herbs. Pecorino Romano or fresh basil could be great alternatives.
- For a vegan version, replace the butter with vegan margarine, and use a vegan cheese alternative or nutritional yeast.
- Leftover gnocchi can be stored in an airtight container in the refrigerator for up to 3 days. They can also be frozen for up to 3 months.
- To reheat the gnocchi, simply pan-fry them with a little oil until warmed through. They can also be microwaved or briefly boiled again if you prefer.


I didn’t know I could pan-fry these and now I’ll never boil them again!
A revelation! Thanks for taking the time to leave a comment and a rating. 🙂
Great recipe. I added the garlic more towards the end of browning the gnocchi. Worked really well.
These were so easy and came out nice and crispy. Loved them!
So happy you liked this recipe!