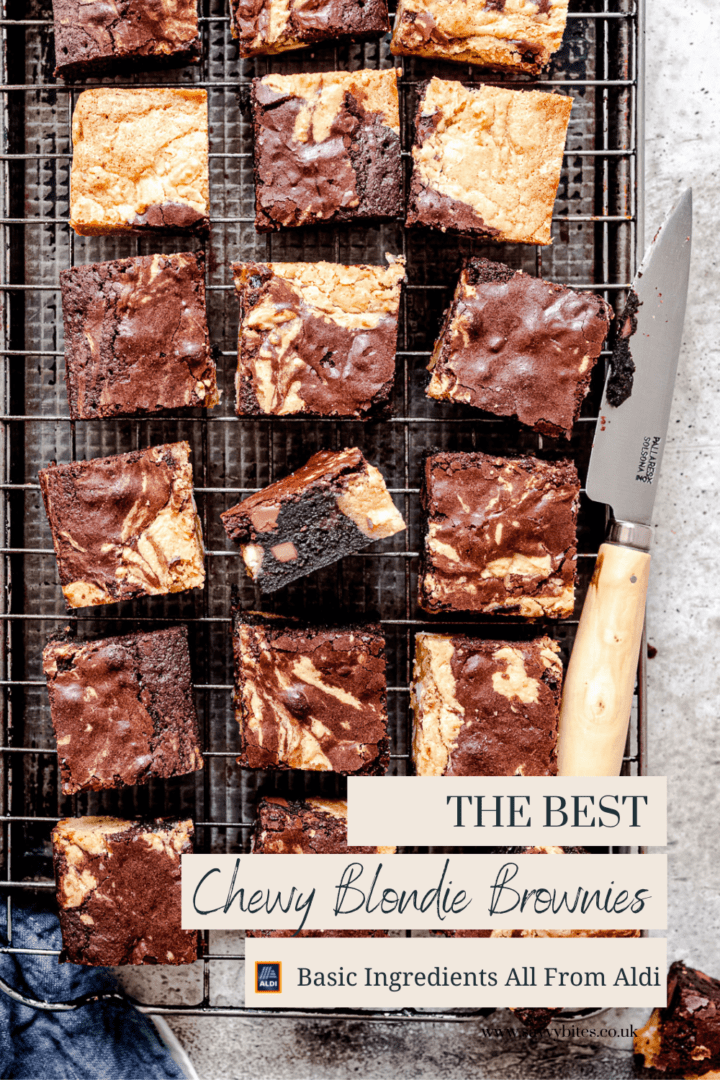
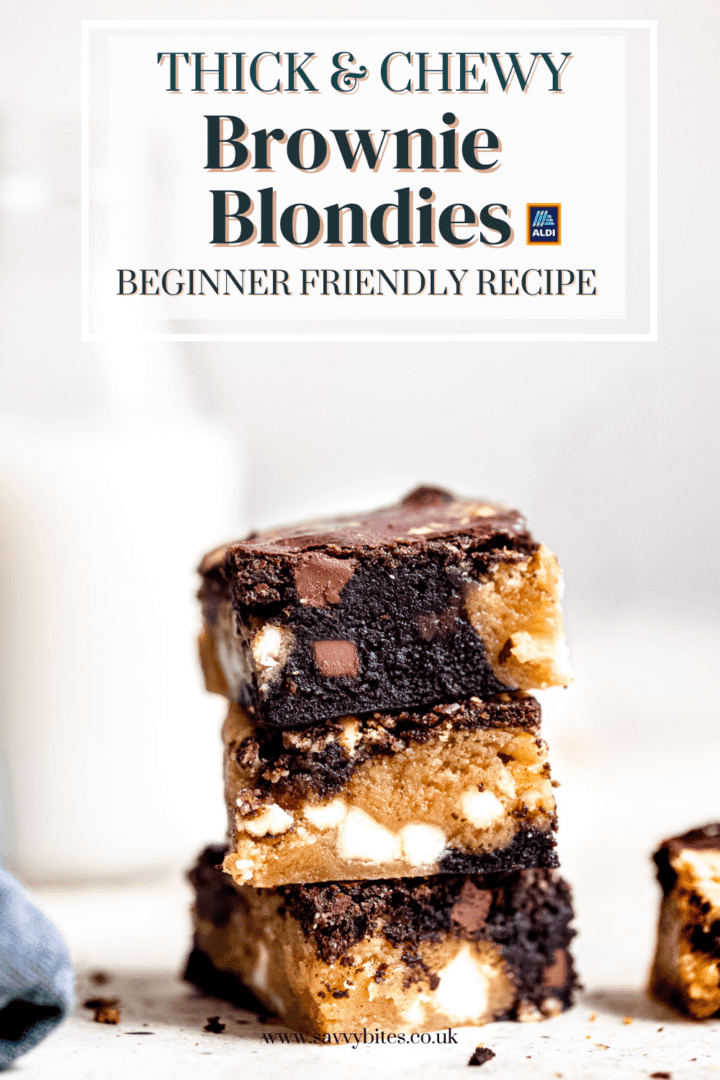
These brownie blondies are the perfect thick and chewy square. Double chocolate brownie batter, swirled with white chocolate blondie mix and baked to brownie perfection.
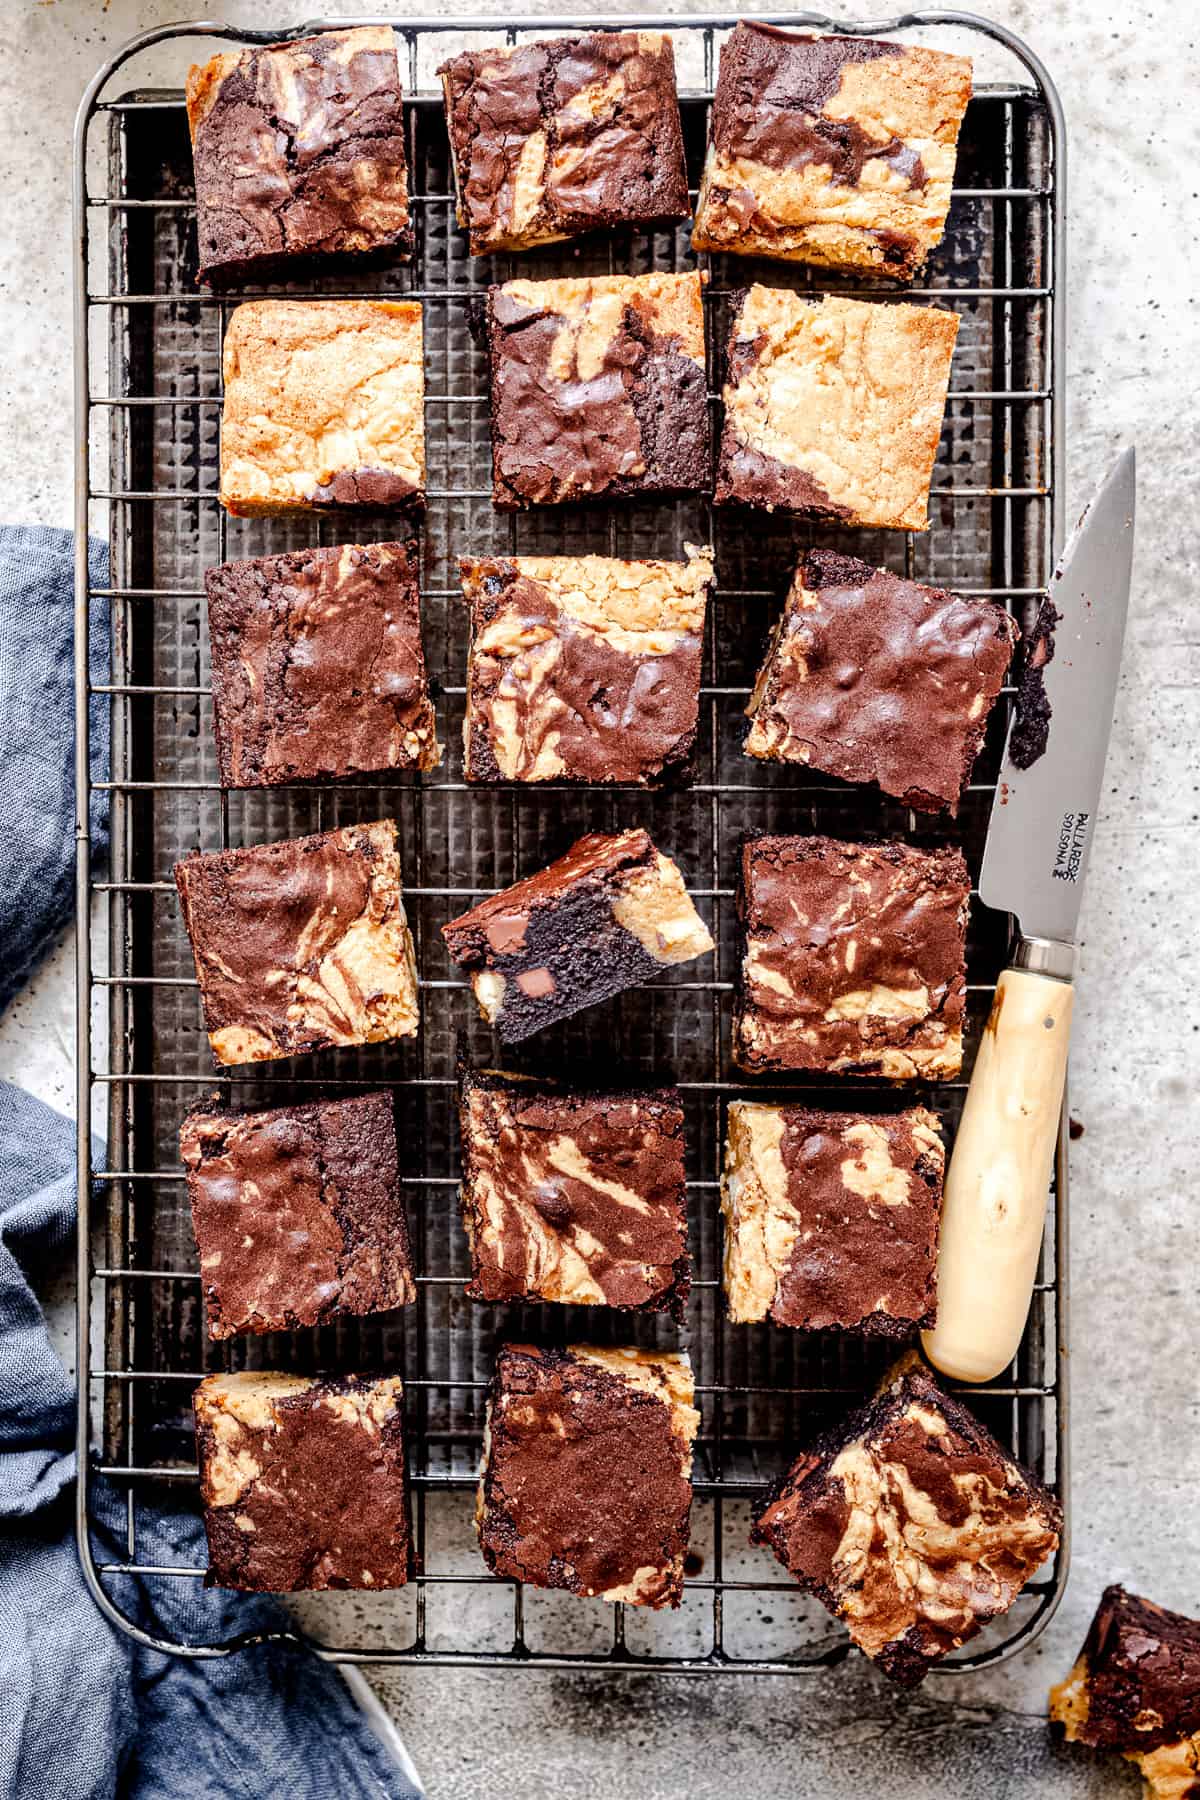
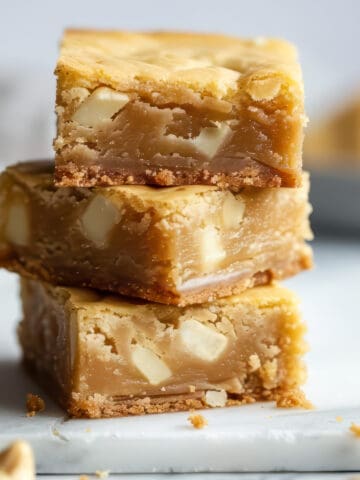
We are big fans of brownies and blondies around here. You can check out some of our favourite recipes like the Biscoff blondies, Nutella blondies, white chocolate blondies and the best brownies you will ever make!
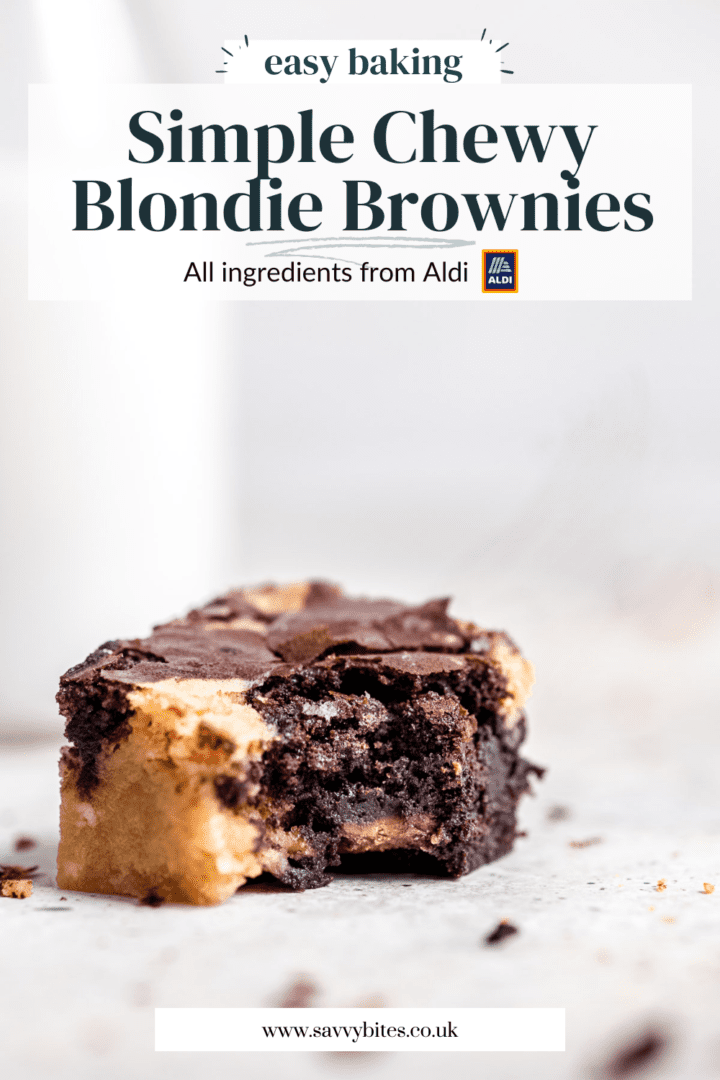
So it only makes sense to swirl them together to create an old- fashioned brownie blondie with a soft and chewy texture, chunks of chocolate and the perfect crackly top.
Jump to:
This recipe is very easy to make. No mixer or fancy equipment is required. Just a couple of mixing bowls and a handful of ingredients. Be sure to read the recipe completely before you start the baking process, to make sure you have all the ingredients that you need.
Why You'll Love This Recipe
- These squares have an old-fashioned brownie blondie texture making them soft and chewy.
- No fancy ingredients or special equipment is needed.
- These brownie blondies are the perfect mix of white chocolate, brown sugar, dark chocolate and cocoa powder.
- These brownies are thick and fudgy like a brownie blondie should be. Not cakey.
Ingredients needed
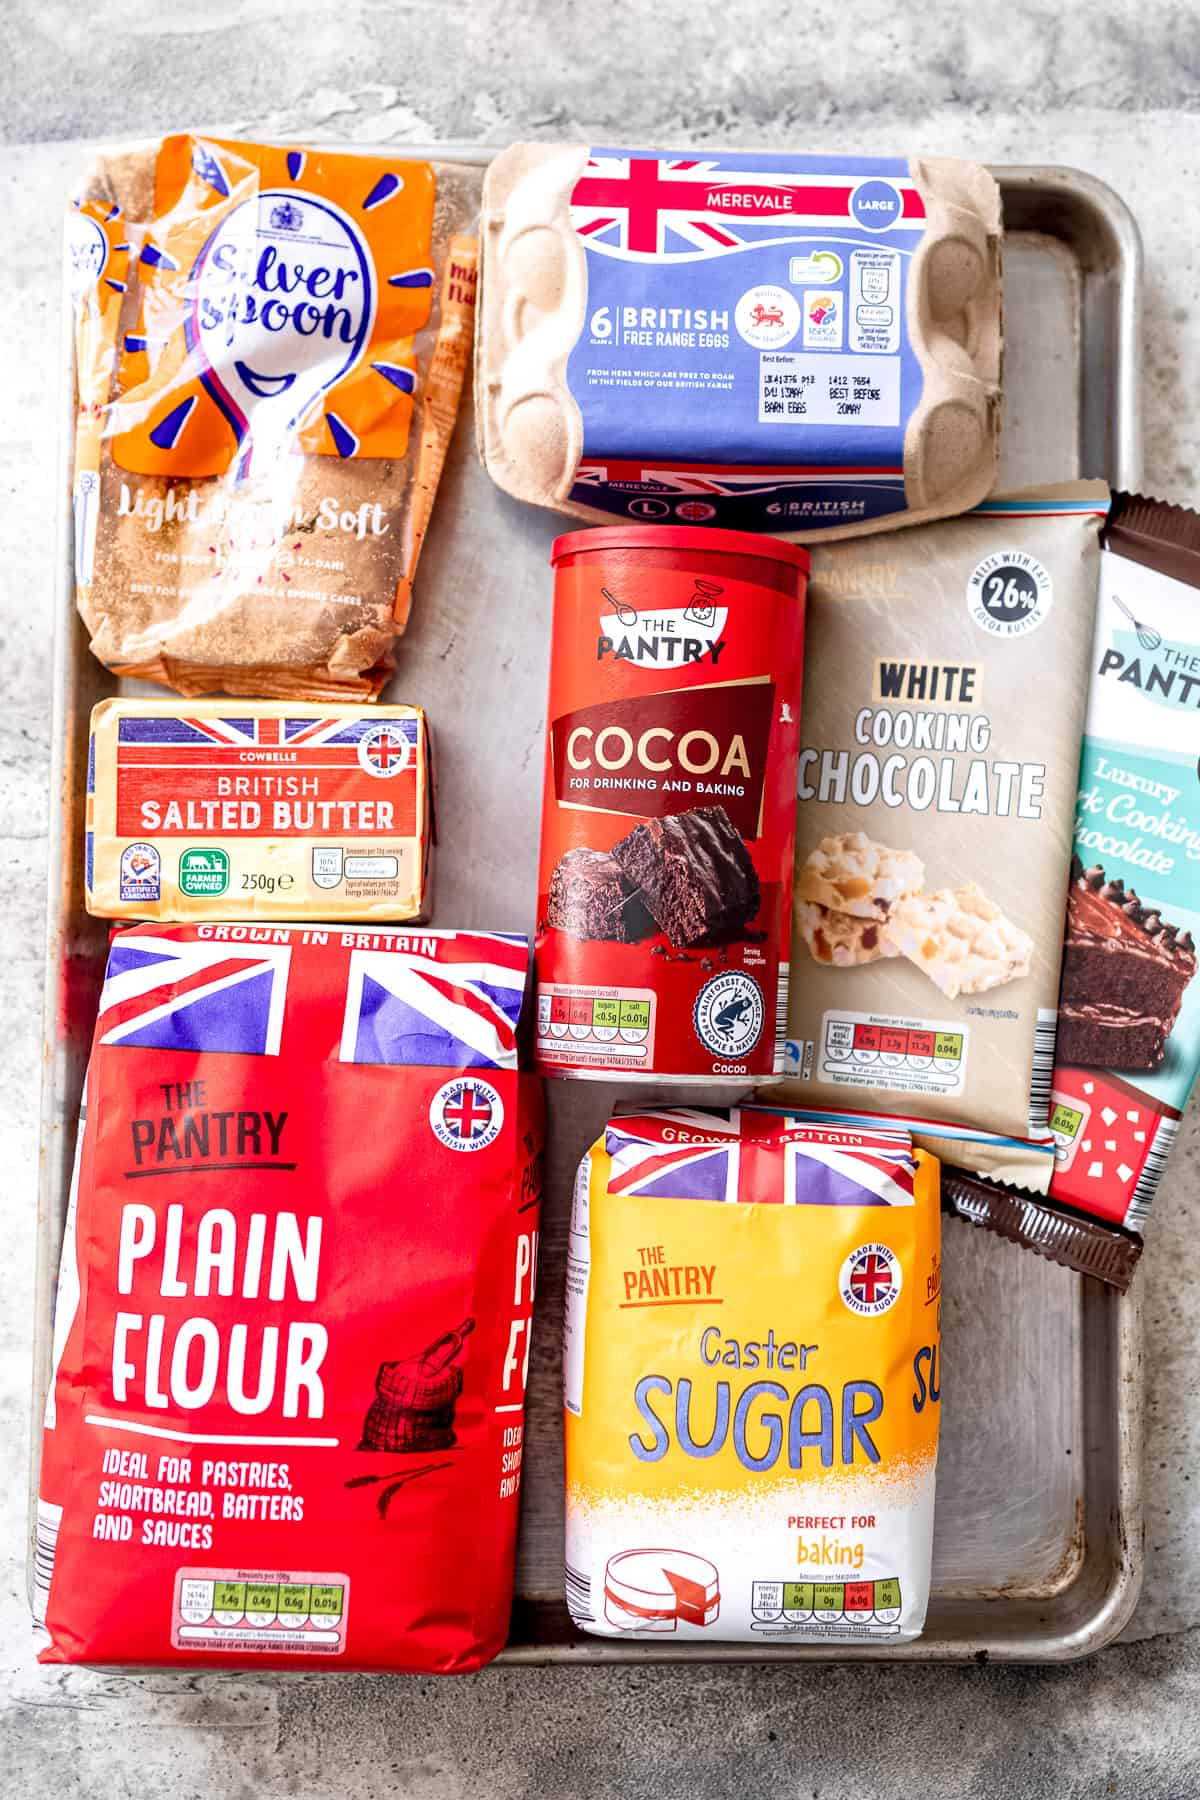
- plain (all purpose) flour
- caster (granulated) sugar
- light brown sugar- you can use dark brown if that's all you have, but your blondie mix will be a little darker in colour and have a little bit more of a molasses taste.
- butter- I use salted and usually skip adding extra salt to a recipe, but if you would like to use unsalted then add a pinch of salt to the batter.
- large free range eggs
- white chocolate
- dark chocolate
- cocoa powder
See the recipe card for quantities.
Step By Step Instructions
Start by lining a square baking tin (9x9) 23cm with non stick baking paper. *You can use an 8x8 baking tin without needing to make an adjustments to the recipe.
Preheat the oven to 160ºC fan/ 180ºC or 325ºF. I know these temperatures may seem a little but low, but it helps to create that chewy, fudgy texture that a great brownie is famous for.
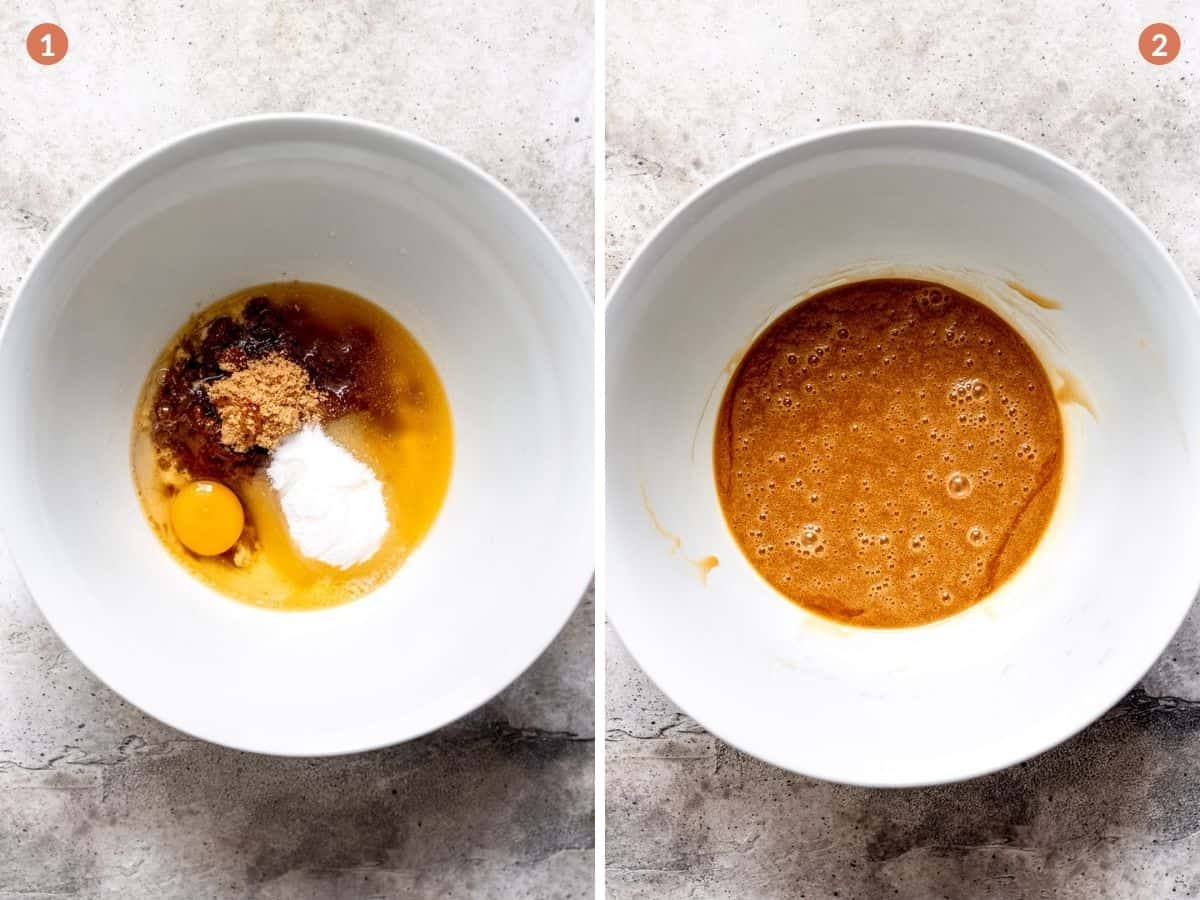
Step 1 & 2
- Melt the butter in a microwave in a medium mixing bowl. Let the butter cool for about 2 minutes before adding in the eggs, brown and white sugars.
- Whisk everything well.
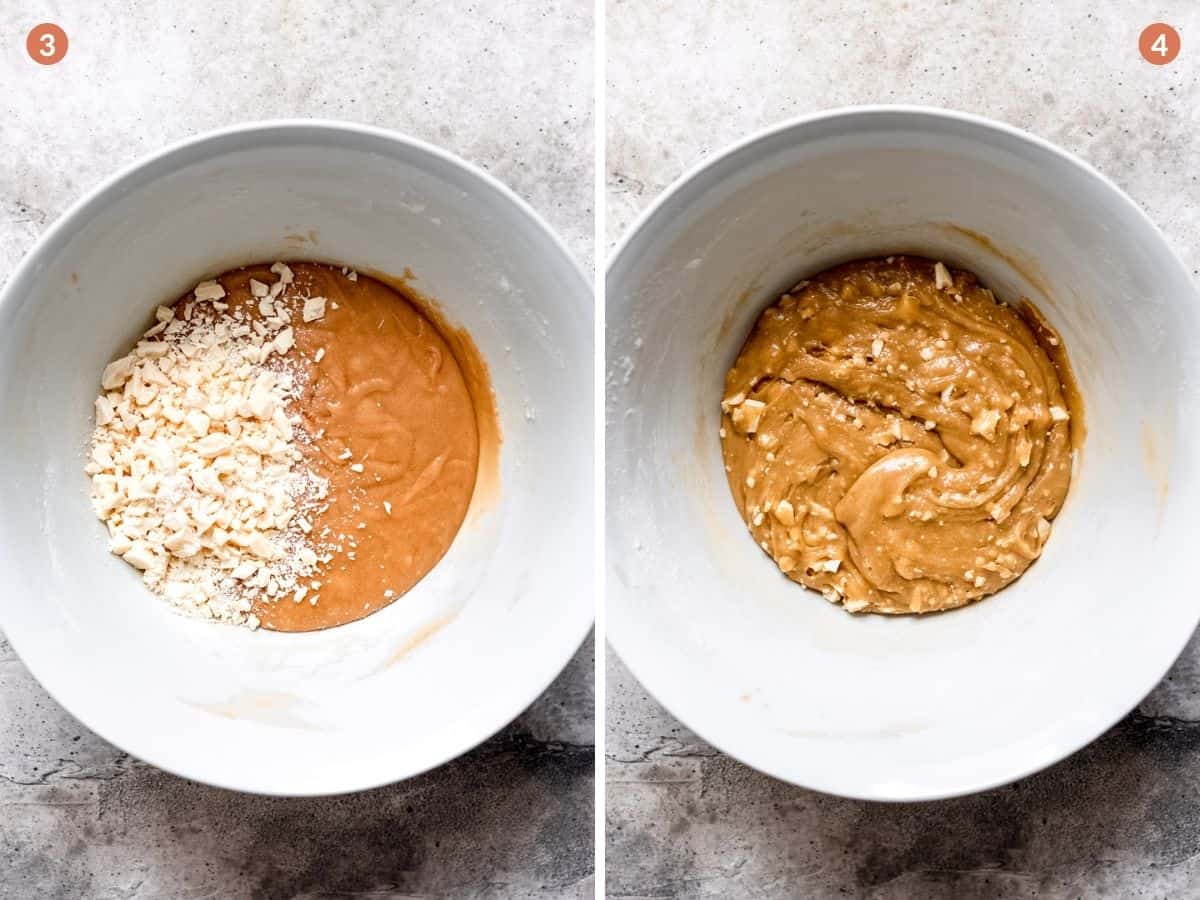
Step 3 & 4
- Mix the flour into the blondie batter and add in the white chocolate chunks. *You can use white chocolate chips here instead of the chunks if you prefer.
- Mix everything well and set the bowl aside while you make the brownie batter.
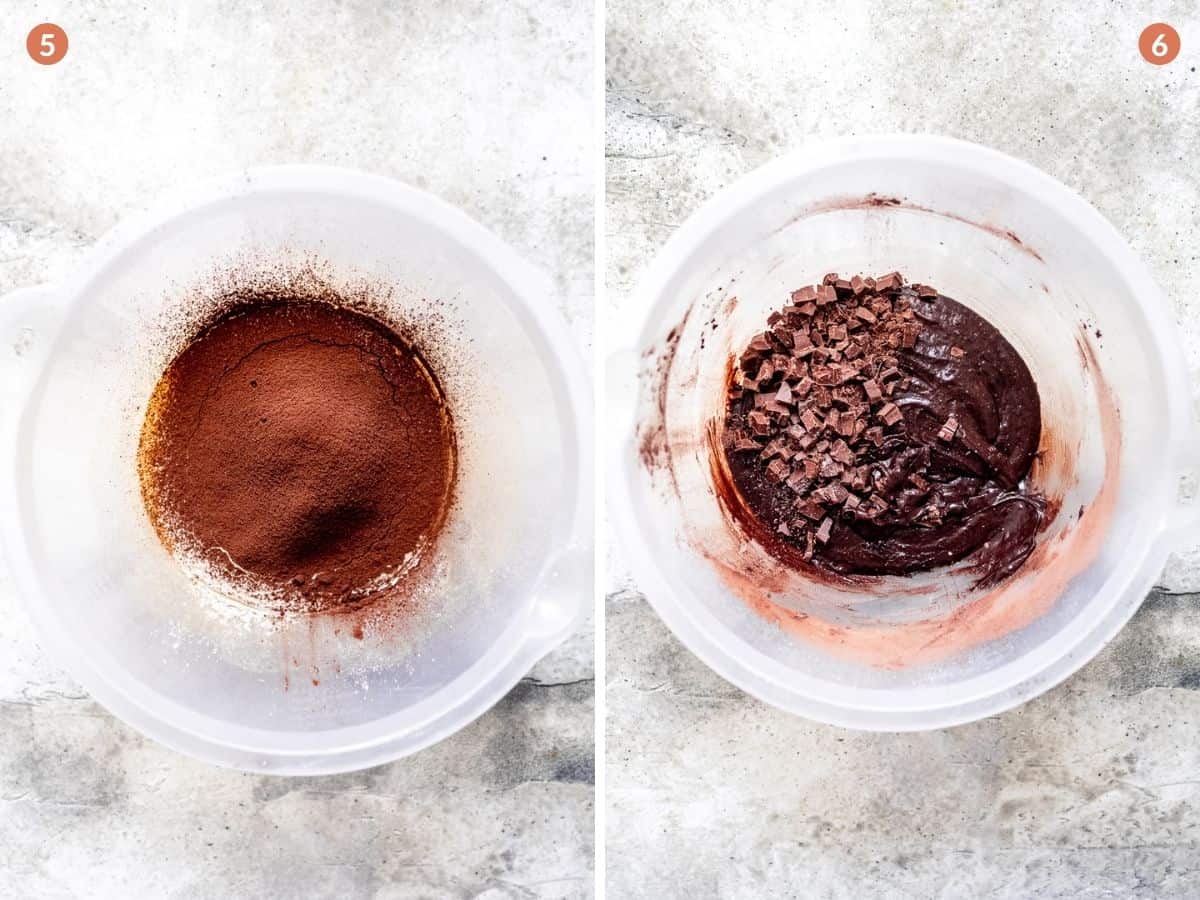
Step 5 & 6
- The brownie batter gets made much the same way as the blondie batter. Melt the butter, add the eggs and sugar and whisk well.
- Add the flour and cocoa powder to the bold and mix to incorporate everything.
- Fold in the chocolate chunks. *Chocolate chips can be substituted for the chocolate chunks.
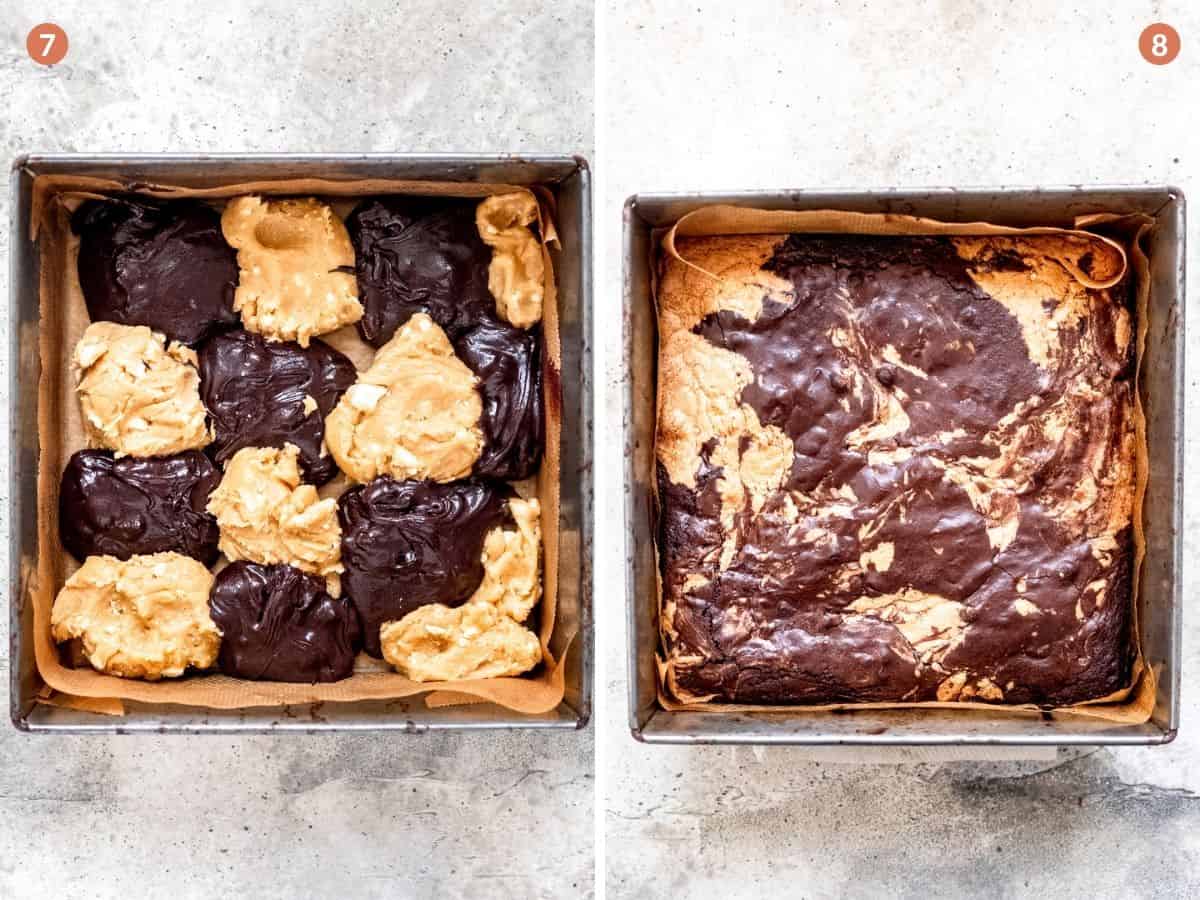
Step 7 & 8
- Using a cookie scoop, ice cream scoop or a large spoon, drop spoonfuls of the brownie and blondie batters in an alternating pattern. Continue with this until the pan is full and all the mix has been used.
- There may be some gaps between the mixes. Don't worry about that. They get filled in when the mixes get swirled together.
- Use a toothpick, skewer or a knife with a thin blade and swirl the brownie and blondie mixes together.
Hint: Be careful not to over mix, otherwise you won't have a defined swirl throughout the baked brownies.
Recipe: FAQ
A few key points are that blondies don't have the cocoa powder present in the mix. A blondie is essentially a brownie without the cocoa powder. They also usually use brown sugar to bring a richness and a molasses flavour whereas brownies often only use white sugar because the chocolate and cocoa powder bring the richness.
A few possible reasons are that they may have too much flour. When flour isn't measured properly it can really effect the outcome of your baking. If you're using measuring cups the dip and scoop method is how to want to measure your flour.
It could also be that the squares are over baked. If left too long in the oven they will start to dry out.
No. Because these brownies have no leavening agent, if doesn't matter what type of cocoa powder you use. The type of cocoa powder that Aldi sells is natural cocoa powder. And it's perfect for this recipe. You can read more about the differences here.
The best way is to look for visual cues. When they are baked properly the top will have puffed up slightly, and they will appear to be firm with only a slight wiggle when the pan is gently shaken.
You can use a toothpick to insert into the middle of the pan and if it comes out with just a few moist crumbs the squares are baked.
They will continue to set as they cool. Be sure to leave them in the pan to cool fully before slicing into squares.
Substitutions & Variations
This recipe has been tested several times with the variations below. And they've all come out great. *I haven't tested this recipe with gluten free flour, but based on extensive baking experience, it should work well.
- Brown sugar - you can use dark instead of light brown sugar in the blondie mix. You will end up with blondies that are a little darker in colour and richer in flavour.
- Butter - I've used salted butter but you can use unsalted butter or dairy free spread. If you use unsalted butter be sure to add a pinch to each batter before baking. This really helps bring out the flavour of the chocolate.
- Chocolate - you can use dark or milk chocolate for the brownie mixture. Whatever you prefer will work well. You can also skip the chocolate chunks/ chips altogether if you prefer a slightly less indulgent treat.
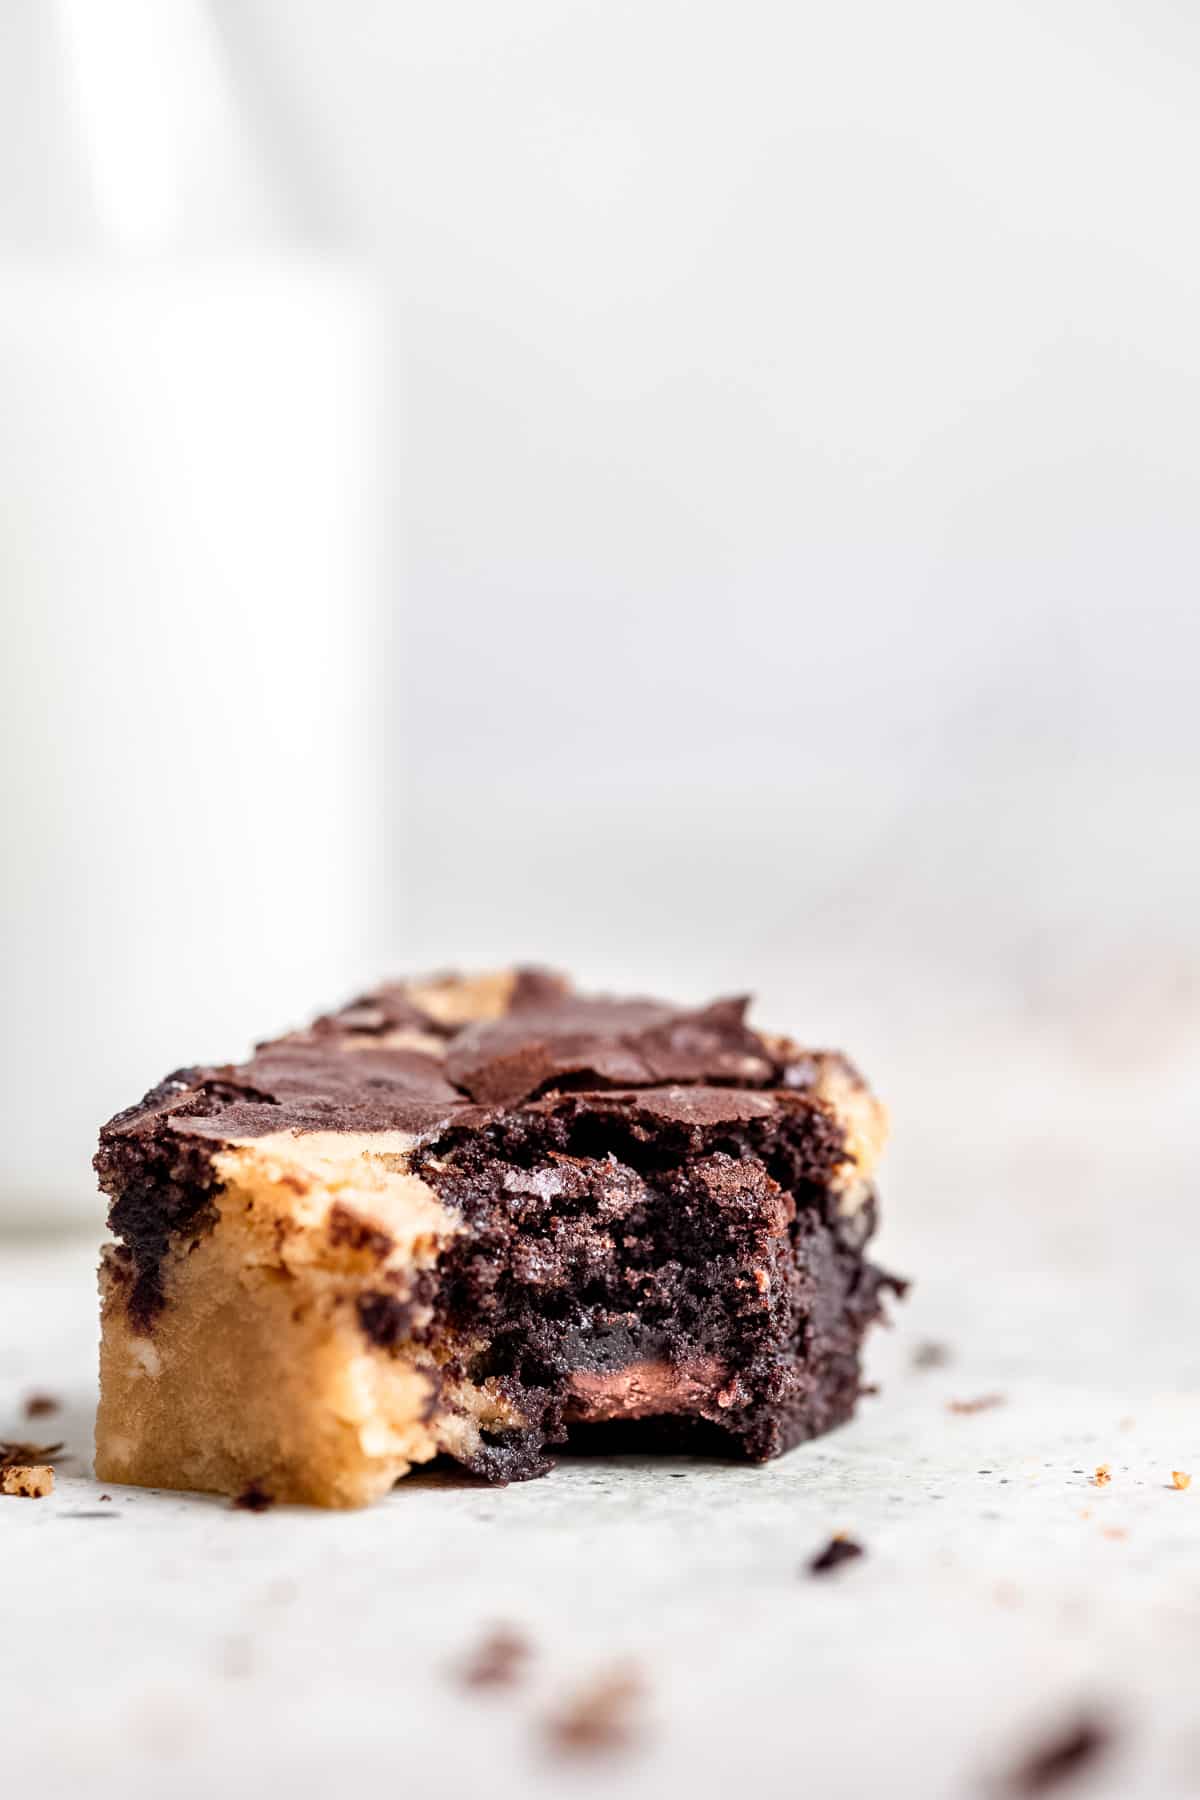
Brownie blondie top tips
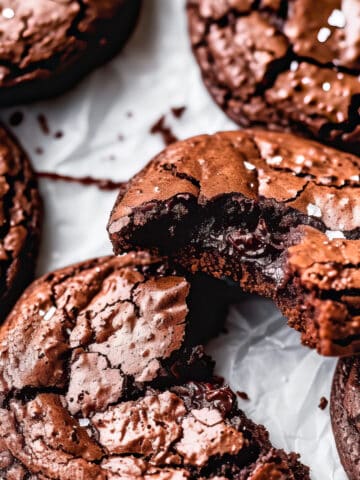
- Be sure to mix the batters very well to ensure that you end up with the soft, chewy fudgy texture and the crackly top that shatters when the squares are sliced.
- Cool the brownie blondies in the tin completely before cutting into squares. They need time to set properly.
- Be sure to use two different scoops to place the batters in the pan so you end up with very defined swirls.
- Use a sharp knife to slice the squares. Run it under hot water and dry it off with a clean towel between each cut to make sure you end up with sharp edges and defined brownie and blondie squares.
- Measure flour either with a scale or using the dip and scoop method to ensure your brownie blondies don't end up dry.
Equipment
All you need to make this brownie blondies:
- couple of microwave safe mixing bowls
- a wooden spoon
- whisk
- square metal baking pan
If you don't have a microwave you can just use a small sauce pan and melt the butter on the stove/hob.
Storage
- Room temperature- Brownie blondies are great at room temperature for a couple of days after you make them. Just be sure to store them in an airtight container.
- Fridge- They also keep well in the fridge for up to 1 week and develop a fudgy texture do to being cold.
- Freezer- these squares freeze really well and can last in an airtight container for up to 3 months. Which makes them great for making ahead for any occasion that you may have coming up.
Need help with meal planning? You can find our (Aldi ingredients only) weekly meal plans here! Sign up to receive them free every week or take our quick meal planning course and grab the blank meal planner and use all these recipes to create your own meal plans. Follow along on Pinterest, Instagram and Facebook.

Brownie Blondies
Ingredients
Blondie batter
- 115 g salted butter, melted and cooled
- 100 g light brown sugar
- 75 g caster sugar
- 1 large free range egg, room temperature
- 140 g plain flour
- 85 g white chocolate cut into chunks
Brownie batter
- 115 g salted butter, melted and cooled
- 215 g caster sugar
- 2 large free range eggs, room temperature
- 70 g plain flour
- 50 g cocoa powder
- 85 g dark chocolate chunks
Instructions
- Start by lining a square baking tin (9x9) 23cm with non stick baking paper. *You can use an 8x8 baking tin without needing to make an adjustments to the recipe.
- Preheat the oven to 160ºC fan/ 180ºC or 325ºF.
For the blondie batter
- Melt the butter in the microwave in a medium mixing bowl. Let the butter cool for about 2 minutes before adding in the eggs, brown and white sugars. Whisk everything well.
- Mix the flour into the blondie batter and add in the white chocolate chunks.
- *You can use white chocolate chips here instead of the chunks if you prefer.
- Mix everything well and set the bowl aside while you make the brownie batter.
For the brownie batter
- Melt the butter in a second microwave safe bowl and leave to cool for about 2 minutes. Add the eggs and sugar and whisk well.
- Add the flour and cocoa powder to the bold and mix to incorporate everything.
- Fold in the chocolate chunks. *Chocolate chips can be substituted for the chocolate chunks.
- Using a cookie scoop, ice cream scoop or a large spoon, drop spoonfuls of the brownie and blondie batters in an alternating pattern. Continue with this until the pan is full and all the mix has been used.
- There may be some gaps between the mixes. Don't worry about that. They get filled in when the mixes get swirled together.
- Use a toothpick, skewer or a knife with a thin blade and swirl the brownie and blondie mixes together.
- Bake in the preheated oven for 30-35 minutes. Once baked, remove from the oven and place the pan on a cooling rack to cool completely before slicing.
Notes
- Use a metal baking pan instead of glass or ceramic. Your squares will bake faster and more evenly.
- You can use chocolate chips instead of chocolate chunks.
- Use two different scoops or spoons to drop the batters into the pan. That way you have defined sections of batter, rather than mixing them.


Leave a Reply