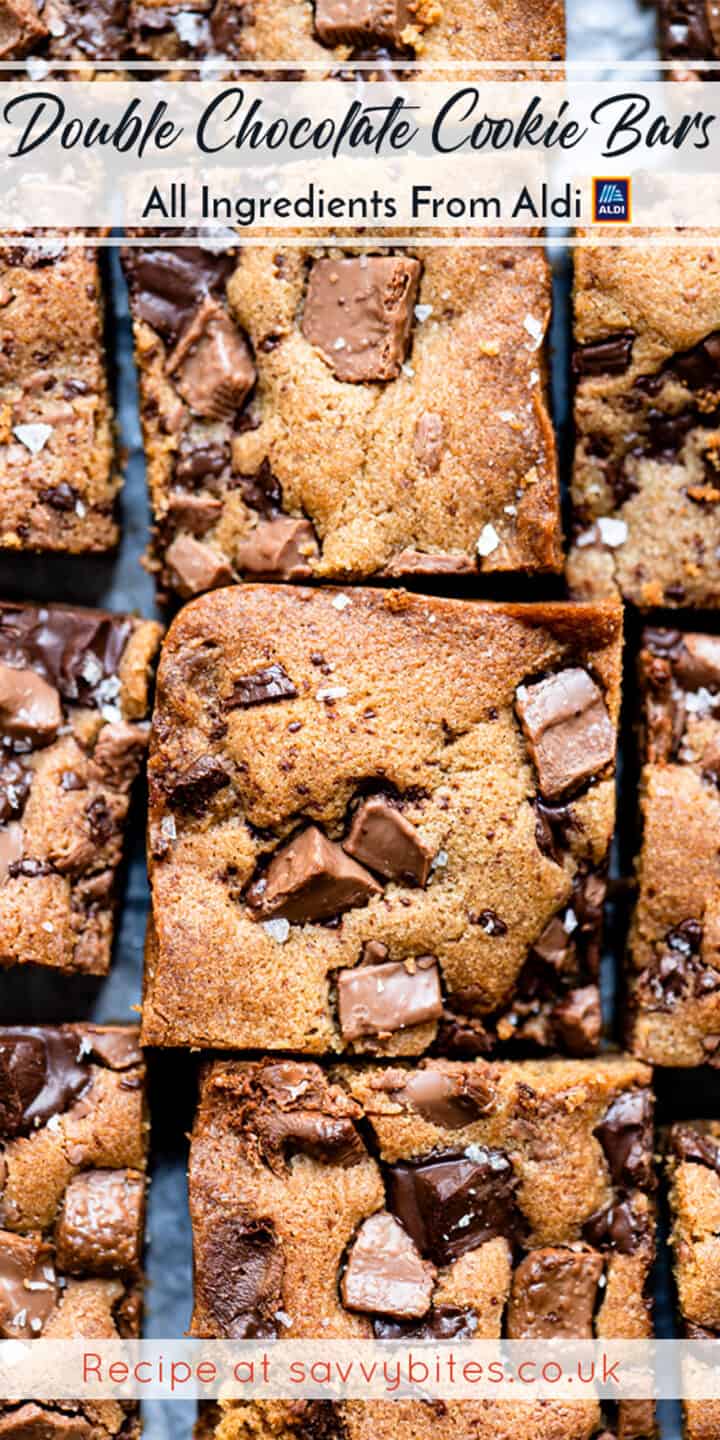
These double chocolate cookie bars are probably the best you will ever try. They stay chewy in the middle and ever so slightly crispy around the edges (like the perfect cookie) and they are so easy (and quick) to make. Eat them like a regular cookie, or serve them warm with vanilla ice cream for the perfect cookie treat!
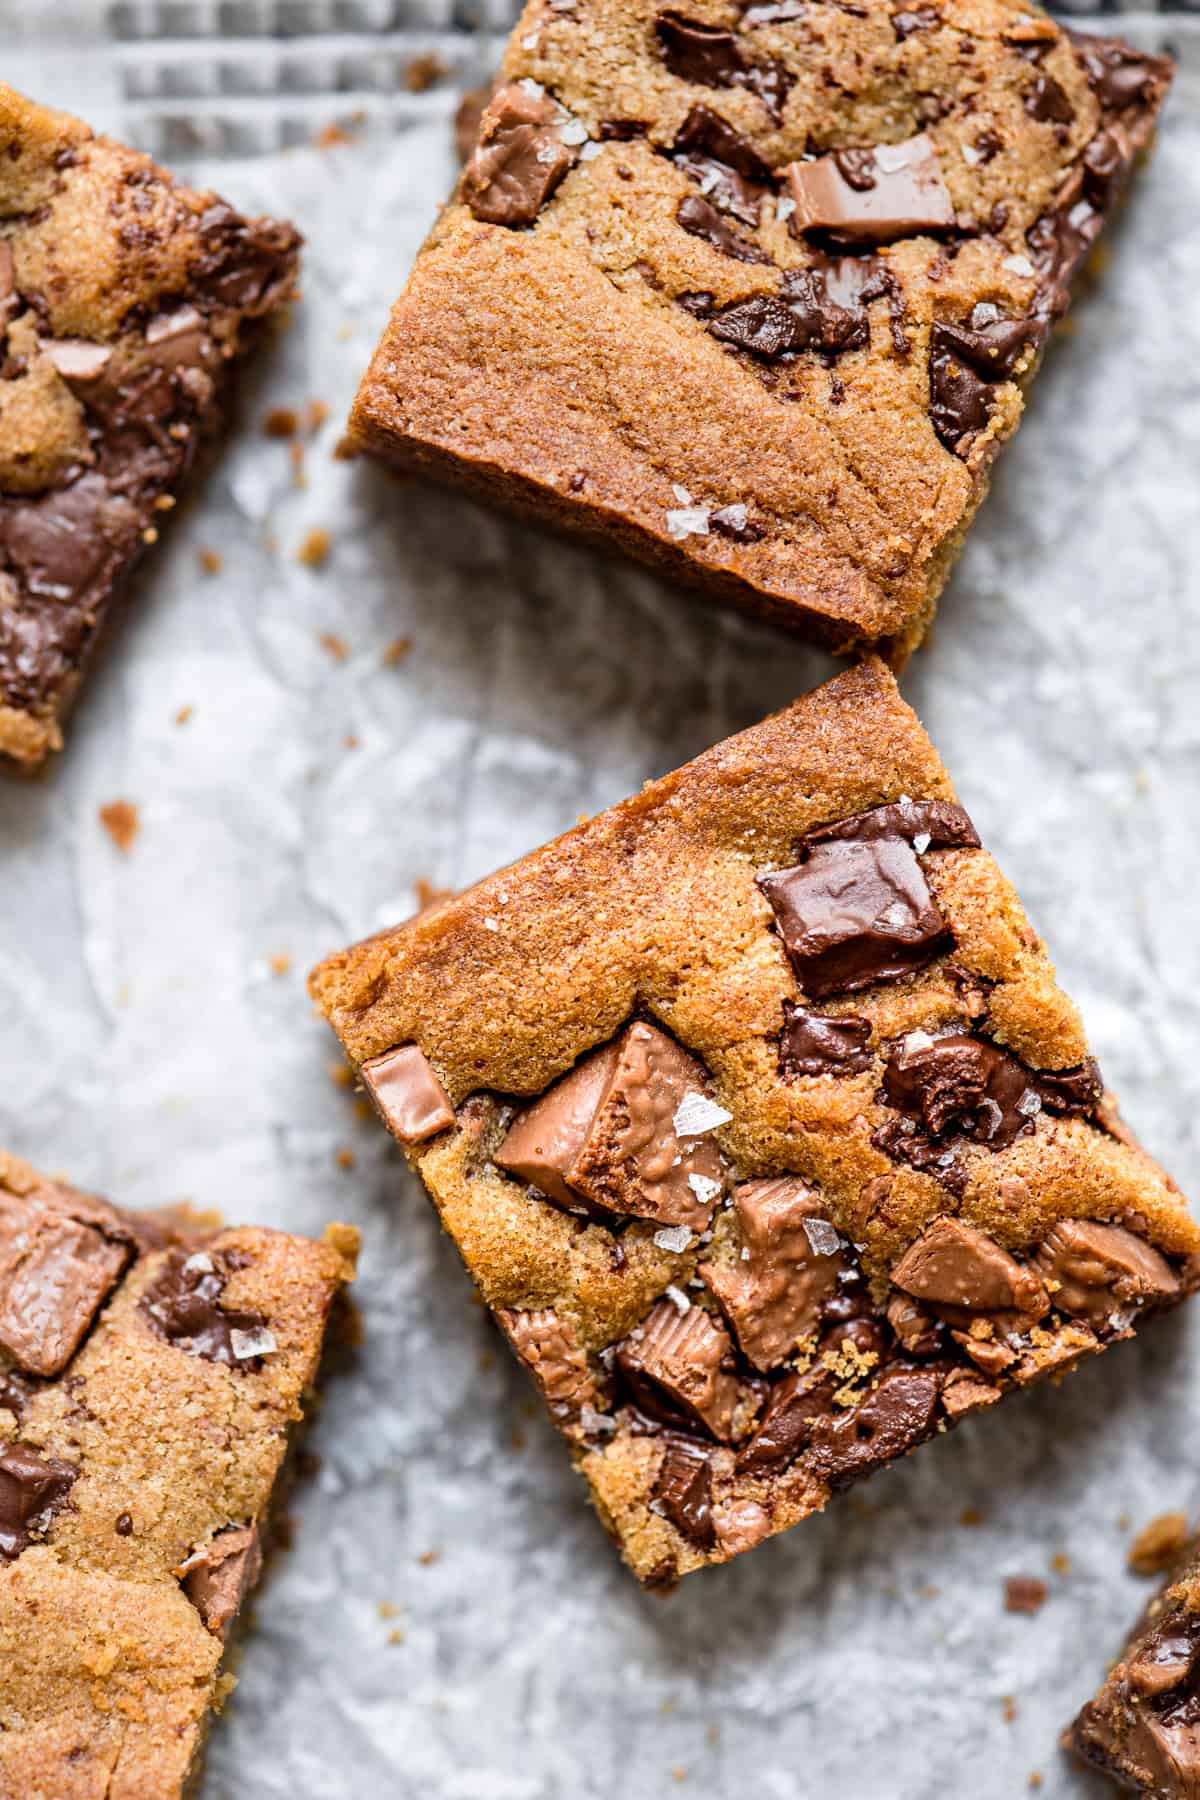
These foolproof cookie bars are a take on my very famous chocolate chip cookies. But served in bar form like my ultra-famous brownies! I've used dark and milk chocolate for these bars as well as using some chopped up bars of chocolate and some chips. It's just that I had some bits of chocolate leftover, so tossed it all in. No such thing as too much chocolate in your cookie bars!
Chocolate Chunk Cookie Bars
Like this recipe? Pin it to your Cookie pinboard!
Follow SavvyBites on Pinterest
Ingredients needed
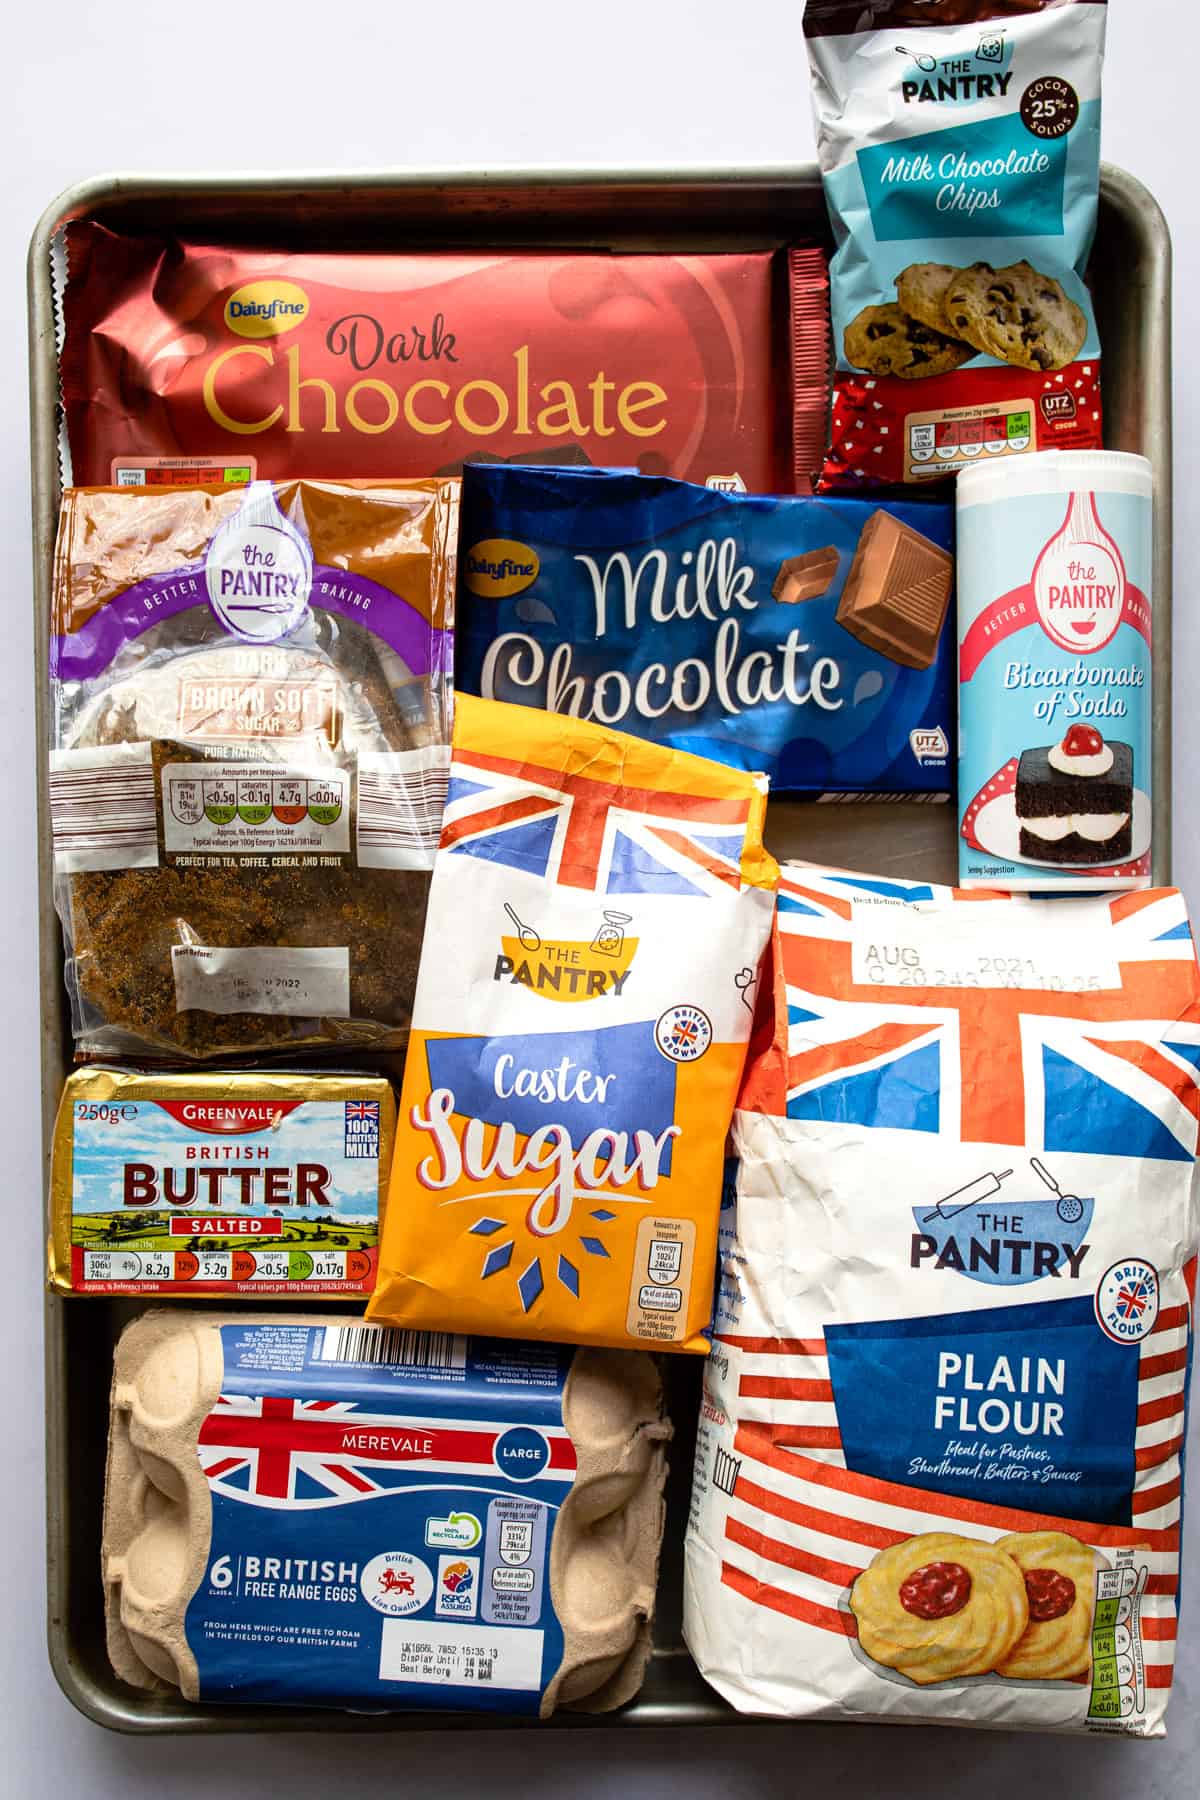
Chocolate (dark & milk)- This recipe is very flexible when it comes to the type and variety of chocolate to use. You can use a all chocolate chips, or a combination of chips and chunks (ie chopped up chocolate bars)
Butter- salted or unsalted works with this recipe. A lot of baking recipes will specify unsalted butter, but these days, most butter isn't salted enough to really make a difference in flavour.
Dark brown sugar- brings a molasses style richness to the cookie bar, but also helps to keep the bars soft once they've cooled. You can use light brown sugar instead.
Caster sugar- or granulated sugar works well for this recipe. I know Aldi is stocking granulated sugar a lot lately and it is slightly cheaper than caster sugar.
Sea salt- I always sprinkle a little flaky sea salt on top of chocolate cookies and brownies. The salt truly brings out the flavour and richness of the chocolate. Sprinkle a little on when the bars are warm straight out of the oven so the salt sticks to the top.
Step by step directions
Before making the cookie bar dough
- Preheat to oven to 160ºc.
- Line a 9x9 inch square metal baking tin with non-stick baking paper. You can also use an 8x8 pan here. Just give the cookie bars a little extra time in the oven.
- Chop your chocolate into chunks.
Step 1 & 2
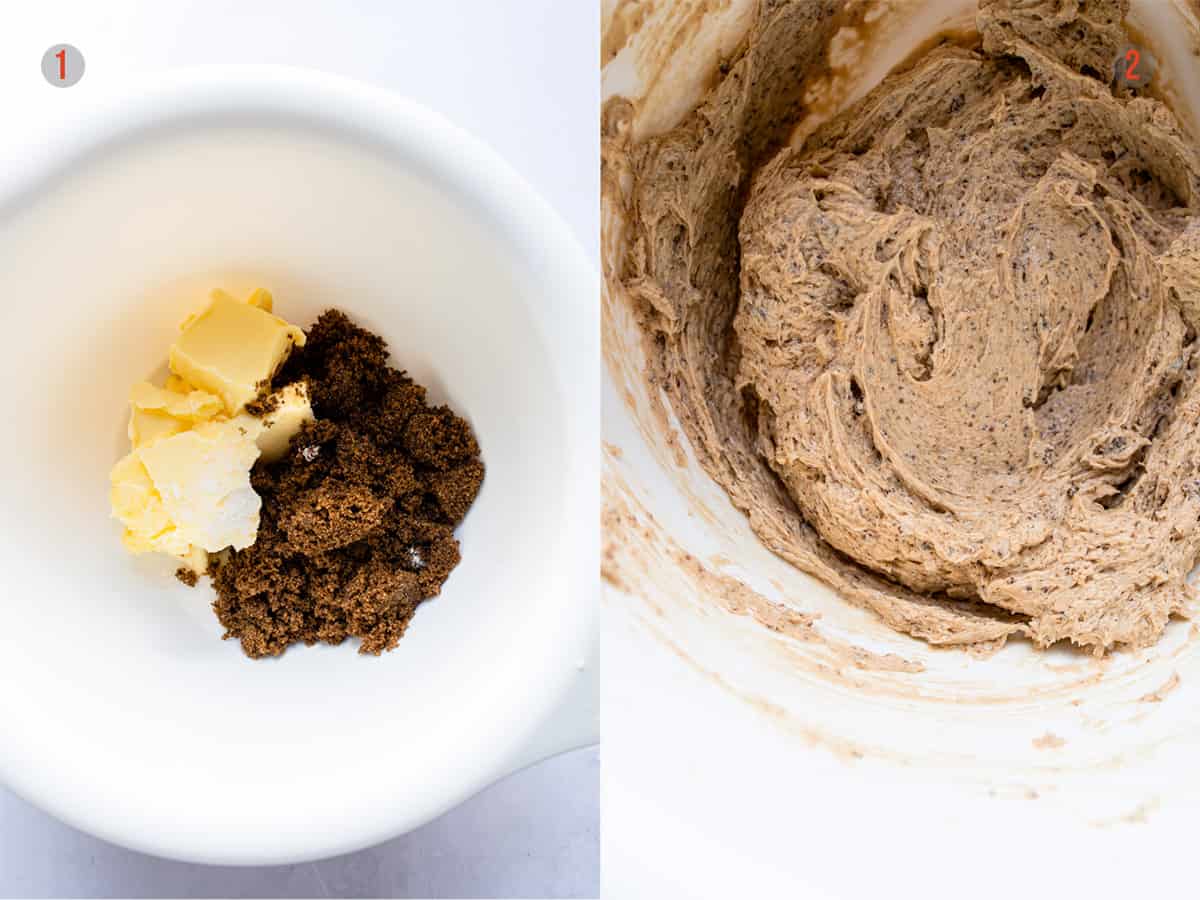
- Like with any baking recipe, you'll need to start with your butter at room temperature so that it mixes in with the sugars and gets light and fluffy. If your butter is fridge cold, then a few seconds in the microwave should soften it perfectly. You want it soft, not melted.
- Using an electric hand whisk, mix the sugars and the butter until the mixture is very light and fluffy. Add in the eggs one at a time mixing after each addition.
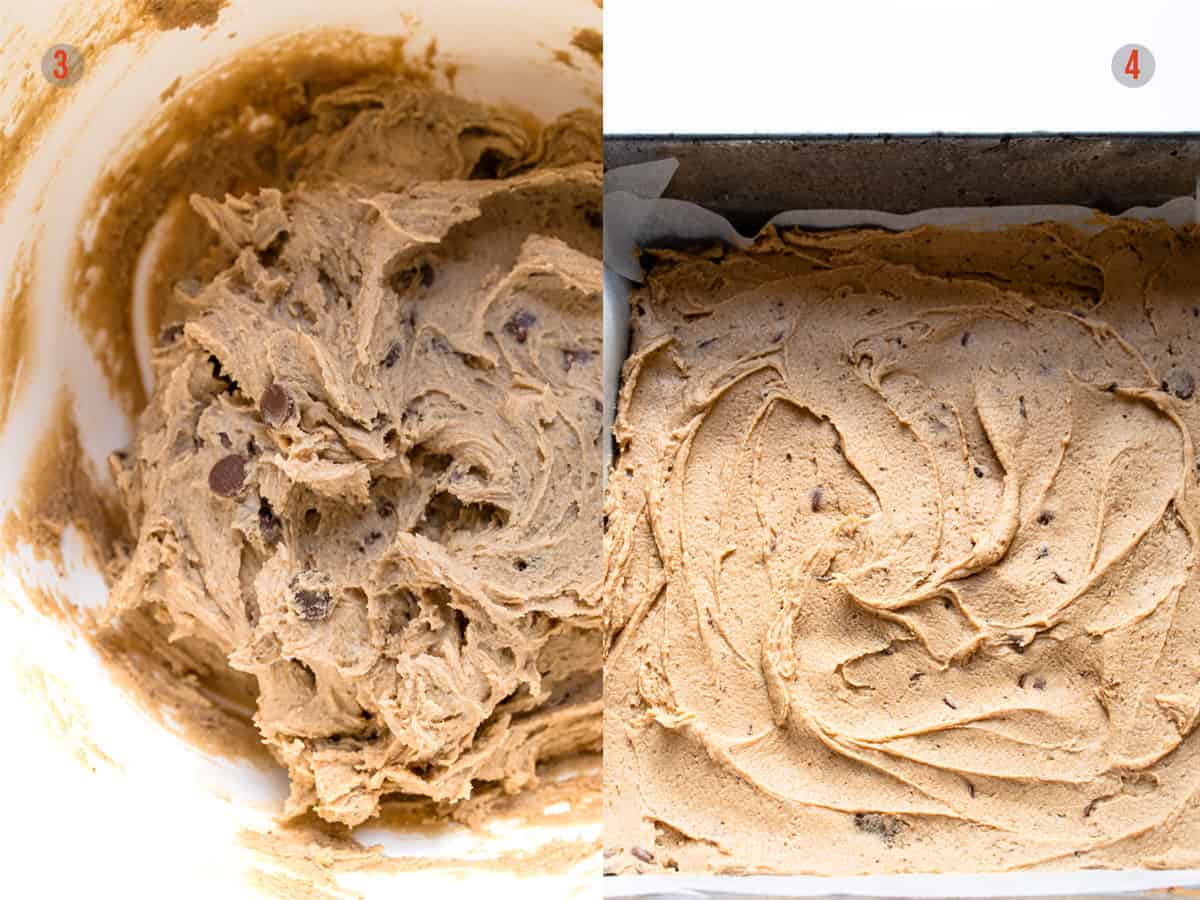
Step 3 & 4
- Mix the flour and bicarb of soda together and add that to the sugar and egg mixture. With your hand whisk setting on low, slowly start to mix the flour in.
- Once the flour is just combined, switch to a wooden spoon or spatula and mix in the chocolate chips and chunks.
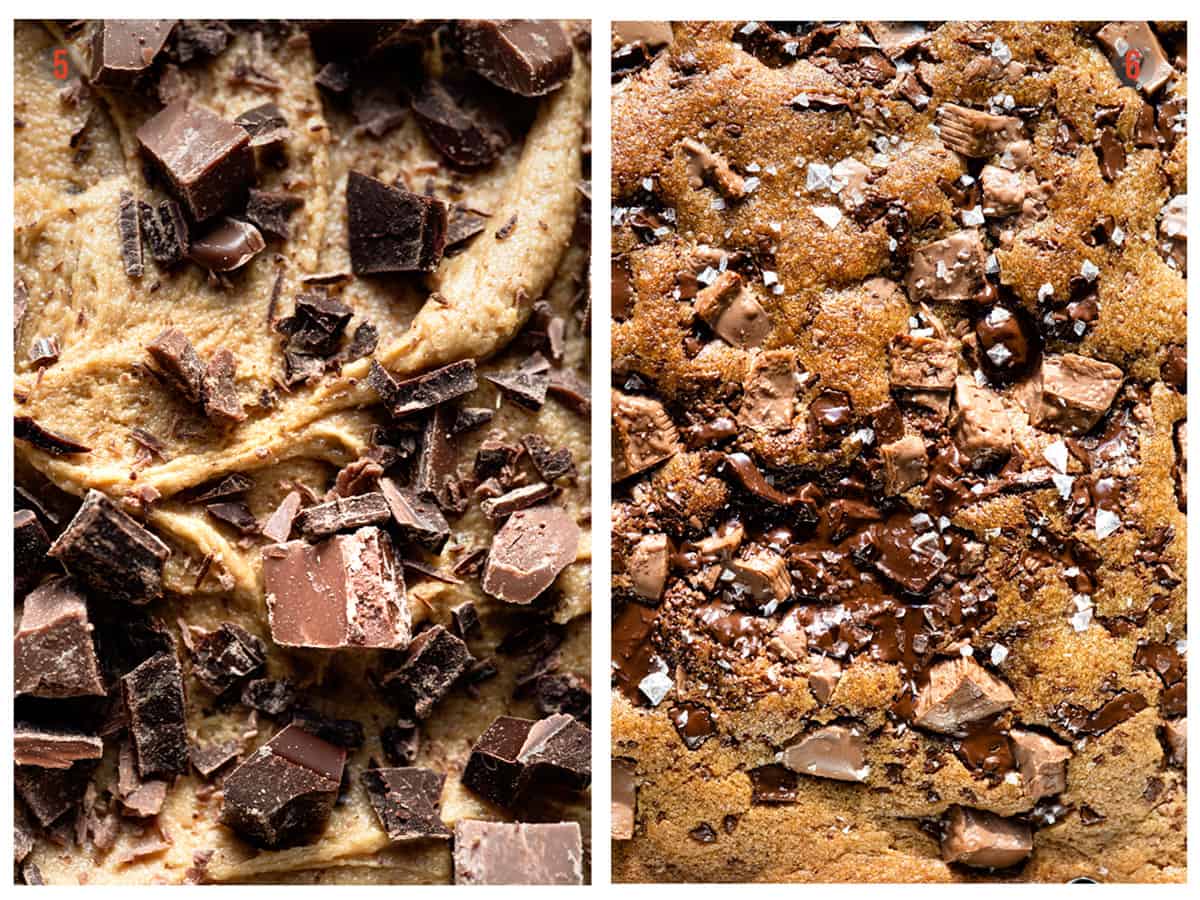
Step 5 & 6
- Bake for about 20 -25 minutes, until the edges and top are golden brown and the tray is just set. The cookies will firm up a little as they cool, so no need to worry about them being too soft.
- Sprinkle with flaky sea salt as soon as the cookie bars come out of the oven. Leave to cool completely in the tray before slicing.
TOP TIP- Save some of the chocolate chunks to scatter over the top of the cookie bars just before you place the tin in the oven. This ensures that you get pools of melted chocolate.
Variations
These cookie bars are so customisable they're a dessert lovers dream. Here are a few options to really elevate these bars (AKA sheet pan cookies!)
- white chocolate- chunks or chips. Either way... perfection.
- Pecans or walnuts
- A pinch of cinnamon; especially if you're making these in the winter or for Christmas baking.
- Peanut butter- swirl a couple of spoonfuls into the cookie dough before it goes in the oven.
FAQs
Can this cookie bar recipe be doubled?
This recipe works like a dream when it's doubled. You'll need to bake them in a bigger pan (a 9x13 will work) and possibly increase the baking time by a few minutes.
Do the bars firm up as they cool?
They do! Just like an actual cookie, these cookie bars start to set up as they cool. But they never totally set. They have a texture very similar to fudge once they've cooled. Dense, chewy and fudgy.
Cooling, cutting and serving
These cookie bars are best cut when they've cooled completely in the tin. The longer they cool the easier they will be to cut. Very similar to a brownie in that when warm the structure hasn't had time to set.
- Let the cookie bars cool for at least 30 minutes. *They can even be left overnight and sliced the next day, making them perfect for baking ahead of time.
- Use a sharp serrated knife for cutting and use a piece of damp kitchen roll to clean the knife after each slice.
- Mark the top of the bars gently with the knife before you cut all the way through just to make sure that they will be evenly sized. Or you can use a ruler if you want to be very precise.
Storage
After the first day, I like to store the bars in the fridge and either warm them up or leave them on the counter for about 30 minutes. They will store at room temperature for up to 4 days, I just really think that they benefit greatly from the fudgy texture they get from being in the fridge.
They can also be frozen for up to 1 month wrapped in a double layer of foil.
More cookie recipes
Tools used
THANKS SO MUCH FOR READING AND COOKING ALONG WITH ME! IF YOU MAKE THIS RECIPE OR HAVE A QUESTION, I’D LOVE IT IF YOU LEFT A COMMENT AND A RATING. YOU CAN ALSO FOLLOW ALONG ON PINTEREST, FACEBOOK AND INSTAGRAM TO SEE WHAT WE’RE EATING, PINNING AND A LITTLE BEHIND THE SCENES TOO!
Chewy Chocolate Chunk Cookie Bars
Ingredients
- 225 g (8 oz) butter, softened* see notes
- 165 g (5 ⅚ oz) dark brown sugar
- 50 g (1 ¾ oz) caster sugar
- 2 (2) large eggs
- 280 g (2 ⅛ cups) plain flour
- ¾ teaspoon (¾ teaspoon) bicarb of soda
- 100 g (3 ½ oz) milk chocolate chips
- 50 g (1 ¾ oz) dark chocolate chunks
- 50 g (1 ¾ oz) milk chocolate chunks
Instructions
- Before you start
- Preheat to oven to 160ºc. Line a 9x9 inch square metal baking tin with non-stick baking paper. Chop your chocolate into chunks.
Creaming the butter and sugars
- Weigh the sugars into a large mixing bowl and add in the butter.
- Using an electric hand whisk, mix the sugars and the butter until the mixture is very light and fluffy. Add in the eggs one at a time mixing after each addition.
- Adding the flour
- Mix the flour and bicarb of soda together and add that to the sugar and egg mixture. With your hand whisk setting on low, slowly start to mix the flour in.
- Once the flour is just combined, switch to a wooden spoon or spatula and mix in the chocolate chips and chunks. *See notes
- Baking the cookie bars
- Bake for about 20 -25 minutes, until the edges and top are golden brown and the tray is just set. The cookies will firm up a little as they cool, so no need to worry about them being too soft.
- Sprinkle with sea salt
Notes
- You can also use an 8x8 pan here. Just give the cookie bars a little extra time in the oven.
- If your butter is fridge cold, then a few seconds in the microwave should soften it perfectly. You want it soft, not melted. Like with any baking recipe, you'll need to start with your butter at room temperature so that it mixes in with the sugars and gets light and fluffy.
- Reserve some of the chocolate chunks for scattering over the cookie bars so you have lovely pools of melted chocolate on top.
- To speed up the cooling process in order to slice these bars quickly, you can place them in the freezer for about 20 minutes.


Sharon
OMG! Made these several times in the last few months and they always disappear so quickly! Everyone loves these!
Deborah Rainford
Better than a cookie sometimes! Thank you for taking the time to leave a comment and a rating. It's much appreciated! 🙂
Katherine
These are delicious and easy to make. If you / your tasters like (love) chocolate chip cookies these will be enjoyed. If you like a bar shaped sweet bake with a hot drink, or some milk, this is your recipe to try... Enjoy ?
Thanks Savvy Bites!
Deborah Thompson
Thank you so much for taking the time to leave a rating and a comment. So happy you loved this recipe. It's one of my personal favourites!