
Easy Honey Garlic Pork Belly
This post may contain affiliate links.

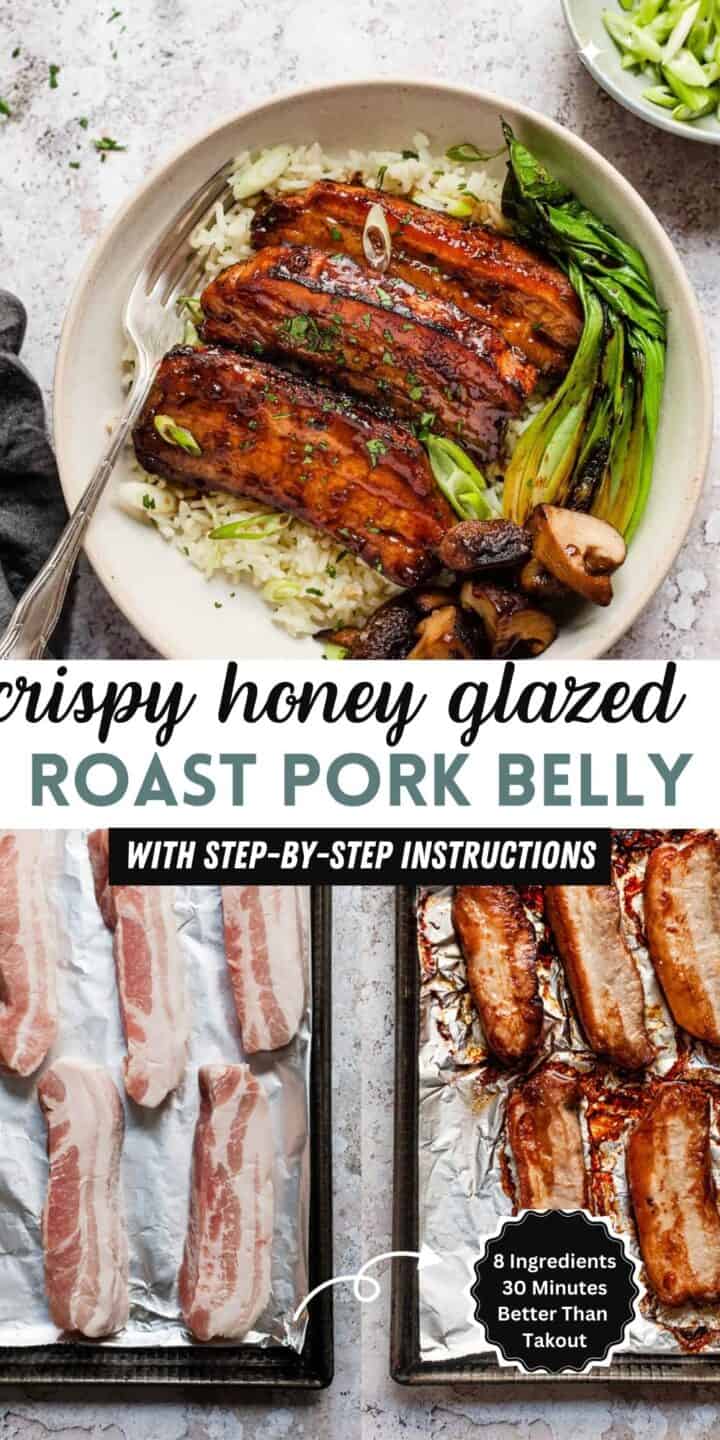

These honey garlic pork belly slices are crispy at the edges, tender and juicy inside, and coated in a sticky homemade honey garlic glaze. They’re ready in about 30 minutes and make an easy, budget-friendly alternative to ordering takeaway.
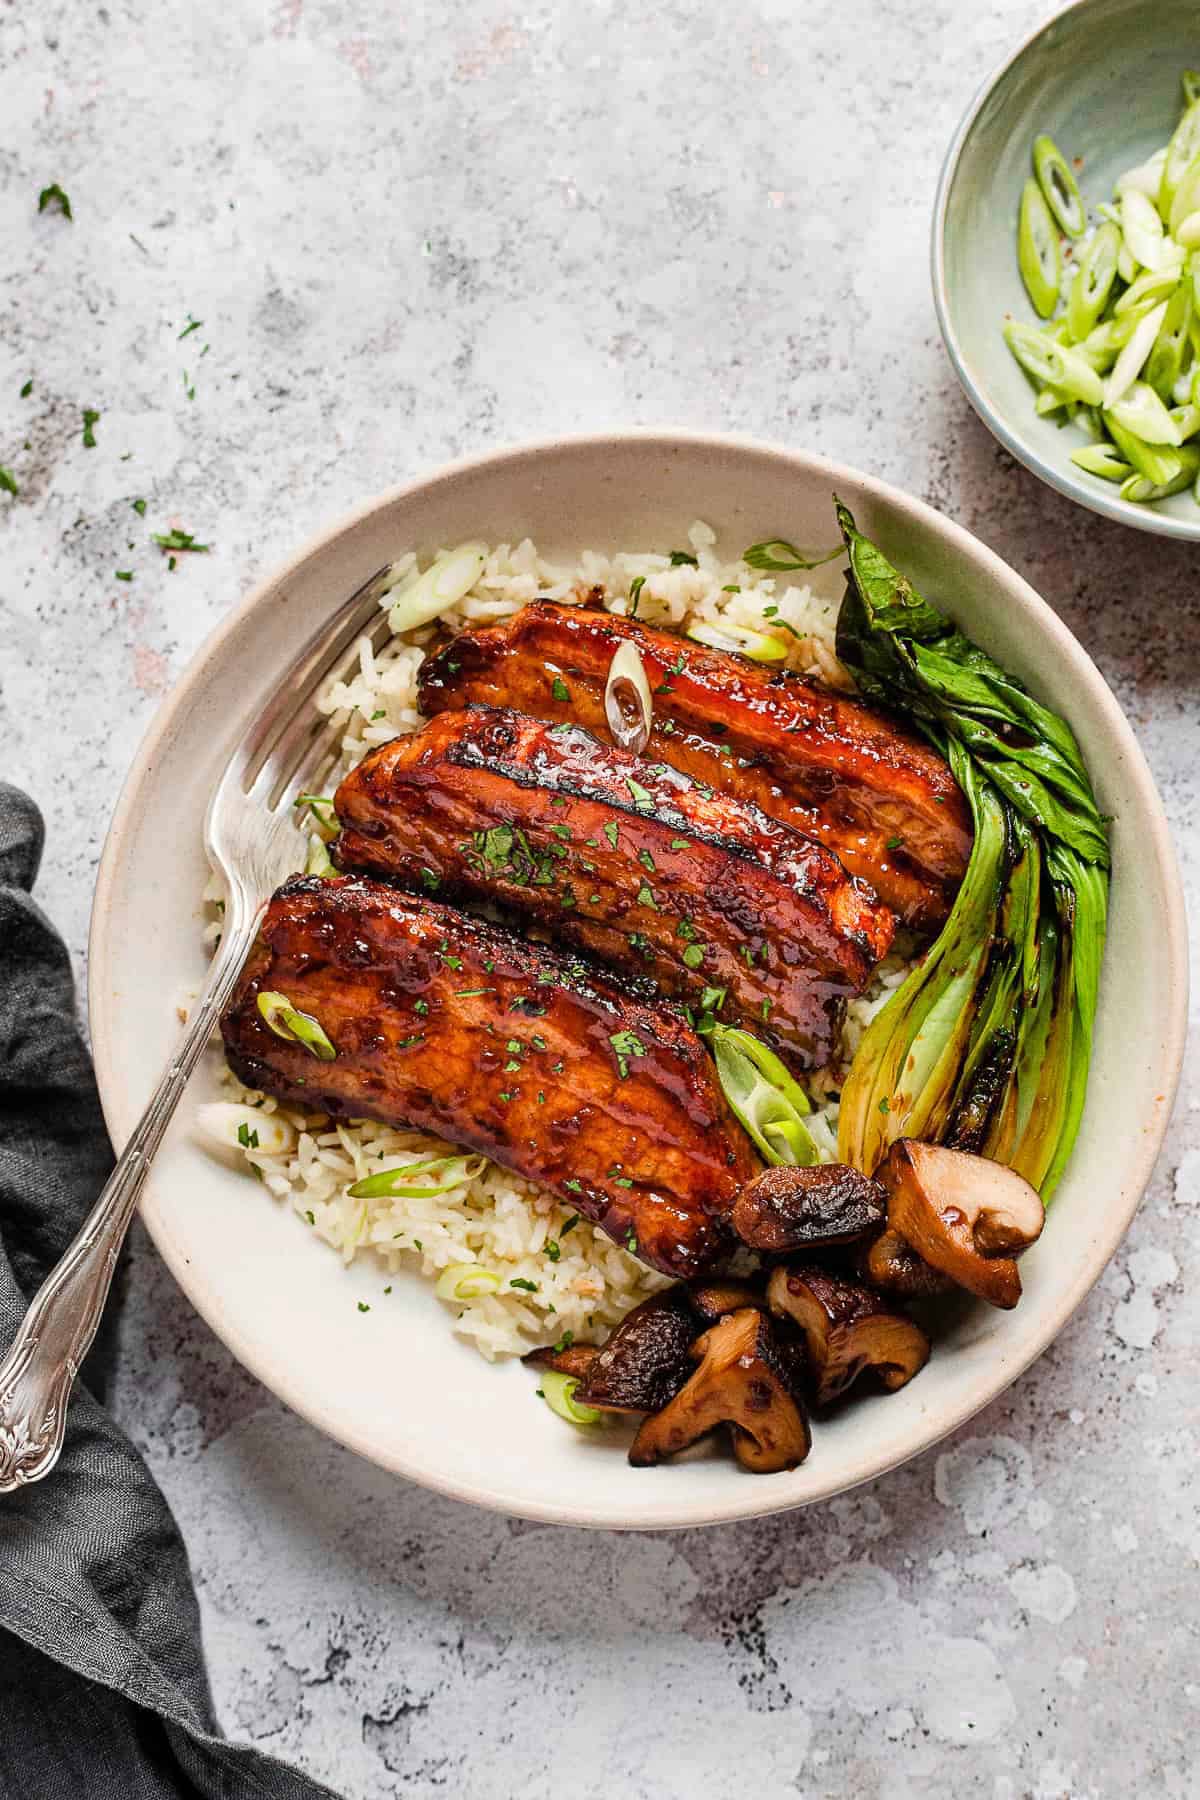
Serve them with easy egg fried rice for a simple family dinner, or try my crispy honey chilli chicken and sweet and sour chicken for more easy takeaway-style favourites.
Why this recipe works
Ingredients required
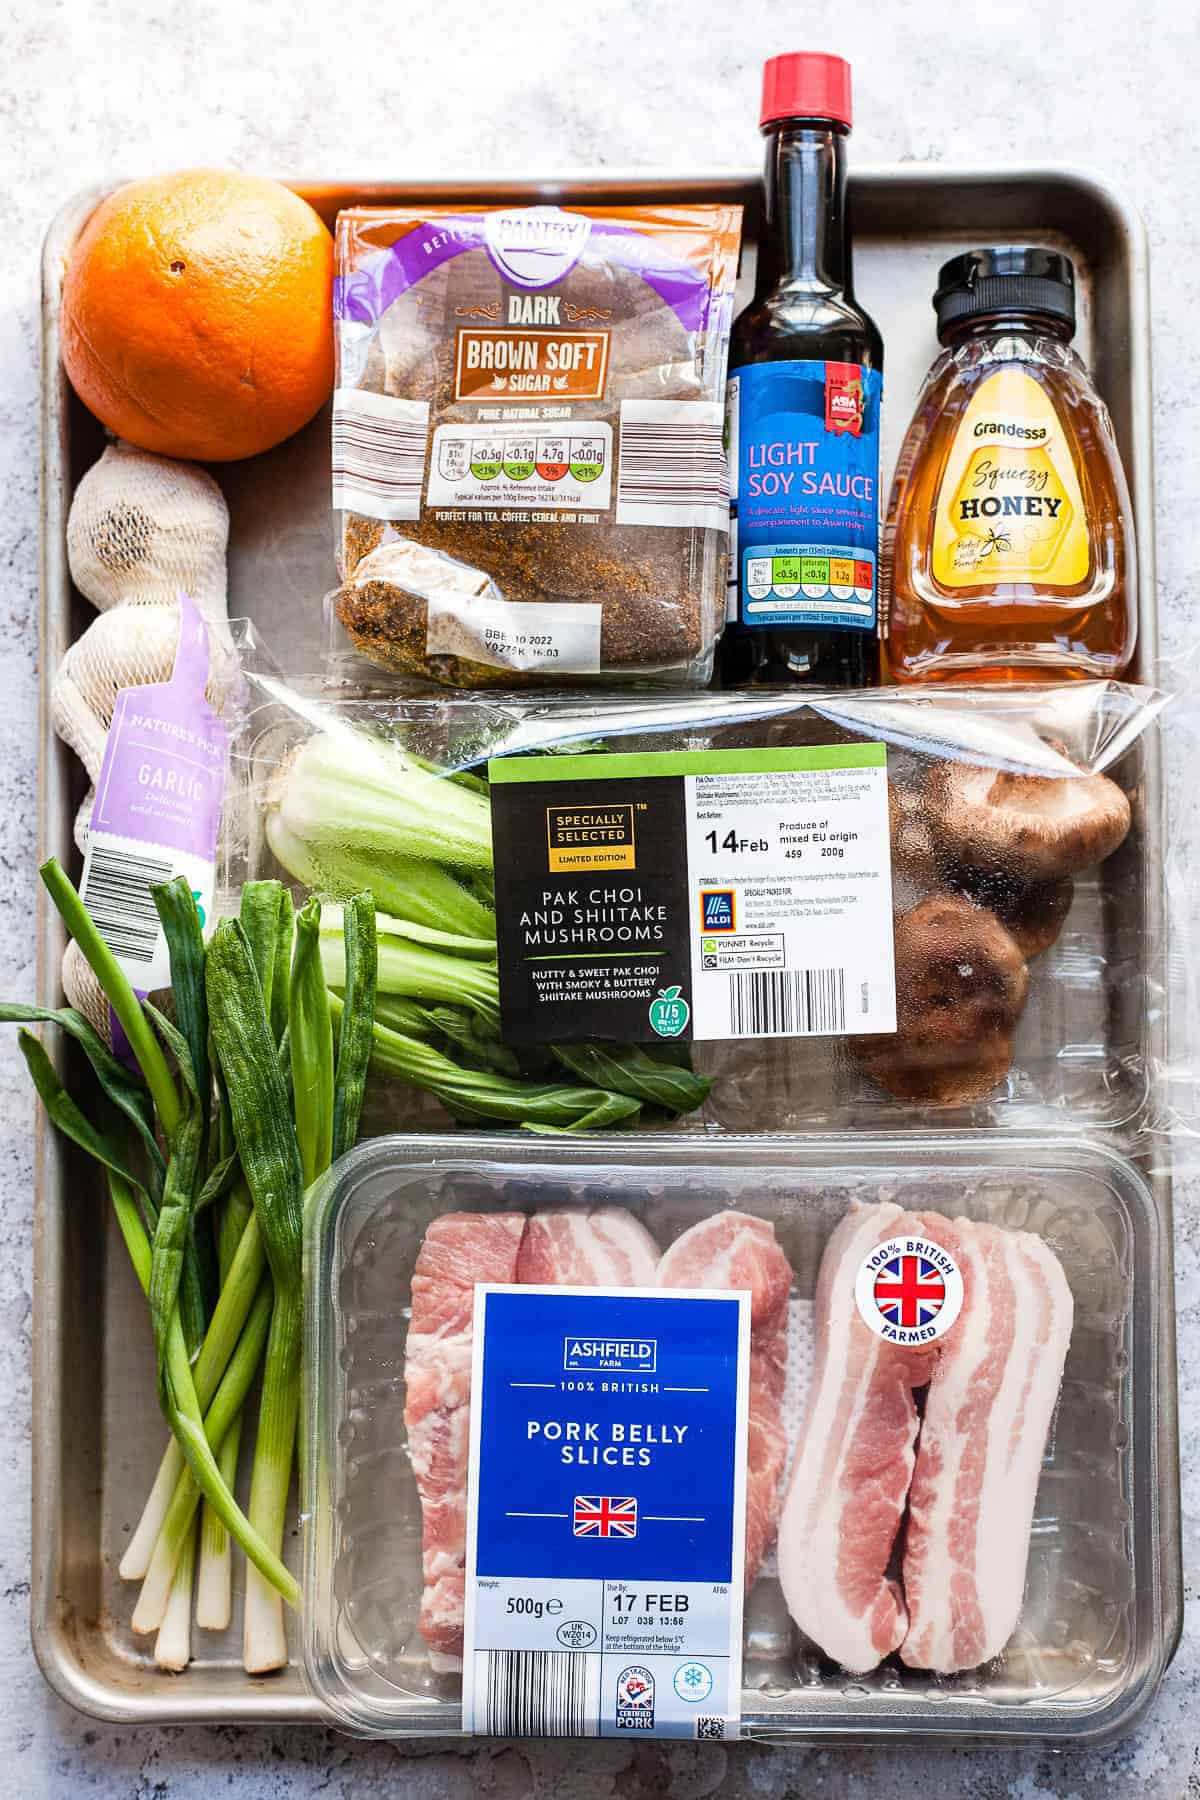
- Pork belly slices: Look for thick slices with a good balance of meat and fat. The fat renders as the pork roasts, keeping the meat tender while helping the edges become crisp and golden.
- Sea salt: A small amount seasons the pork and helps draw moisture from the surface for better crisping. Go lightly—the soy sauce in the glaze adds plenty of seasoning later.
For the honey garlic glaze
- Light soy sauce: Provides the salty, savoury base for the glaze and balances the honey and brown sugar.
- Fresh orange juice: Adds sweetness and acidity while giving the glaze a fresher flavour than sugar alone. You’ll need the juice of one orange.
- Honey: Gives the sauce its signature sticky texture and glossy finish.
- Brown sugar: Adds deeper caramel flavour and helps the sauce reduce into a thick glaze that coats the pork.
- Cider vinegar: Cuts through the richness of the pork belly and balances the sweetness of the glaze.
- Fresh garlic: An essential part of the honey garlic sauce. Freshly minced garlic gives the glaze much more flavour than garlic powder or granules.
See the recipe card at the bottom of the post for exact quantities and full instructions.
How to Make Honey Garlic Pork Belly Slices
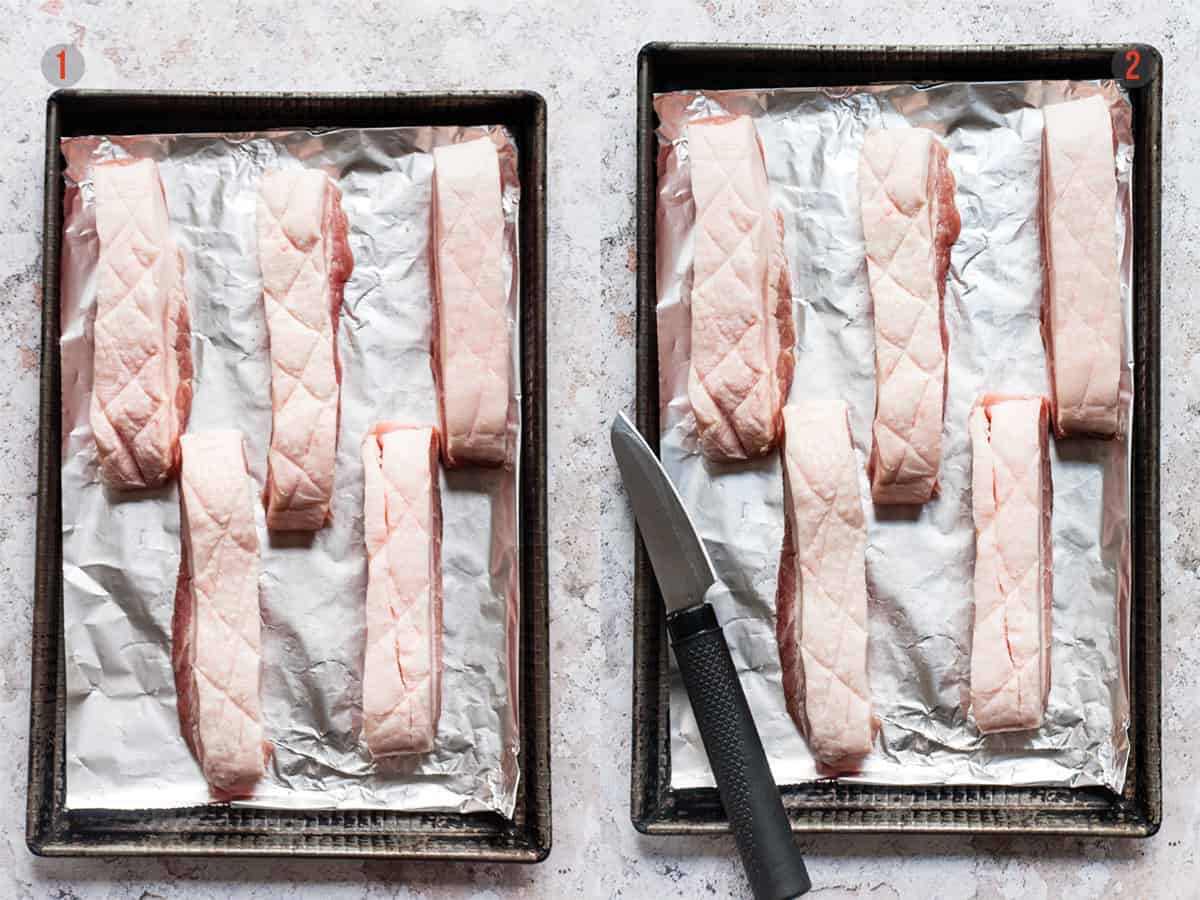
- Score the pork belly.
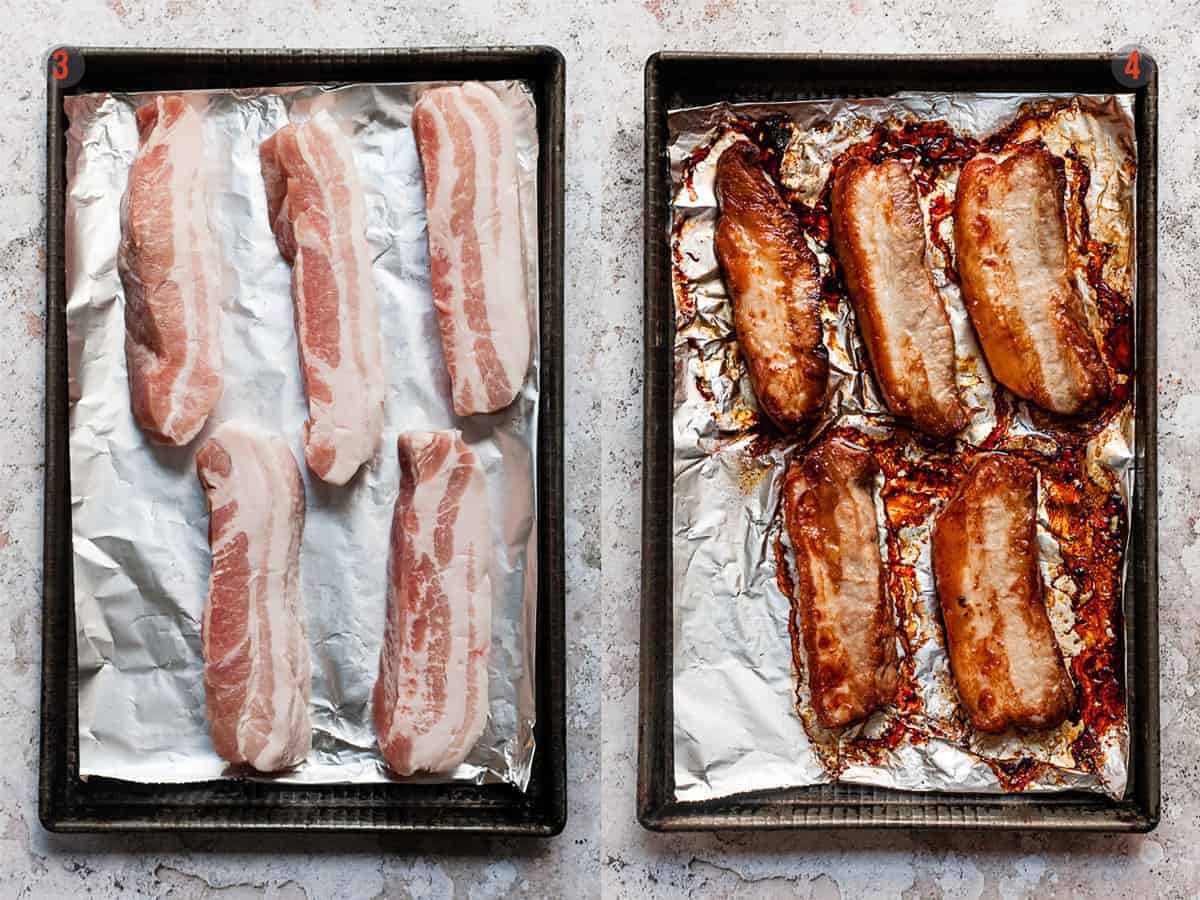
Preheat the oven to 200ºC/180ºC fan. Line a baking tray with foil and arrange the pork belly slices on top. Use a sharp knife to lightly score the fat in a criss-cross pattern, taking care not to cut deeply into the meat. - Season the pork.
Pat the pork belly dry with kitchen paper and season the scored side with sea salt, rubbing it into the surface and the cuts.
- Turn and season the other side.
Turn the pork belly slices over and season the meat side. Arrange them in a single layer with a little space between each piece so the hot air can circulate as they roast. - Roast until golden.
Roast the pork belly until the fat has rendered and the slices are beginning to turn golden and crisp around the edges.
- Turn the pork belly.
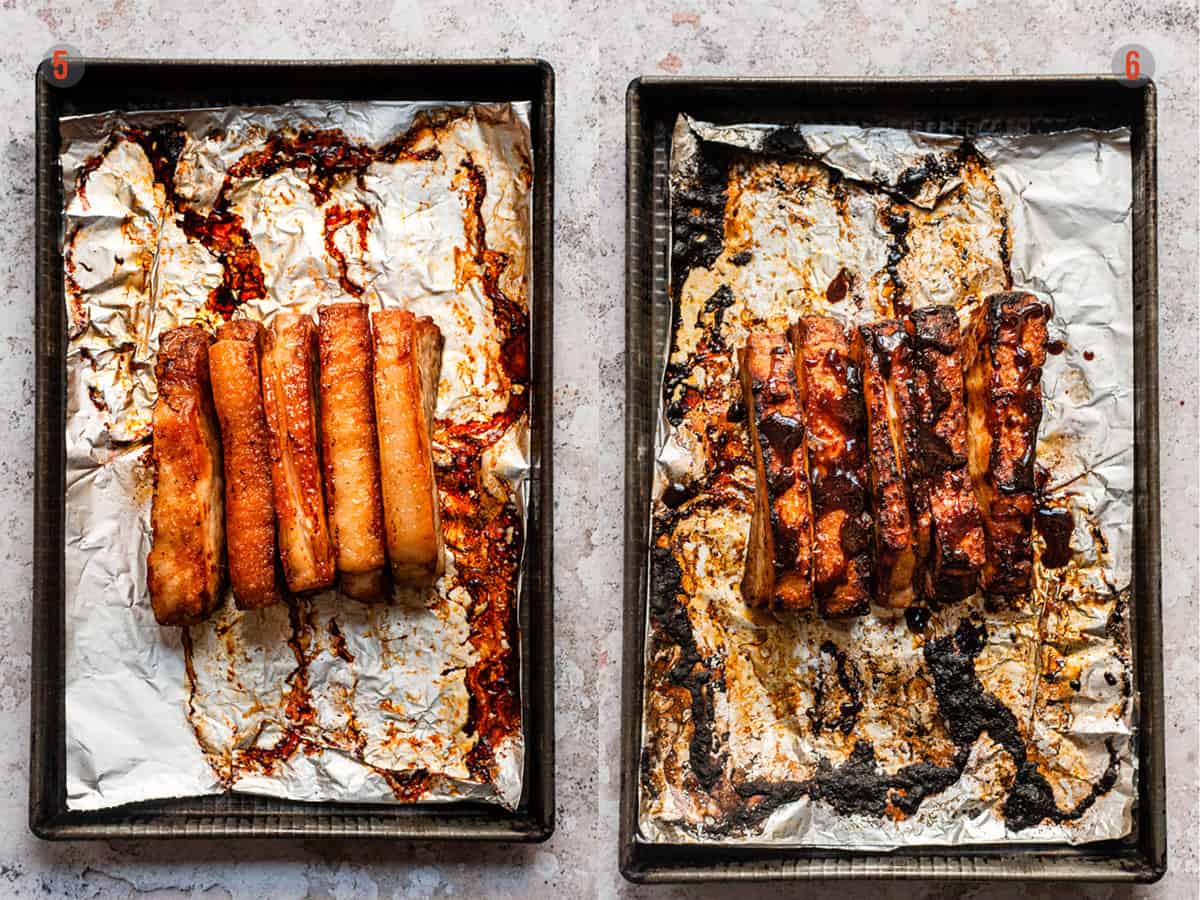
Flip the slices over so the scored fat faces upwards. Return to the oven and continue roasting until deeply golden and crisp. - Glaze and finish.
Mix the soy sauce, orange juice, honey, brown sugar, cider vinegar and garlic. Brush the glaze generously over the pork belly, then return it to the oven until the glaze is sticky, glossy and caramelised. Keep an eye on it towards the end—the sugars in the glaze can catch quickly.

Chef’s Guide: Expert Tips
Here are a few simple tips, drawn from my training and kitchen experience, to help you get the best results every time.
- Dry the pork belly well before roasting. Moisture on the surface creates steam, which works against browning and crisping. Pat the slices thoroughly dry with kitchen paper before seasoning.
- Score the fat, not the meat. Shallow scoring increases the surface area and helps the fat render, but cutting too deeply can allow the juices to escape and dry out the pork.
- Give the slices some space. Arrange the pork belly in a single layer without crowding the tray. Good airflow allows the edges to roast and caramelise rather than steam.
- Let the pork crisp before adding the glaze. Honey and brown sugar can burn long before the pork belly has had enough time to render properly. Roast the pork first, then add the glaze towards the end so you get crisp pork and a sticky caramelised coating.
- Watch the final few minutes closely. Once the glaze starts bubbling and reducing, it can go from glossy and caramelised to burnt surprisingly quickly. You’re looking for a dark, sticky coating with some charred edges—not a completely blackened glaze.
What to do with leftovers
- Fridge: Let the pork belly cool completely, then store it in an airtight container in the fridge for up to 3 days.
- Freezer: Freeze the cooked pork belly in an airtight container or freezer bag for up to 3 months. Defrost overnight in the fridge before reheating.
- Reheating: For the best texture, reheat the pork belly in the oven or air fryer until piping hot throughout. This helps the edges crisp up again without making the pork tough.
- Microwave: You can microwave leftovers if you’re short on time, but the pork will be softer, and you’ll lose some of those crisp, caramelised edges.
Chef’s tip: If you have any extra honey garlic glaze, keep it separately and brush a little over the pork before reheating. It helps refresh the sticky coating without overcooking the meat.
FAQ’s
Make sure the pork is thoroughly dry before roasting and leave space between the slices on the tray. Crowding traps steam and prevents the edges from crisping. It’s also important to roast the pork before adding the glaze—the sugary glaze goes on towards the end.
Yes. Pork belly slices work very well in the air fryer because the circulating heat helps render the fat and crisp the edges. Cooking time will vary depending on the thickness of the slices and your air fryer, so cook until the pork is golden and tender before adding the glaze for the final few minutes.
The pork should be cooked through and the fat should be well rendered, with golden, crisp edges. For this recipe, texture is a better guide than simply cooking until the pork reaches its minimum safe temperature—you want to give the fatty layers enough time to soften and render.
Yes. Mix the glaze ingredients together and store them in a covered container in the fridge for up to 3 days. Give the mixture a good stir before brushing it over the pork.
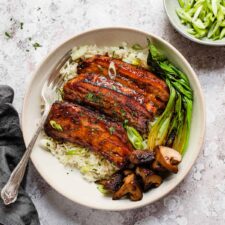
Easy Honey Garlic Pork Belly
Ingredients
For the pork belly
- 500 g (1 lb) pork belly slices
- Sea salt, for seasoning
For the sticky honey garlic glaze
- 115 ml (4 fl oz) light soy sauce
- Juice of 1 orange
- 1 tablespoon honey
- 2 tablespoons brown sugar
- 1 tablespoon cider vinegar
- 1 garlic clove, minced
Instructions
Preheat the oven:
- Preheat the oven to 170°C fan / 180°C conventional. Line a roasting tray with foil.
Score the pork belly:
- Pat the pork belly slices dry with kitchen paper. Place them fat-side up and use a sharp knife to lightly score the fat, taking care not to cut deeply into the meat.
Season:
- Season the pork belly lightly with sea salt, rubbing a little into the scored fat.
Roast:
- Place the pork belly slices on their sides on the prepared tray. Roast for 12 minutes, then turn and roast for another 10–12 minutes, until golden and cooked through.
Crisp the fat:
- Lean the pork belly slices against each other so the scored fat faces upwards. Switch the oven to the grill (broiler) and cook for approximately 5 minutes, watching closely, until the fat is golden, bubbly and crisp.
Make the honey garlic glaze:
- Meanwhile, add the light soy sauce, orange juice, honey, brown sugar, cider vinegar and garlic to a small saucepan. Bring to the boil, then reduce to a simmer and cook for 2–3 minutes, until the sauce has reduced and thickened enough to coat the back of a spoon. For a thicker glaze, simmer for another 1–2 minutes.
Glaze the pork belly:
- Brush or spoon the honey garlic glaze generously over the pork belly slices, turning them so they’re well coated. Return to the oven for a few minutes, until the glaze is bubbling, sticky and caramelised around the pork. Watch closely, as the sugars in the glaze can catch quickly.
Serve:
- Remove the pork belly from the oven and spoon over any remaining honey garlic glaze. Serve immediately.
Notes
- Watch the pork closely: Once the pork belly is under the grill, the fat can go from golden and crisp to burnt quickly.
- Check the glaze consistency: The glaze should be thick enough to coat the back of a spoon but still fluid enough to brush easily over the pork. It will thicken slightly as it cools. If the glaze becomes too thick: Stir in boiling water, 1 teaspoon at a time, until it reaches the right consistency.
- Watch the final glazing stage: The honey and brown sugar caramelise quickly. You’re looking for a bubbling, sticky coating with darker caramelised edges, so keep an eye on the pork for those final few minutes.
Nutrition

If you tried any of these recipes, please let me know in the comments below, and leave a star rating while you’re there!
For more recipe ideas, follow us on Pinterest, Facebook, and Instagram, and join our exclusive Facebook group.
For meal planning help, check out our weekly Aldi-only meal plans, free for subscribers.
Craving more comfort food? Visit our sister site, Salted Mint, for easy, delicious recipes with everyday ingredients.

Meet the Chef!
Hi, I’m Debs, a Cordon Bleu-trained chef dedicated to helping you create unforgettable meals on a budget. Discover more about my journey and dive into a world of foolproof recipes designed for those who love to eat well without overspending.



Just wondering why my sauce didn’t thicken at all? I followed the recipe, even added extra spoon of honey…thank you
I’m not too sure. Is it possible that the sauce wasn’t simmered hard enough? It doesn’t need to be a rapid boil, but it does need to simmer hard enough to reduce the amount of liquid in the pan. I hope that helps trouble shoot. If you’ve got any questions just let me know. 🙂
Never cooked pork belly before. This recipe was the perfect intro to it. Delicious.
Great recipe. If cutting my own pork belly, how thick do I cut the slices?
About 2 inches (5cm) thick should do it. Enjoy! 🙂
I absolutely love this recipe! It’s so delicious and that sauce is drinkable!
I love this recipe. It’s quick and easy to make and so delicious!
Absolutely loved this recipe. The instructions are easy to follow and the recipe turned out great.
Loved this recipe! Such a great (and easy) alternative to a Sunday roast!
I slightly changed this recipe, and added, finely chopped papaya (you could use fresh pineapple), both of which have an enzyme which breaks down all the connective tissue within the meat. So I mix all the ingredients and marinade the pork belly for at least four hours, and then bake.
It doesn’t need quite so long as the pork has been marinade, and the acid have chemically cooked the meat. The papaya makes it a lovely, sweet-and-sour flavour and incredibly tender.
very tasty, everyone loved it but my sauce would not thicken up!
Nobody noticed though!
So happy that everyone loved it! Thank you for taking the time to leave a comment and a rating. It’s so appreciated! 🙂
These pork belly slices were absolutely incredible and so easy to make!
Really tasty – I sliced up the pork and served in the sauce – went down well
So happy that everyone liked it. And thank you so much for taking the time to leave a comment and a rating. It’s really appreciated. 🙂
My local aldi didn’t have pork belly when i went for my weekly shop (I’m on the last weekly meal plan) so I got pork chops in stead….
I was thinking to pan fry them before adding the sauce for the last few minutes…?
Do you reckon that makes sense?
PS the kids are loving tonight’s korean chicken! I haven’t had mine yet 🙂
Great, if you’re cooking for one. Thank you!
So happy you loved this recipe. And thank you so much for taking the time to leave a comment and a review!
An excellent recipe! I cut the pork into pieces when cooked and served on a bed of stir-fried vegetables (carrots, bell pepper, spring onions, garlic, cauliflower florets, french beans, cooked in the wok with a little oil, soy sauce, honey and lemon juice), pouring the sauce over the top to serve. Delicious and highly recommend.
Sounds like the perfect dinner! And thank you for taking the time to leave a comment and a rating!
This recipe walked my through pork belly perfectly. Thank you so much!
So happy you love it. Thanks for leaving a comment and a rating!
I’ve still got some sauce left over from yesterday dinner.. did I read somewhere I can use it for chicken too? 😊
Absolutely! This is great for baking with chicken thighs or just dipping cooked chicken. And treat it just like the pork. Don’t add the sauce too early to make sure that it doesn’t burn! 🙂
Love this recipe. It turns out perfect every time!
This recipe did not disappoint! It is a 10/10! My family loved it, it’s easy to make and it’s budget friendly!! Love it!
You don’t mention adding orange juice in the recipe although you mention oranges in the ingredients. Do you include orange juice? If so how much? The recipe looks great!
Hi Alex. So sorry. I missed it out. The recipe has been amended now.
Love, love, love, this recipe!! I only changed one thing. I cooked the pork in oven at 410 degrees until done turning frequently. It came out crisp. Then added to sauce. It was fantastic!! Will make again for sure!!
This pork belly recipe is amazing! That crackling gets soooo crispy and the flavours get so intense. Loved this one and make it almost every week now! Good thing pork belly is so cheap!