Easy Chocolate Mousse (3 Ingredients)
This post may contain affiliate links.


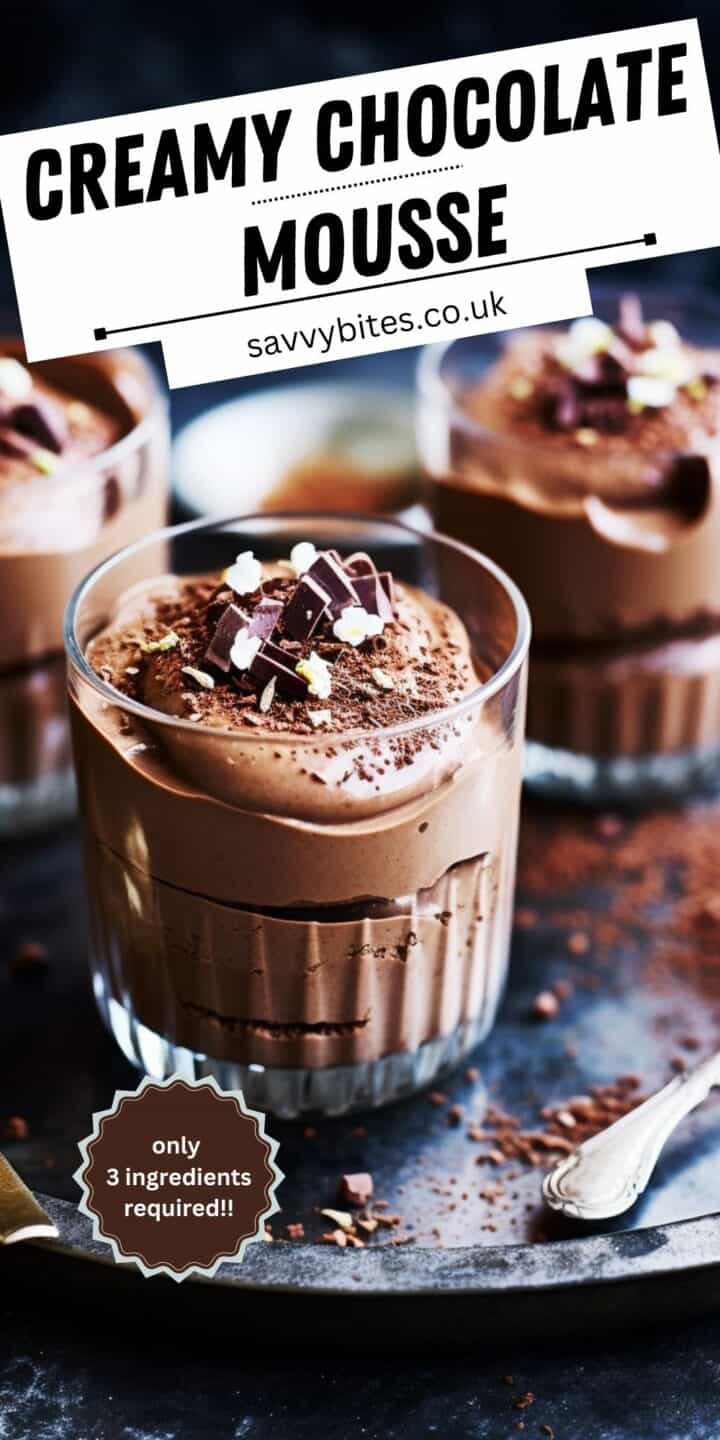
This easy chocolate mousse is ultra creamy with rich flavours and velvety smoothness. Designed to be effortlessly simple, making it perfect for both novice cooks and experienced home chefs this recipe requires just three key ingredients – double (heavy) cream, dark chocolate, and a touch of vanilla – you’ll create a simple dessert that’s sure to impress and leave a lasting impression on your taste buds.
Looking for more easy chocolate recipes? You need to check out my rich chocolate brownies, or these chocolate cookie bars.
⭐️ Why You’ll Love This Creamy Chocolate Mousse
- Quick and Easy: This 3-ingredient chocolate mousse recipe, comes together quickly and effortlessly. Whip up a dessert that looks and tastes like it came from a five-star restaurant.
- Decadently Creamy: The magic of double (heavy) cream lies in its ability to transform the chocolate mousse into a velvety and luxurious delight.
- Intense Chocolate Flavour: When it comes to chocolate desserts, we crave that deep and intense chocolate taste. Using high-quality dark chocolate with a cocoa percentage of 50-60% ensures that this mousse delivers on its promise of an intensely satisfying chocolate experience.
🧾Key Ingredients for Mousse
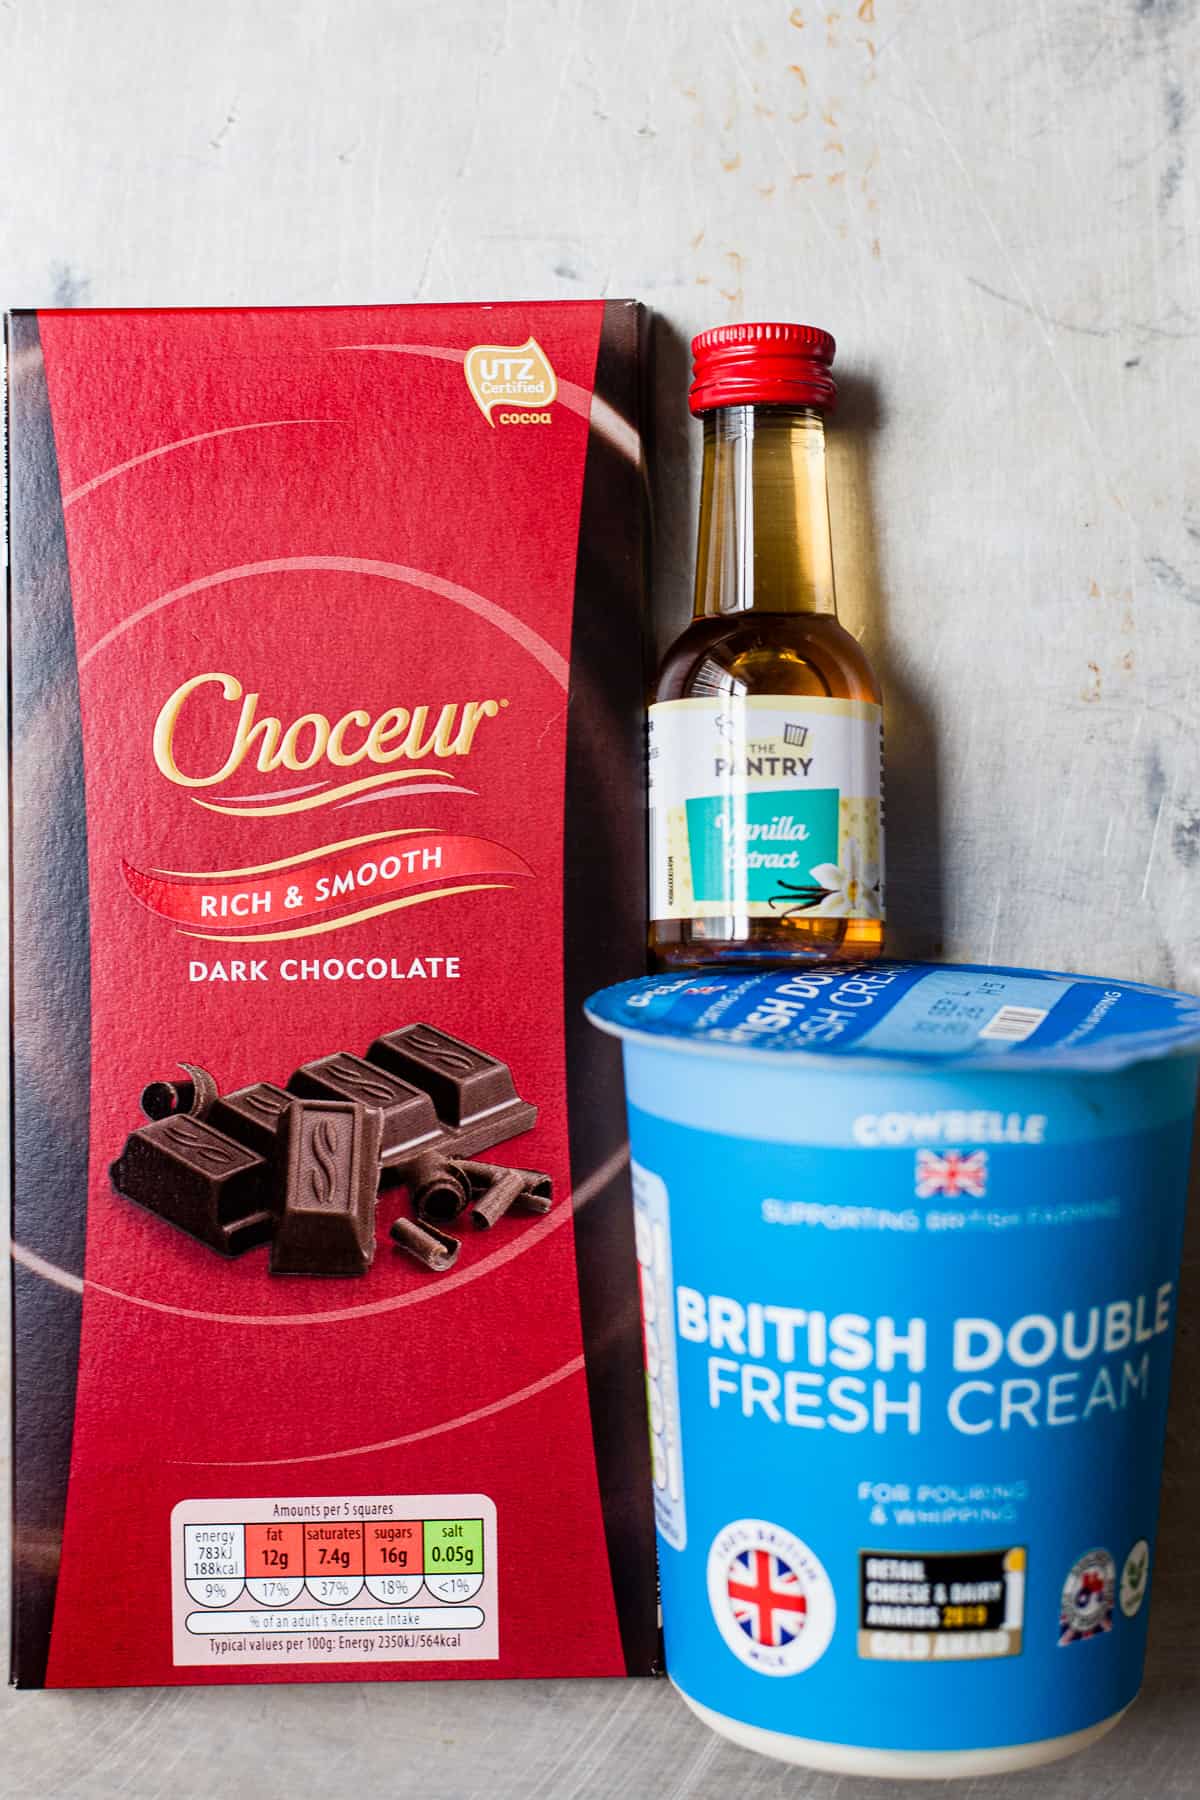
- Double (Heavy) Cream: As the hero of the recipe, double cream lends its richness and creaminess to create the mousse’s signature smooth texture. Choose one with high-fat content to achieve the ultimate indulgence.
- Dark Chocolate: The heart and soul of this dessert, dark chocolate brings its deep and complex flavours to the forefront. Opt for dark chocolate with a cocoa percentage between 50-60% for a truly decadent experience.
- Vanilla: Just a touch of vanilla extract adds a subtle aromatic note that perfectly complements the chocolate’s richness, elevating the mousse to new heights of flavour.
See the recipe card for quantities.
📖 Substitutions & Variations
While this 3-ingredient chocolate mousse is creamy and indulgent on its own, feel free to add your creative touch.
- Variations:
- Raspberry Infusion: Introduce a burst of fruity goodness by adding a layer of fresh raspberries between two layers of chocolate mousse.
- Caramel Drizzle: Elevate the indulgence by drizzling a rich caramel sauce on top of the mousse for a divine flavour combination.
- Substitutions:
- If time is a constraint, you can use whipped cream from a can; however, freshly whipped double cream yields the best results for an unforgettable mousse.
👩🏻🍳 Making Chocolate Mousse in 4 Easy Steps
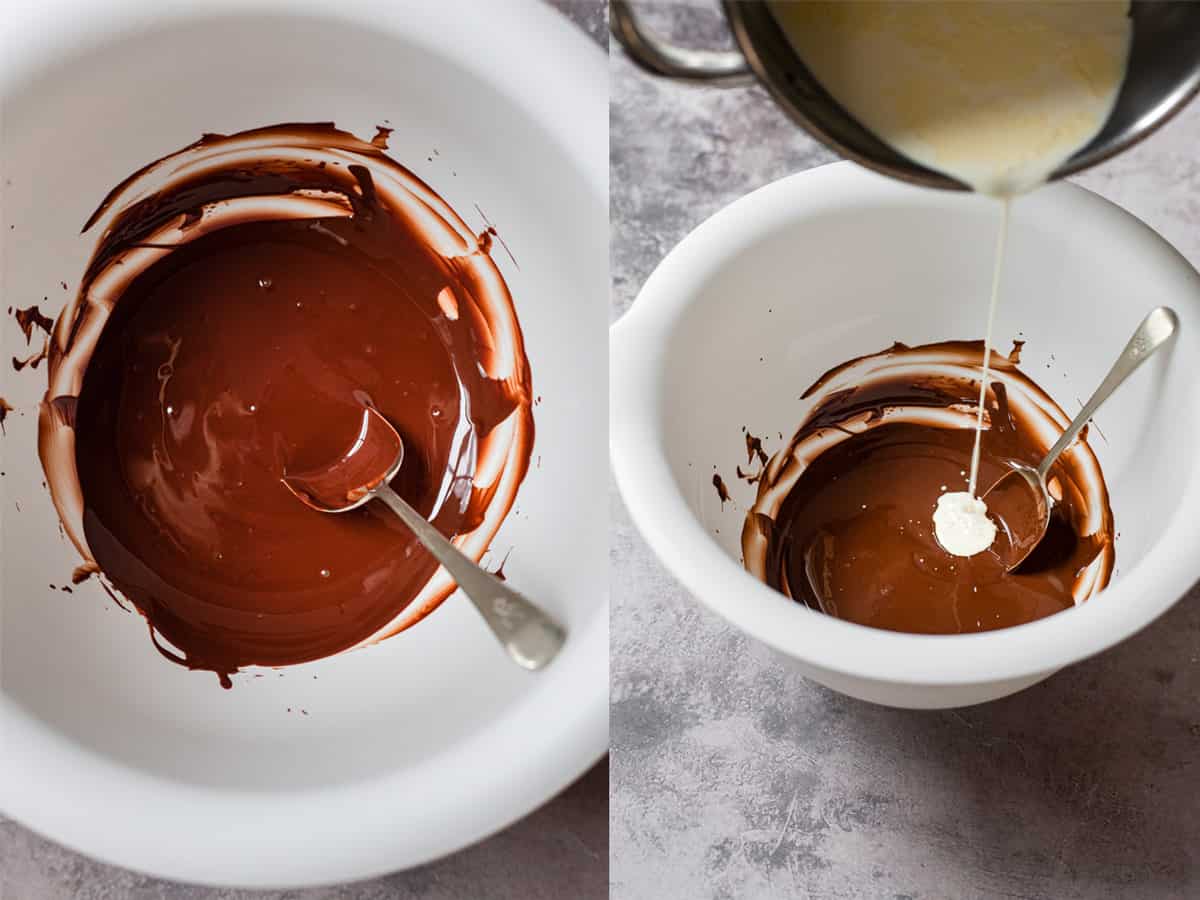
- Melt the Chocolate: Begin by melting the dark chocolate in a heatproof bowl. You can either use a microwave, heating the chocolate in short intervals and stirring in between or employ the double boiler technique on the stovetop. The result should be smooth and glossy.
- Whip the Cream: In a separate mixing bowl, whip the double cream until it thickens and forms medium peaks. It’s important not to overwhip the cream, as its luxurious texture is key to the mousse’s success.
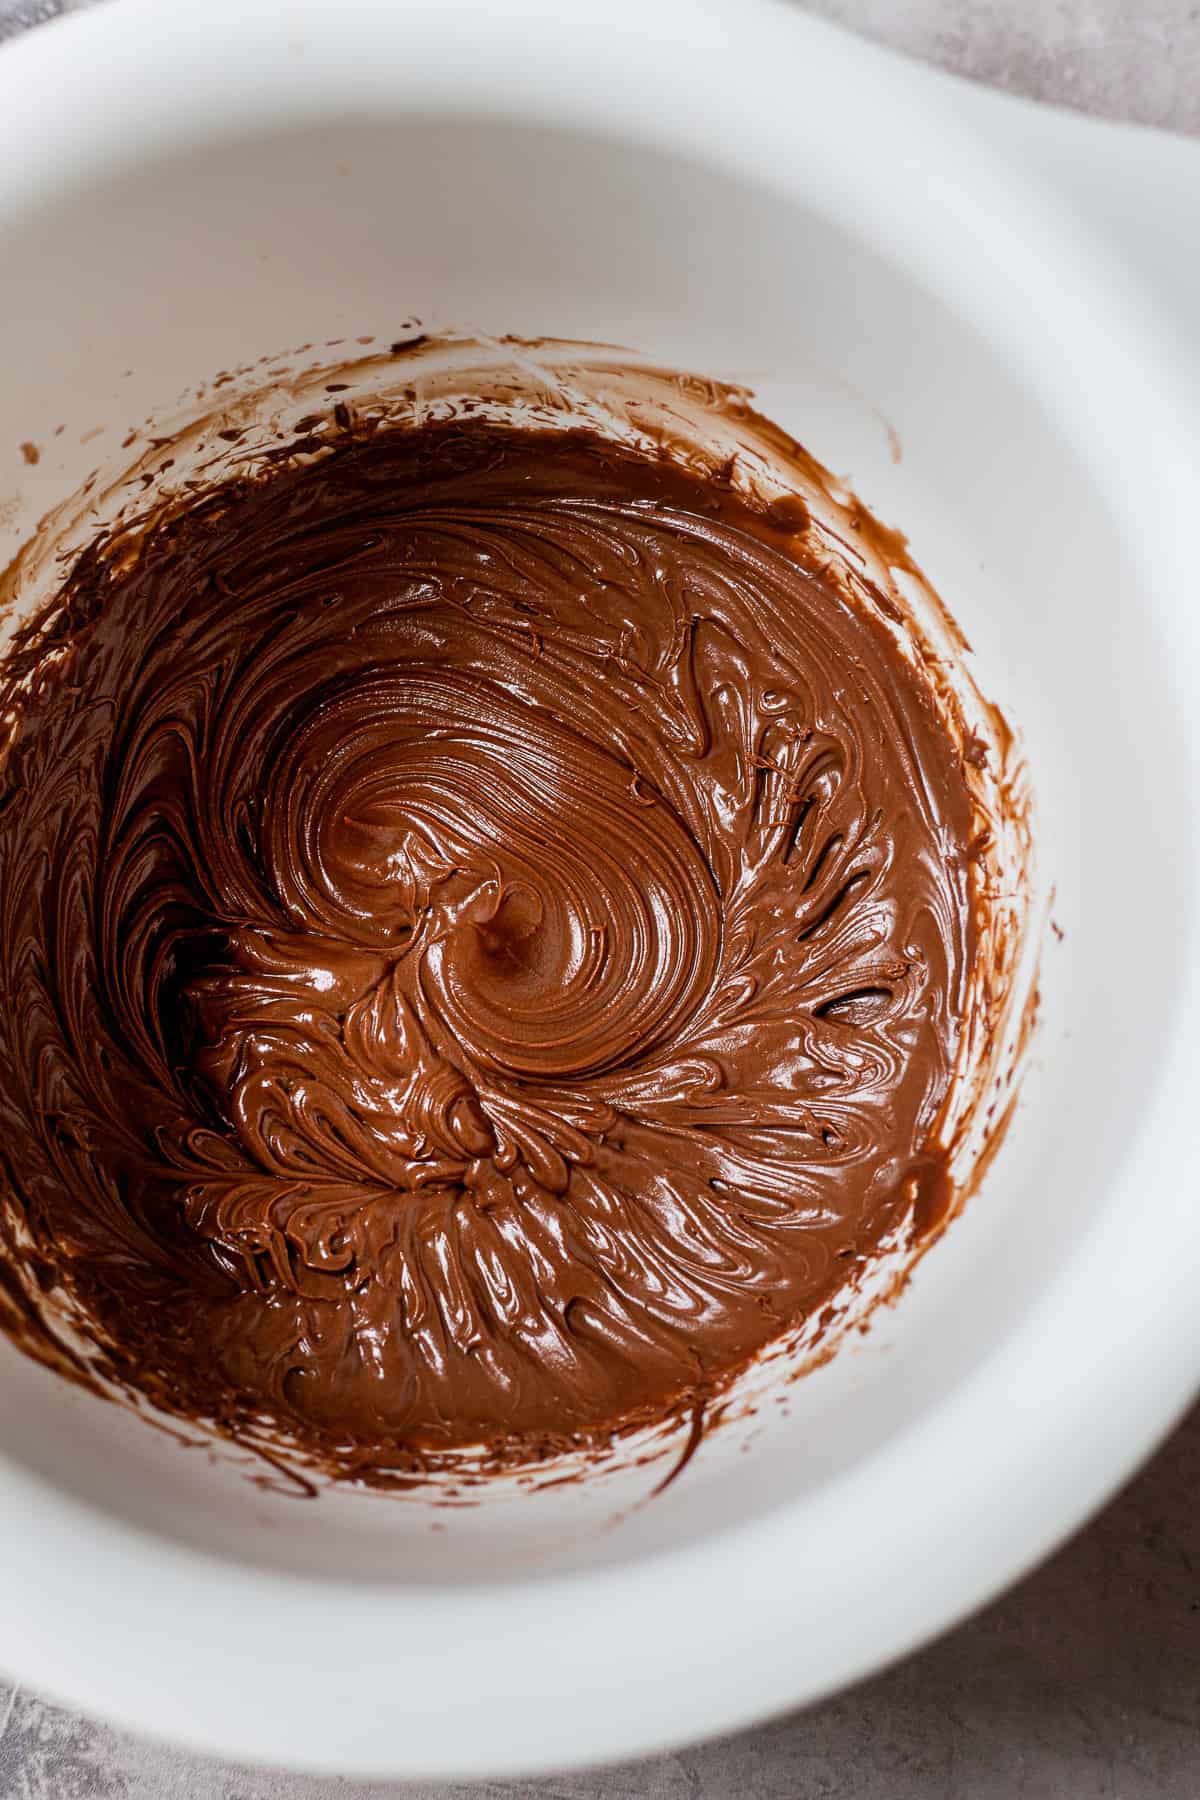
- Combine Chocolate and Cream: Gently fold the whipped cream into the melted chocolate, using a spatula or whisk to create an airy and light mixture. The folding process is crucial to ensuring a mousse that’s velvety smooth and heavenly.
- Add Vanilla: Once the chocolate and cream are combined, add the vanilla extract. The addition of vanilla adds depth and richness to the mousse.
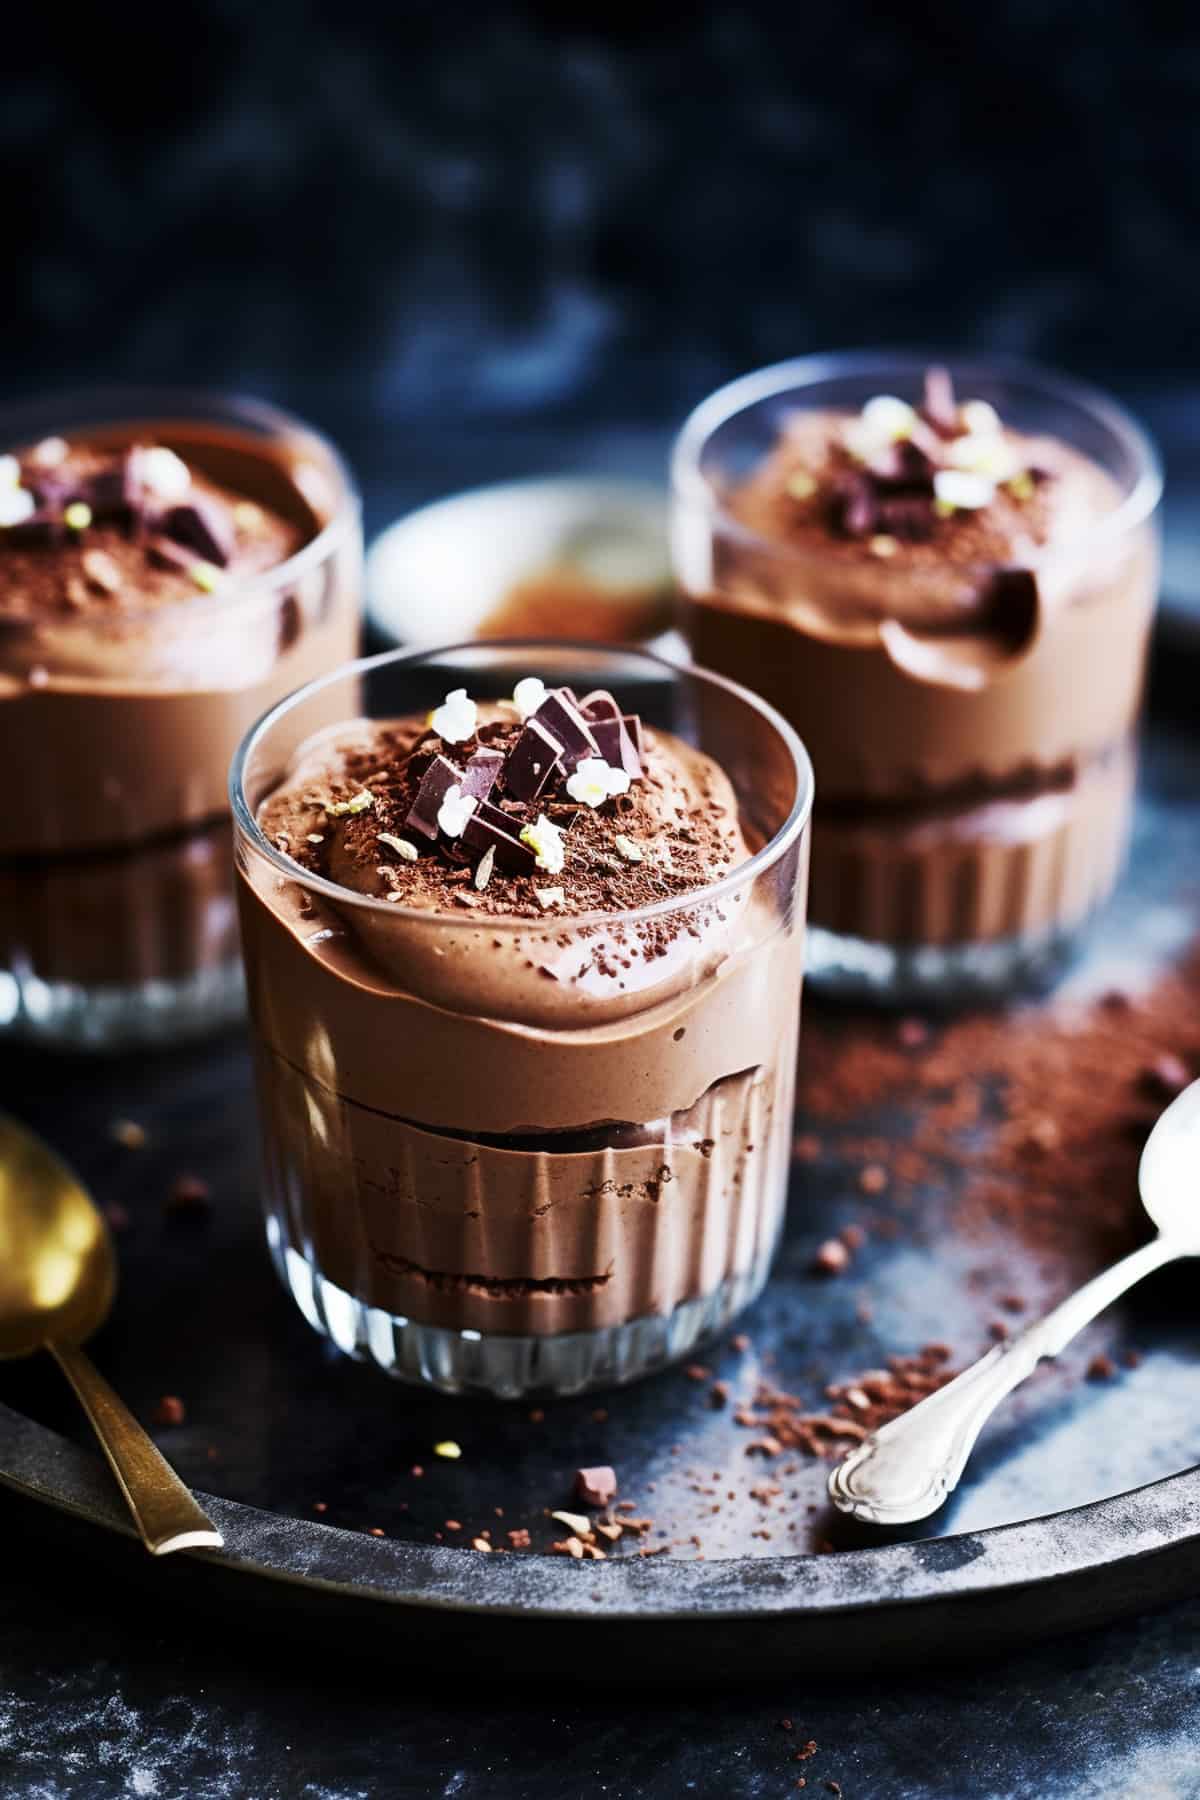
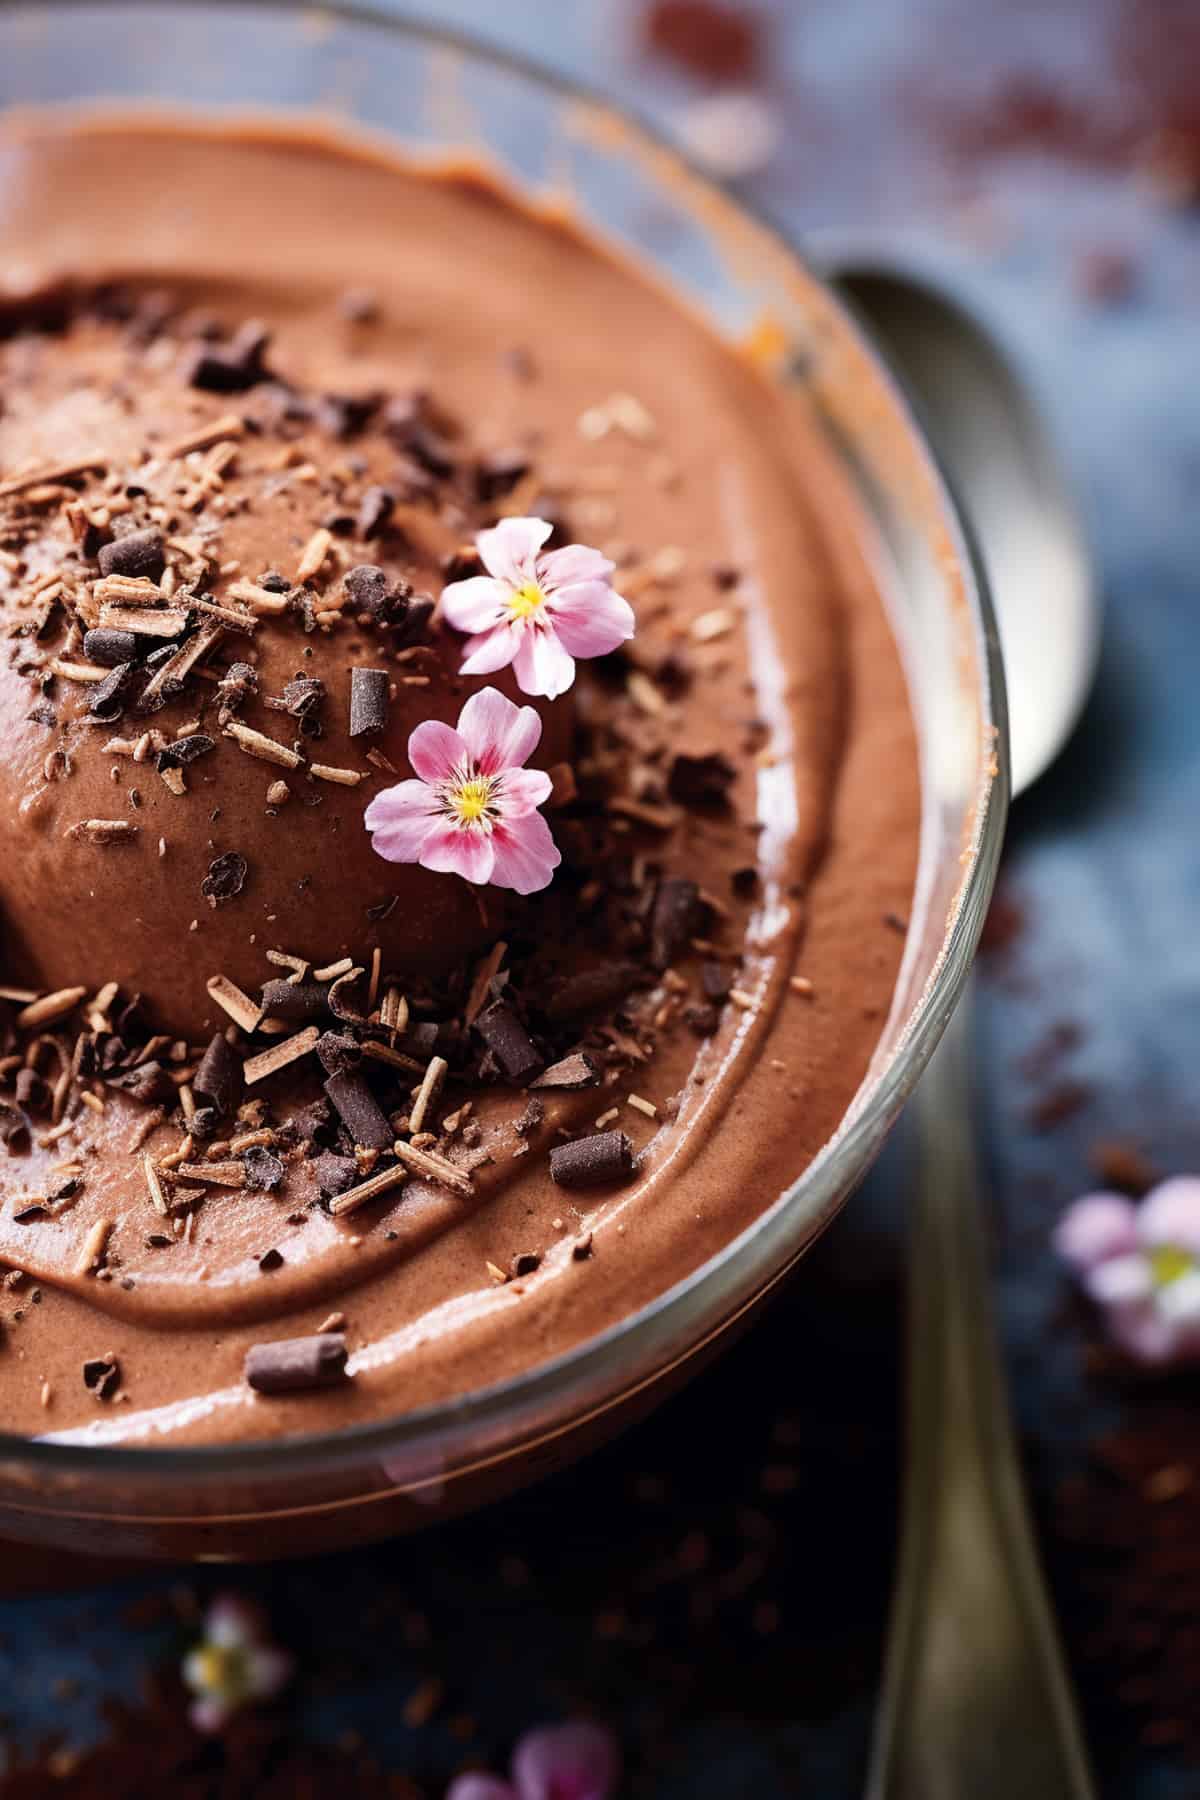
- Chill and Serve: To let the flavours meld and the mousse set perfectly, divide it into individual serving glasses or dishes. Chill the mousse in the refrigerator for at least 2 hours. For an elegant presentation, consider garnishing each serving with a dollop of whipped cream and a sprinkle of chocolate shavings.
Hint: Chill the Mixing Bowl and Whisk
For the best results when whipping the double cream, consider chilling both the mixing bowl and the whisk attachment of your electric mixer in the refrigerator for about 15-20 minutes before starting. Cold equipment creates a better environment for whipping cream, leading to faster and more stable peaks. The chilled bowl and whisk will help the cream maintain its shape and form stiff peaks more effectively, resulting in a beautifully thick and airy mousse.
🍯 Storage
- Fridge: This chocolate mousse can be stored in the refrigerator in an airtight container for up to 3 days.
- Freezer: This easy chocolate mousse isn’t suitable for freezing. The texture would change and become grainy and unpleasant.
- Reheat: As this dessert is best served chilled, there’s no need to reheat it. Enjoy it straight from the fridge for the most delightful experience.
💡 Top tip
Be gentle when folding the whipped cream into the chocolate to maintain the mousse’s light and airy consistency.
❓FAQ
While you can use milk chocolate, be aware that it will yield a sweeter and milder flavour compared to the rich intensity of dark chocolate.
Absolutely! Feel free to get creative and add your favourite toppings to enhance the mousse’s flavour and presentation.
Absolutely! This easy chocolate mousse is a perfect make-ahead dessert. Simply prepare it in advance and chill it in the fridge until you’re ready to impress your guests with this decadent treat.
More Chocolate Recipes
Looking for more chocolate recipes? Try these:
If you tried this Recipe or any other recipe on my website, please let me know in the comments below. I love hearing from you. Also, please leave a star rating whilst you’re there!
You can also follow along on Pinterest, Facebook, and Instagram and join our private Facebook Group Facebook group to share more recipe ideas and all your photos!
Need help with meal planning? You can find our (Aldi ingredients only) weekly meal plans here! Sign up to receive them free every week or take our quick meal planning course and use all these recipes to create your own meal plans.
You can also find more comfort food recipes using everyday ingredients over on our sister site Salted Mint.

3 Ingredient Chocolate Mousse
Ingredients
- 200 g dark chocolate, with 50-60% cocoa solids
- 300 ml double, heavy cream, at room temperature
- 1 teaspoon vanilla extract
Instructions
Melt the Chocolate:
- Break the dark chocolate into small pieces and place them in a heatproof bowl.
- Microwave the chocolate in short bursts of 20-30 seconds, stirring well between each interval until completely melted and smooth. Alternatively, use a double boiler on the stovetop for gentle melting.
Whip the Cream:
- In a chilled mixing bowl, pour in the double (heavy) cream.
- Using an electric mixer with a whisk attachment, whip the cream on medium-high speed until it thickens and forms stiff peaks. Be careful not to overwhip the cream.
Combine Chocolate and Cream:
- Gently fold the whipped cream into the melted chocolate using a spatula. Keep folding until the mixture is well combined, creating a light and airy texture.
Add Vanilla:
- Stir in the vanilla extract into the chocolate and cream mixture, evenly infusing it with a delightful aroma.
Chill and Serve:
- Divide the chocolate mousse into individual serving glasses or dishes.
- Chill the mousse in the refrigerator for at least 2 hours to set beautifully.
- Before serving, garnish each serving with a dollop of whipped cream and a sprinkle of chocolate shavings for an elegant touch.
Notes
- To achieve the best texture, use double (heavy) cream at room temperature for easy whipping.
- Allow the melted chocolate to cool slightly before folding in the whipped cream to maintain a smooth and creamy mousse.
- For a richer flavour, choose high-quality dark chocolate with 50-60% cocoa solids.
- Ensure the mixing bowl and whisk are chilled before whipping the cream to achieve faster and more stable peaks.