
Easy Crispy Honey Chilli Chicken
This post may contain affiliate links.





This crispy honey chilli chicken is coated in a sticky, sweet and spicy sauce with fresh garlic, ginger and lime. The golden, crunchy chicken and glossy honey chilli sauce make it an easy Chinese takeaway-style dinner you can have on the table in about 30 minutes.
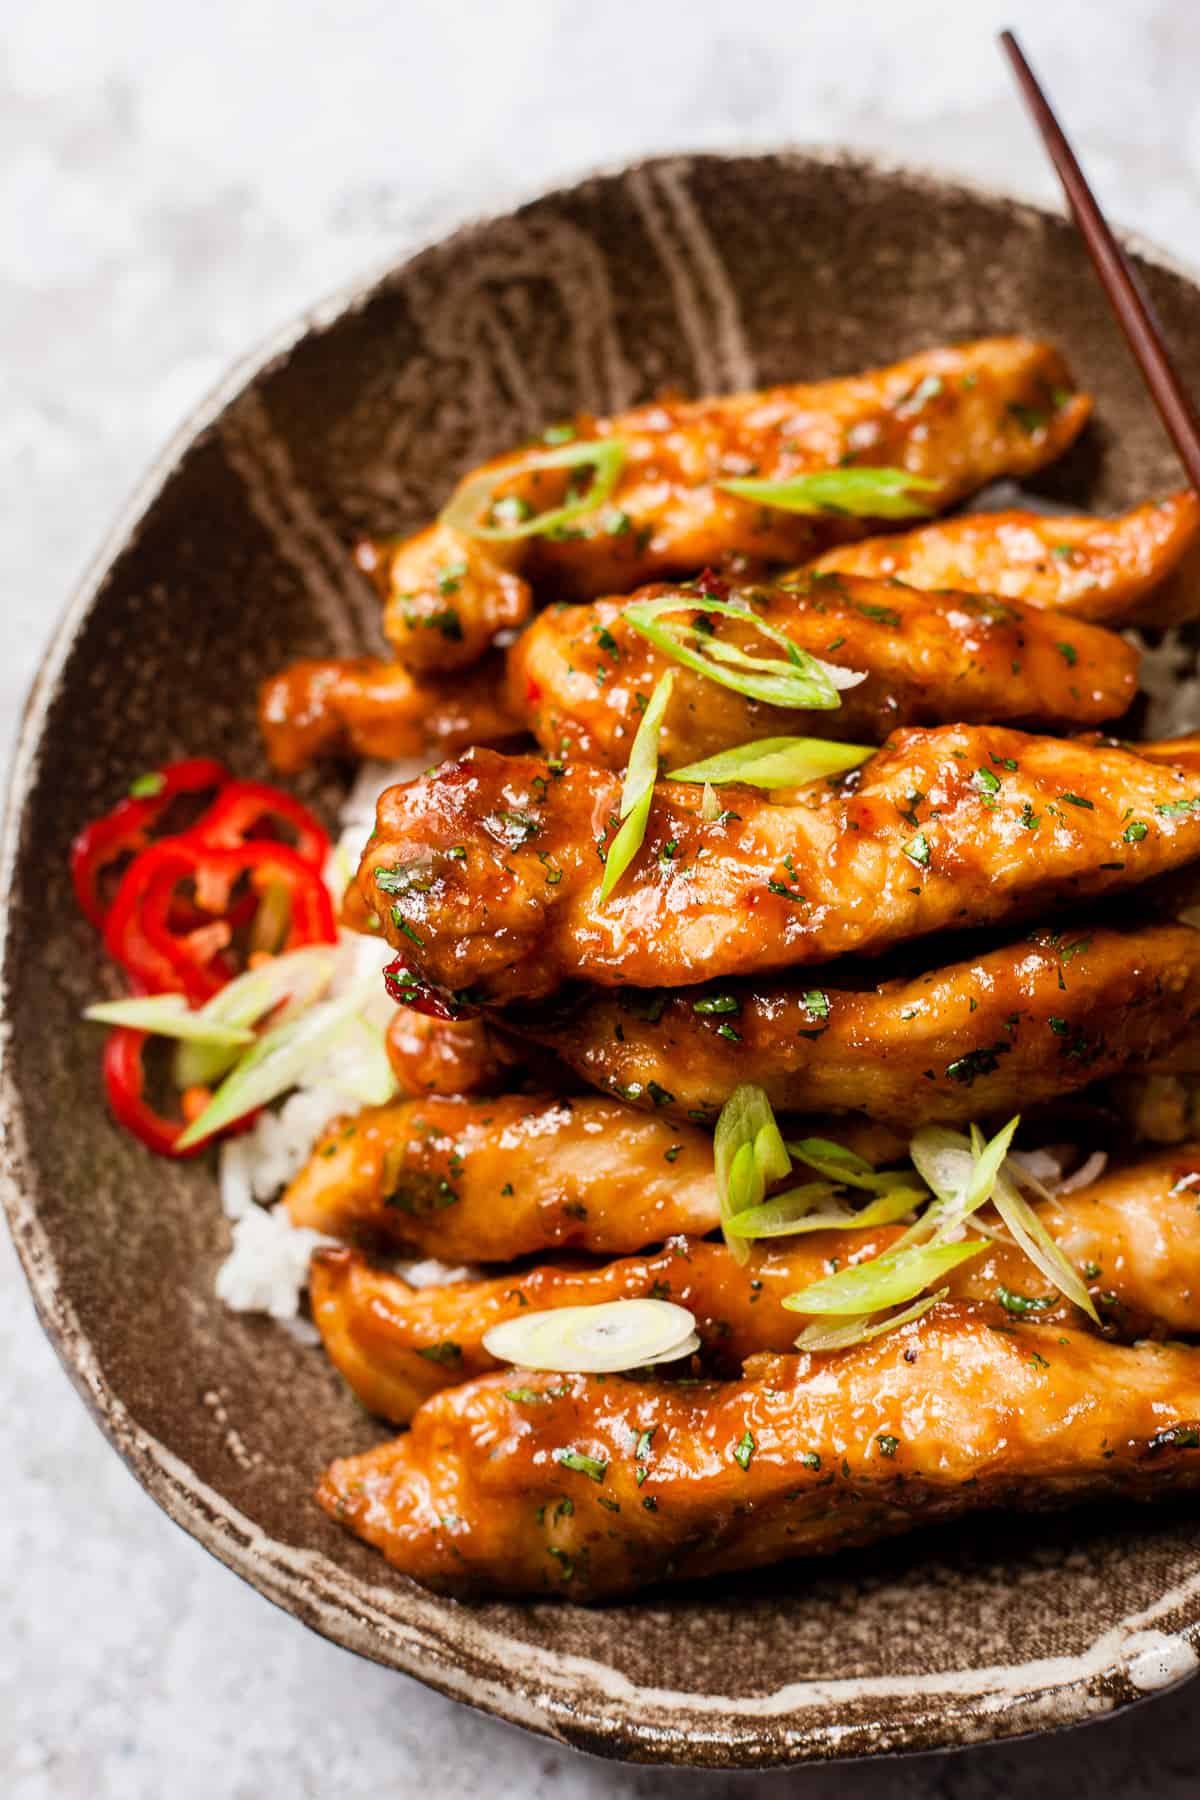
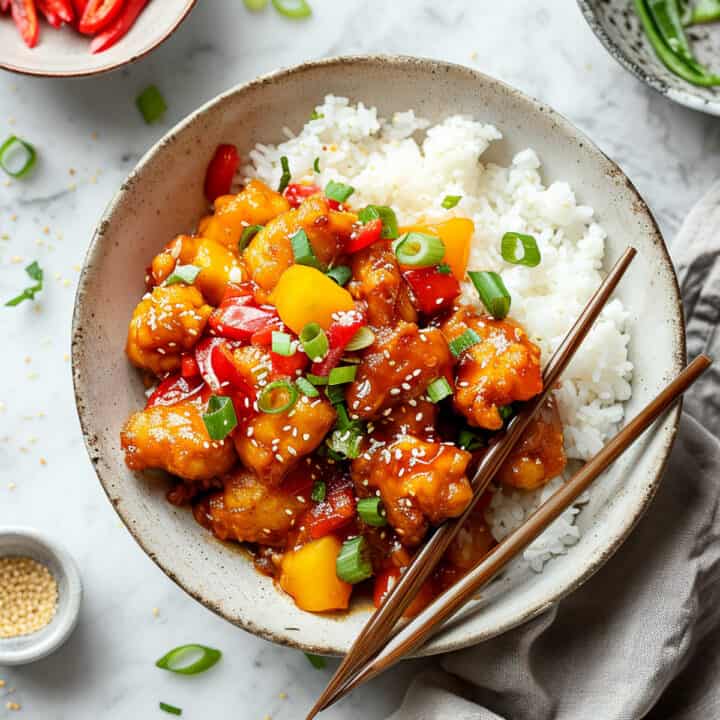
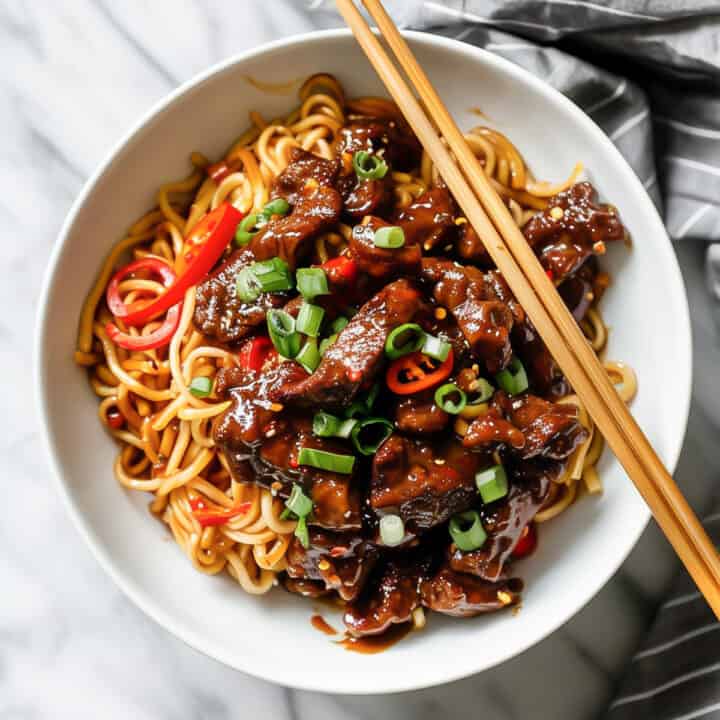
Serve it with my easy egg fried rice for a family-friendly fakeaway, or try my crispy chilli beef and sweet and sour chicken for more takeaway-style favourites.
Why this recipe works
Ingredients required
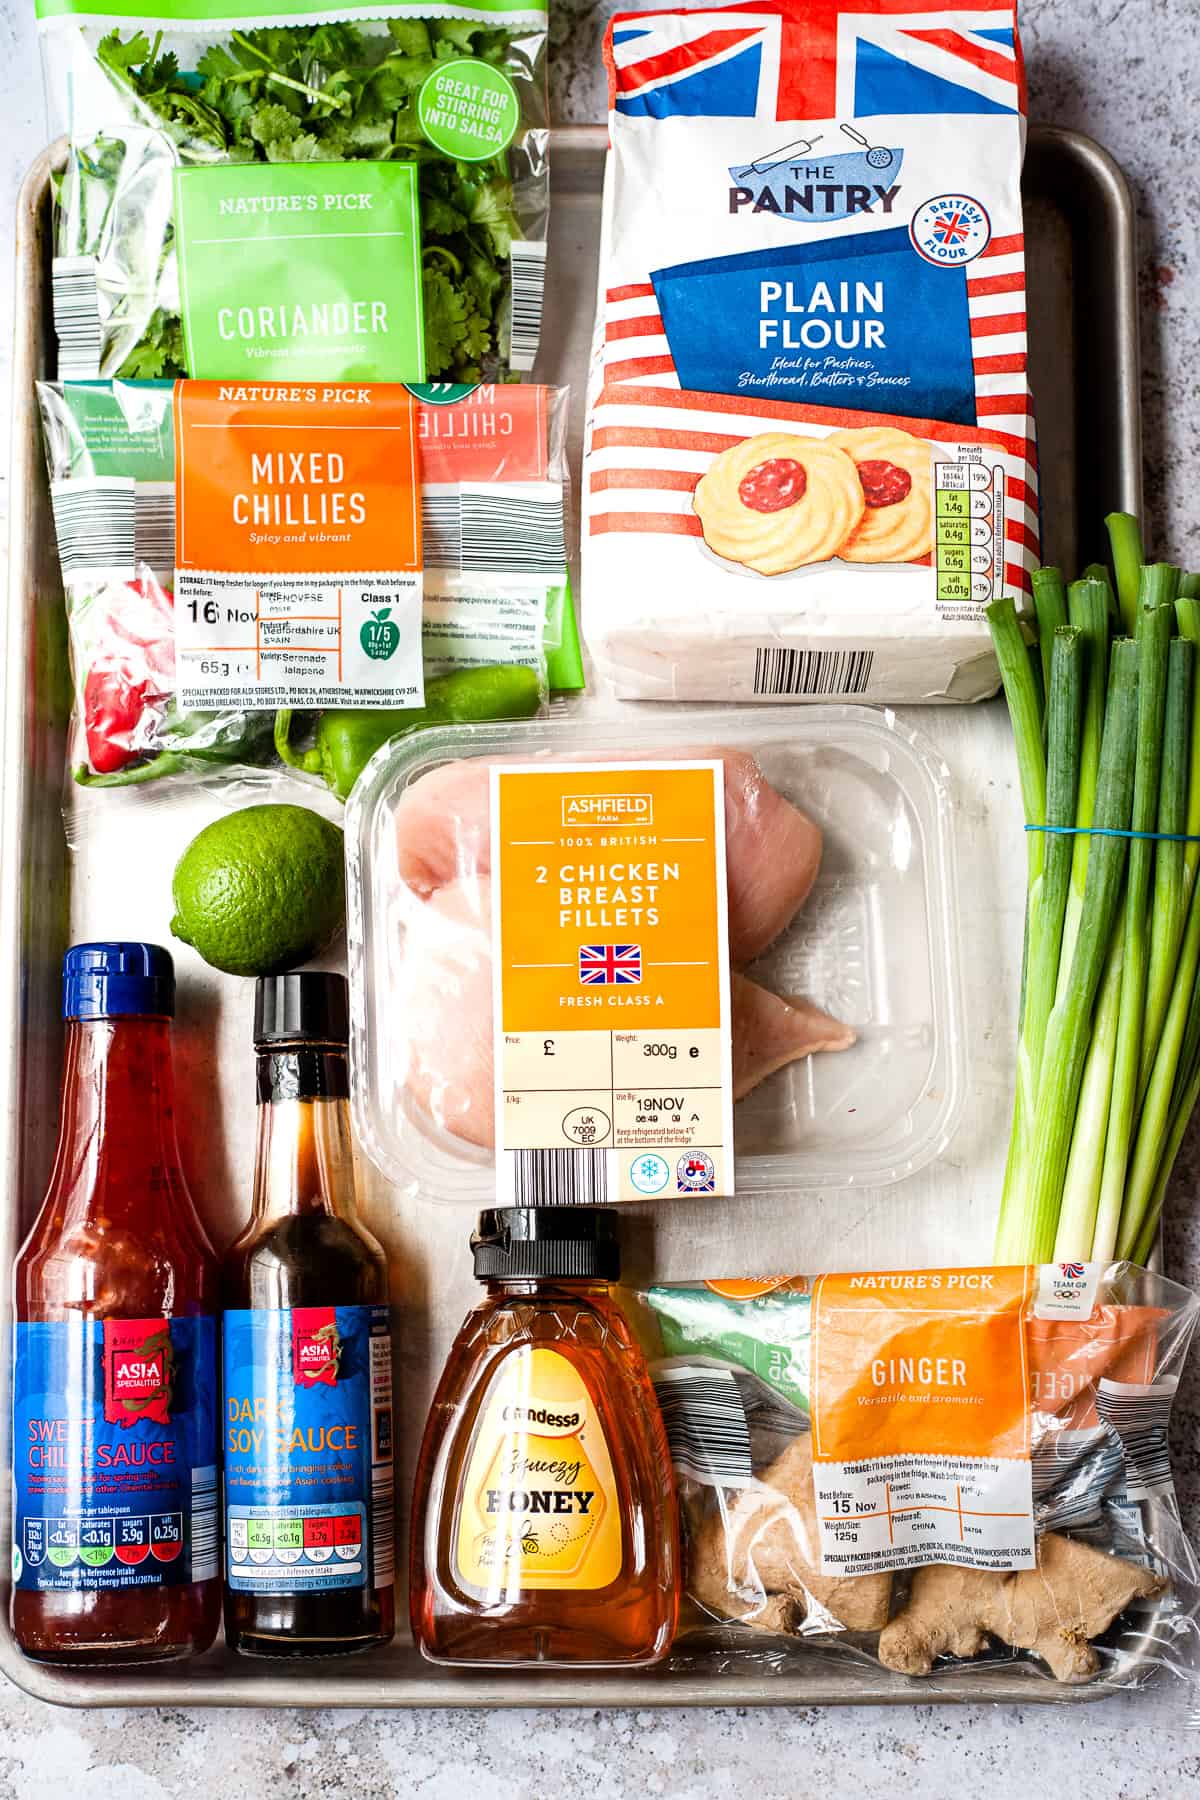
- Chicken breasts: Cut into evenly sized chunks so they cook at the same rate. Boneless, skinless chicken thighs also work if you prefer darker meat.
- Egg white: Mixes with the cornflour to create a light coating that helps the chicken turn crisp and golden when fried.
- Cornflour: Creates the light, crispy coating on the chicken. You’ll also need a little more to thicken the honey chilli sauce.
- Vegetable oil: For frying the chicken until golden and crisp. Use a neutral-flavoured oil suitable for frying.
- Honey and sweet chilli sauce: Give the sauce its sticky sweetness, with a gentle chilli kick.
- Soy sauce: Adds savoury depth and balances the sweetness of the honey.
- Fresh ginger and garlic: Bring warmth and plenty of flavour to the sauce.
- Lime juice: Adds acidity to balance the sweet, sticky glaze.
- Fresh red chilli: Adds extra heat. Adjust the amount to suit your taste.
- Water: Loosens the sauce so it can coat the chicken evenly before thickening.
- Spring onions and coriander: Optional fresh garnishes that add colour and contrast to the rich sauce.
See the recipe card at the bottom of the post for exact quantities and full instructions.
How to make crispy honey chilli chicken
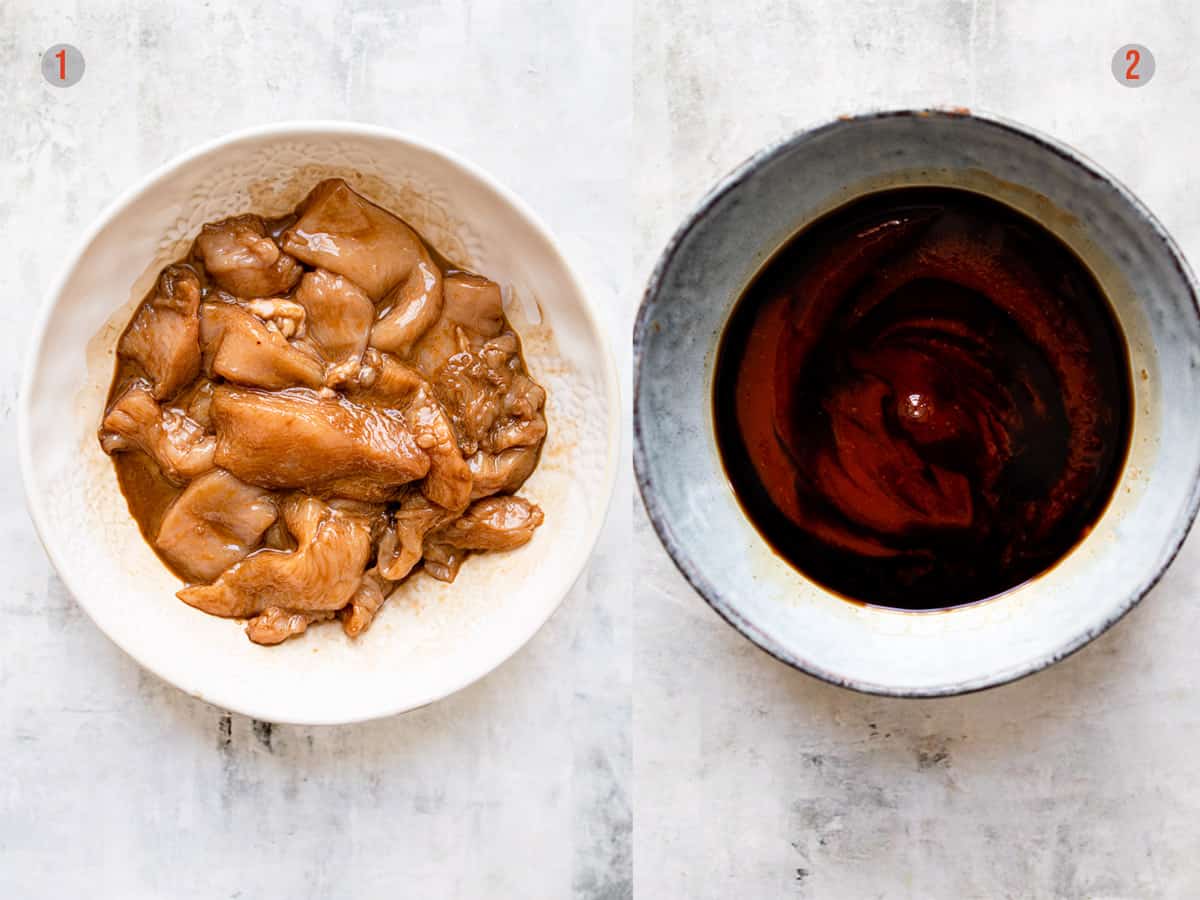
- Coat the chicken. Mix the egg white and cornflour, then add the chicken pieces and toss until evenly coated. Set aside while you prepare the sauce.
- Mix the sauce. In a separate bowl, stir together the honey, sweet chilli sauce, soy sauce, lime juice and water until combined.
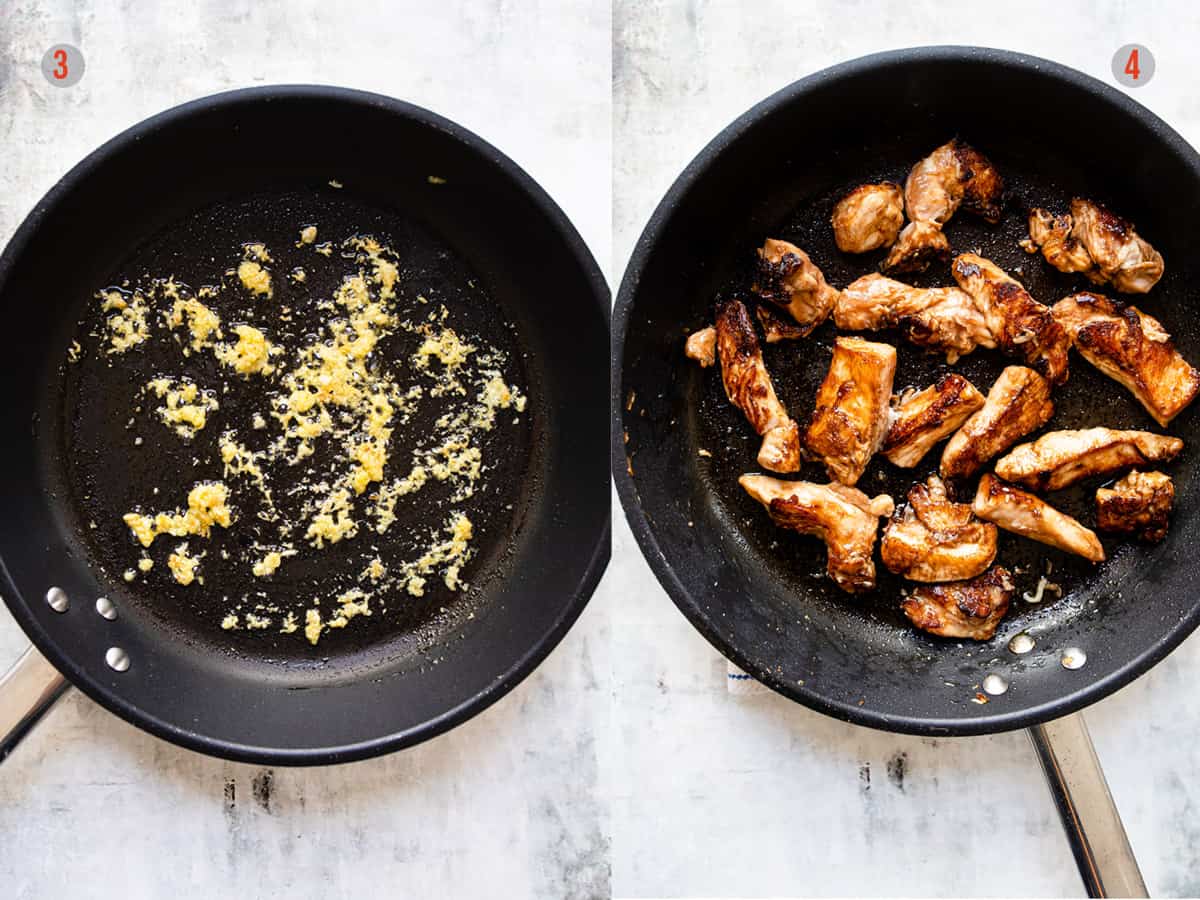
- Prepare the aromatics. Heat a little oil in a large frying pan over medium heat. Add the ginger and garlic and cook briefly until fragrant, taking care not to let them brown. Remove them from the pan and set aside.
- Cook the chicken. Add the coated chicken to the pan in a single layer, working in batches if needed. Fry until golden on the outside and cooked through, then transfer to a plate.
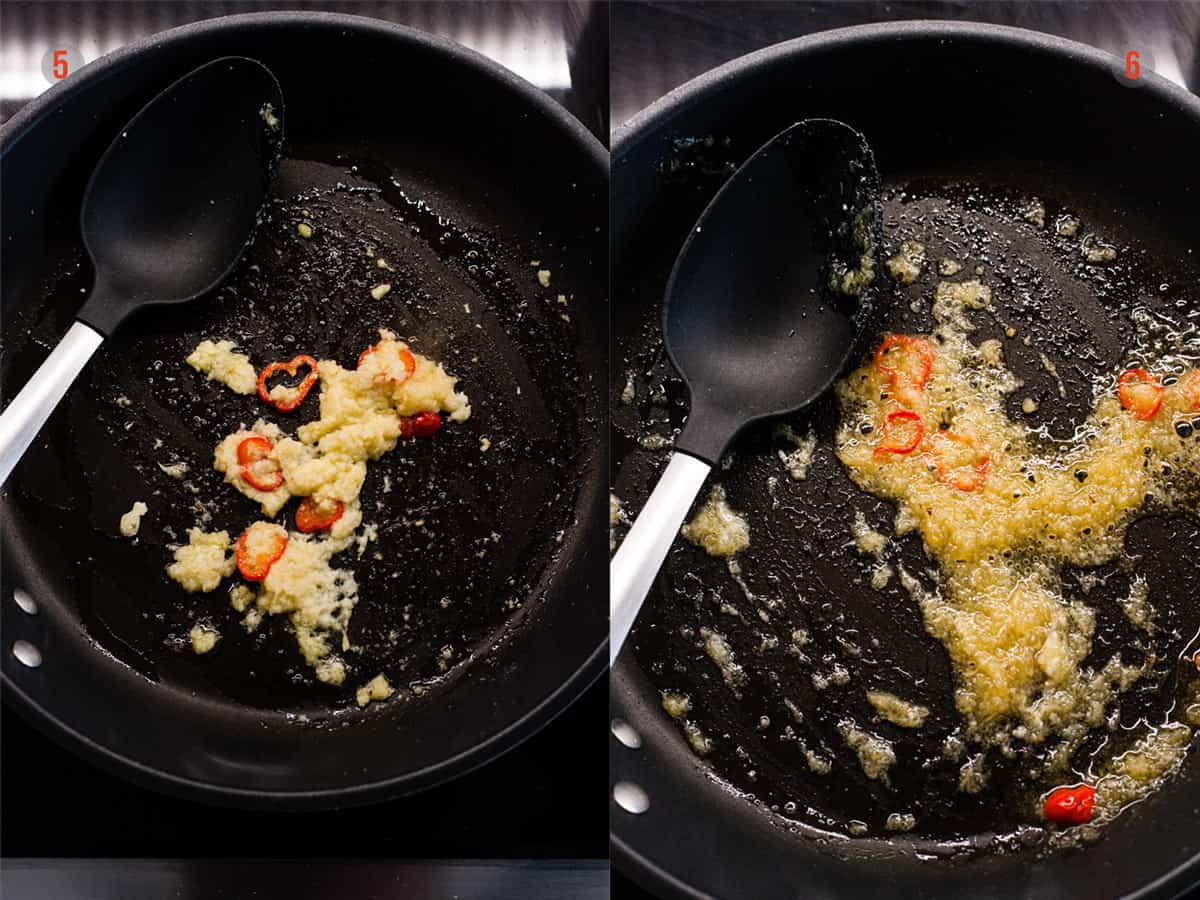
- Add the chilli. In the same pan, gently cook the sliced red chilli with the reserved garlic and ginger for a few seconds to release their flavour.
- Build the sauce. Pour in the prepared sauce mixture, stirring to combine it with the aromatics. Bring to a gentle simmer.
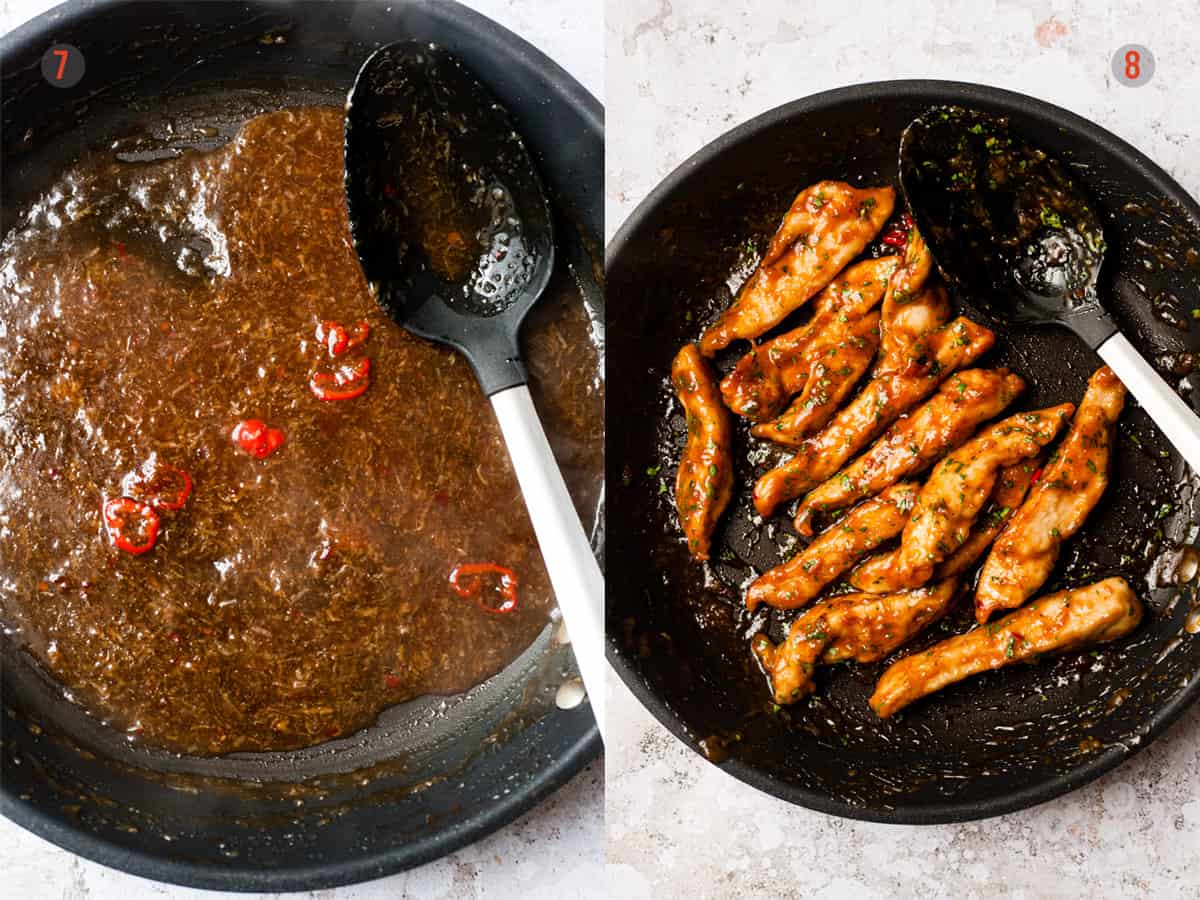
- Thicken the glaze. Let the sauce bubble until it reduces to a glossy consistency that will coat the chicken. Stir regularly so the honey doesn’t catch on the bottom of the pan.
- Coat and serve. Return the chicken to the pan and toss until every piece is coated in the sticky honey chilli glaze. Finish with spring onions and coriander, if using, and serve straight away.

Chef’s Guide: Expert Tips
Here are a few simple tips, drawn from my training and kitchen experience, to help you get the best results every time.
- Coat the chicken evenly. Mix the egg white and cornflour until smooth before adding the chicken. Every piece should have a thin, even coating rather than thick clumps of batter.
- Give the chicken room to brown. Fry it in batches if necessary. Overcrowding the pan traps steam and makes it harder to get a crisp, golden coating.
- Keep the garlic and ginger from burning. Cook them briefly over medium heat, then remove them from the pan as directed. Burnt garlic can make the finished sauce taste bitter.
- Reduce the sauce before adding the chicken. Let it simmer until glossy and thick enough to coat the back of a spoon. Adding the chicken too early means it sits in the liquid and loses its crispness.
- Toss and serve straight away. Return the chicken to the pan only when the glaze is ready, then toss just long enough to coat it. The coating will soften the longer it sits in the sauce.
Storing & Reheating
- Fridge: Allow the chicken to cool, then store in an airtight container in the fridge for up to 3 days. The coating will lose its crispness as it sits in the sauce, but the chicken will still be delicious.
- Freezer: I don’t recommend freezing this recipe. The coating is likely to become soft and soggy when thawed and reheated.
- Reheating: Warm the chicken in a frying pan over medium-low heat, stirring gently until piping hot throughout. Add a splash of water if the glaze has become too thick. You can also reheat individual portions in the microwave, although the coating will remain soft.
FAQs
The pan may have been overcrowded, or the oil may not have been hot enough. Fry the chicken in batches so each piece has room to brown. The coating will soften once it’s tossed in the sauce, so serve it straight away for the best texture.
Keep the sauce at a gentle simmer and stir it regularly as it reduces. Honey can catch quickly over high heat, so remove the pan from the heat as soon as the glaze is thick and glossy.
You can mix the sauce and cut the chicken ahead of time, then keep them covered in separate containers in the fridge. For the best texture, coat and fry the chicken just before serving, and toss it in the hot glaze at the very end.
Yes! Boneless, skinless chicken thighs work really well in this recipe. Cut it into evenly sized, bite-sized pieces so they cook at the same rate, and avoid overcooking to keep the chicken tender and juicy.

Crispy Honey Chilli Chicken
Ingredients
For the chicken
- 500 g (1 lb) boneless , skinless chicken breasts, cut into evenly sized chunks
- 1 egg white
- 75 g (½ cup) cornflour
- Salt and pepper, to season
- 300 ml (1 ¼ cups) vegetable oil, for frying
For the sauce
- 2 tablespoons sweet chilli sauce
- 4 teaspoons soy sauce
- 150 ml (¾ cup) water
- Juice of 2 limes
- 4 teaspoons cornflour
- 4 tablespoons honey
- 2 tablespoons ginger, finely sliced
- 4 garlic cloves, minced
- Fresh red chilli, thinly sliced, to taste
For serving
- Sliced spring onions
- Chopped fresh coriander
Instructions
- Prepare the chicken coating. Whisk the egg white and 75g cornflour together until combined. Season with salt and pepper, then add the chicken and toss until every piece is evenly coated.
- Mix the sauce. In a separate bowl, whisk together the sweet chilli sauce, soy sauce, water, lime juice and 4 teaspoons cornflour. Set aside.
- Fry the chicken. Heat the vegetable oil in a large frying pan over medium-high heat. Fry the chicken in batches until golden and cooked through. Transfer to a plate lined with kitchen paper to drain.
- Prepare the pan. Carefully pour off the excess oil, leaving about 2 tablespoons in the pan. Add the ginger and garlic and cook briefly until fragrant.
- Add the chilli. Stir in the sliced red chilli and cook for a few seconds, taking care not to burn the garlic.
- Add the honey. Pour in the honey and stir to combine it with the garlic, ginger and chilli.
- Make the glaze. Give the prepared sauce mixture another stir, then pour it into the pan. Bring to a gentle simmer, stirring regularly, until the sauce thickens and becomes glossy.
- Coat the chicken. Return the cooked chicken to the pan and toss until every piece is coated in the sticky glaze. Serve immediately, topped with sliced spring onions and chopped coriander.
Notes
- Frying: Cook the chicken in batches rather than overcrowding the pan. This helps the coating turn golden and crisp.
- Sauce consistency: If the glaze becomes too thick, stir in a splash of water. If it’s too thin, let it simmer a little longer before returning the chicken to the pan.
- Heat level: Adjust the amount of fresh red chilli to suit your preference.
- Leftovers: Refrigerate in an airtight container for up to 3 days and reheat until piping hot. The coating will soften in the sauce, so this dish is best served straight after cooking.
Nutrition
If you tried any of these recipes, please let me know in the comments below, and leave a star rating while you’re there!
For more recipe ideas, follow us on Pinterest, Facebook, and Instagram, and join our exclusive Facebook group.
For meal planning help, check out our weekly Aldi-only meal plans, free for subscribers.
Craving more comfort food? Visit our sister site, Salted Mint, for easy, delicious recipes with everyday ingredients.

Meet the Chef!
Hi, I’m Debs, a Cordon Bleu-trained chef dedicated to helping you create unforgettable meals on a budget. Discover more about my journey and dive into a world of foolproof recipes designed for those who love to eat well without overspending.



So simple to make and tasted amazing
This is such a good recipe. It really was so easy to make and my family loved it!
So happy it was a hit with the family! Thank you for leave a comment. It’s so appreciated. 🙂
Is it lemon or lime juice, it says lime in the ingredients list? Thankyou
Sorry Sarah! A mind and typing disconnect. It is lime juice. The instructions have been updated. 🙂
Really good! Quick and easy to make.
Amazing! So happy you liked it. And thank you so much for taking the time to leave a comment and a rating. It’s much appreciated.
I make this at least once a week. My family loves it.
Thanks so much, Louise. So happy that you love this recipe.
Love how easy and delish this recipe is!
Thanks Helen. So happy you love this recipe.